This month we will start to explore lite-C's pure mode programming, which combines the power of the C / C++ language with Acknex's available objects.
The first and obvious advantage is this: the code will be shorter and easier to understand.
Let's start by creating a simple application skeleton that can be used as a base for our future applications. Start lite-C or (even better) GameStudio7,
open the skeleton.c file and run it; you should see something like this:
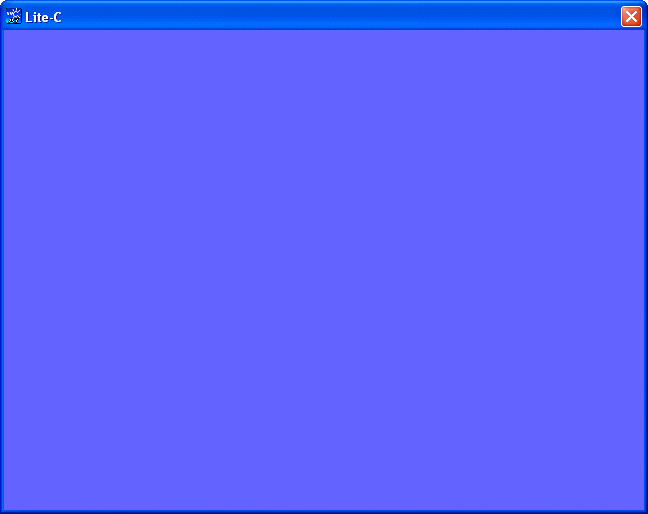
And here's the code that makes it all happen, in case that you were wondering:
#include <acknex.h>
#include <default.c>
function main()
{
video_mode = 6; // create a program window of 640x480 pixels
vec_set(screen_color, vector(255, 100, 100)); // make the background color blue
}
As you can see, we needed only a few lines of code in order to get a decent window on the screen - a great improvement over the legacy mode program from the previous workshop!
The first line of code tells the engine to include the acknex.h file, the header file that's needed by the acknex engine. The second line can be ignored; however, it contains a few basic functions that can make our life easier, like the console that appears when we press the Tab key, the ability to shut down the engine by pressing Esc and so on. I'd include default.c in all my programs as well.
Function main( ) is the equivalent of function WinMain( ) from the legacy mode programs; it is run automatically as soon as the program is started. Its content is quite simple: the first line sets the video resolution to 640x480 pixels (read the manual to see what other resolutions are available) and the second line sets the background color to Blue = 255, Green = 100, Red = 100 which gives a blueish background color. Feel free to play with any other BGR combination here; use values from 0 to 255 and you won't blow out your computer (at least that's what I hope ;)
Now that we have become more comfortable with lite-C's pure mode programming, let's move on: open the fortest.c file and run it.
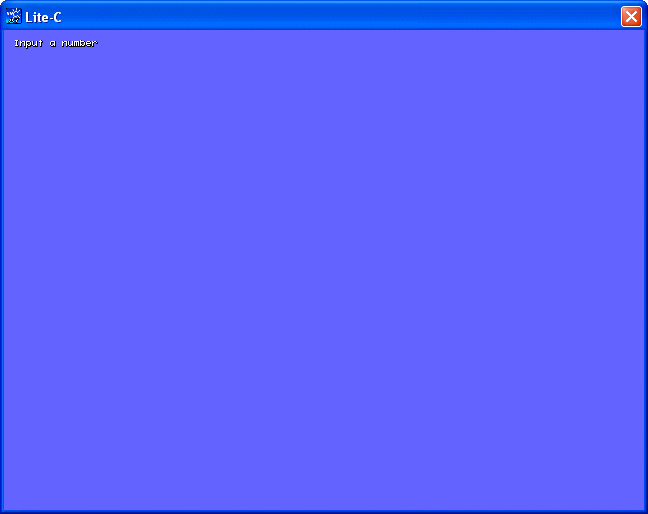
You will see the "Input a number" text for a few seconds, and then you will be able to type in a number. If you have input the number "n", the program will display the sum of the first "n" numbers. As an example, if you type in 5, the program will display 1 + 2 + 3 + 4 + 5 = 15.
Let's take a look at the source code now:
#include <acknex.h>
#include <default.c>
STRING* total_str = "Input a number";
TEXT* total_txt =
{
layer = 15;
pos_x = 10;
pos_y = 10;
string (total_str);
flags = VISIBLE;
}
function main()
{
video_mode = 6; // create a program window of 640x480 pixels
vec_set(screen_color, vector(255, 100, 100)); // make the background color blue
wait (-4); // display the "Input a number" message for 4 seconds
str_cpy(total_str, " "); // clear the string before using it again, don't allow numbers bigger than 3 digits
inkey(total_str);
int i, number, total = 0;
number = str_to_num(total_str);
for (i = 1; i <= number; i++)
total += i;
wait (-1); // wait for a second
str_for_num(total_str, total); // and then display the total
}
The important stuff happens inside function main. We set the video resolution and the background color, and then we wait for 4 seconds; this way, we can display the "Input a number" message because total_txt is visible from the very beginning. Then, we clear the total_str string by setting its content to " " (three spaces), making sure that the following "inkey" instruction won't allow us to input more than 3 digits.
You can always use more digits if you want by simply changing the definition of the variables from "int" to "long". The "for" loop is a new addition to the lite-C language and executes the "total += i;" instruction several times, starting with i = 1 and increasing the value of i by 1 with every pass. The loop will run for as long as i is smaller or becomes equal with the number that was input. On a side note, you can see that since the loop repeats a single instruction, we don't need to put that instruction inside a pair of parenthesis.
As soon as the loop has stopped, the variable named "total" will contain our result. We wait for a second (pretending that the computer is thinking) and then we convert "total" to a string that will be displayed on the screen automatically (total_txt, the owner of total_str, is still visible).
Time to explore another brand new lite-C feature: multidimensional arrays. Open the tables.c file, and then run it - you will see the following image:
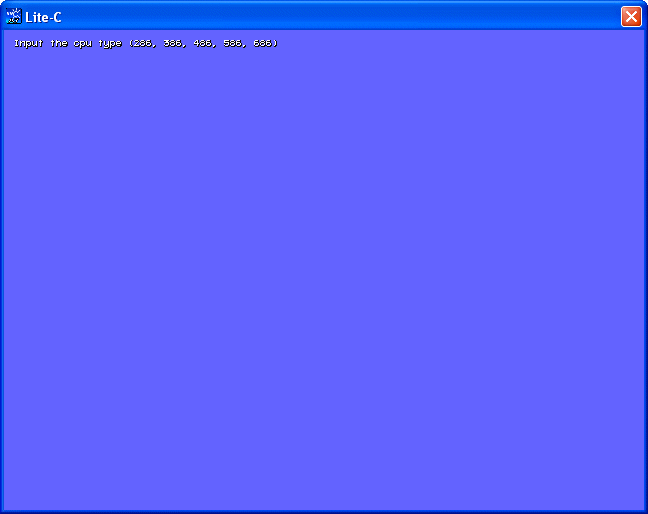
It's a small program that asks you to input the cpu type (286, 386, 486, 586 or 686) and then displays it, as well as its typical working frequency. If you type in a wrong cpu type you will get to see an error message:
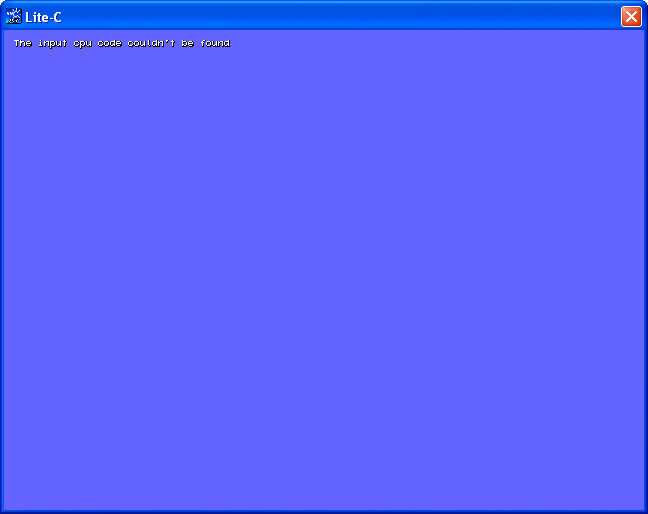
Let's take a look at the source code:
#include <acknex.h>
#include <default.c>
function main()
{
video_mode = 6; // create a program window of 640x480 pixels
vec_set(screen_color, vector(255, 100, 100)); // make the background color white
}
STRING* cpu_str = "Input the cpu type (286, 386, 486, 586, 686)";
STRING* temp_str = " "; // temporary string, holds the cpu type
TEXT* total_txt =
{
layer = 15;
pos_x = 10;
pos_y = 10;
string (cpu_str);
flags = VISIBLE;
}
int cpu_table[5][2];
function newcode_startup()
{
wait (-3); // display the "Input the cpu code" message for 3 seconds
str_cpy(cpu_str, " "); // clear the string before using it again, allow the input of numbers with 3 digits
inkey(cpu_str);
int i, cpu_type;
cpu_table[0][0] = 286; // initialize the multidimensional array here
cpu_table[0][1] = 10;
cpu_table[1][0] = 386;
cpu_table[1][1] = 25;
cpu_table[2][0] = 486;
cpu_table[2][1] = 66;
cpu_table[3][0] = 586;
cpu_table[3][1] = 100;
cpu_table[4][0] = 686;
cpu_table[4][1] = 233;
for (i = 0; i < 5; i++)
{
cpu_type = str_to_num(cpu_str); // convert the read string to a number
if (cpu_type == cpu_table[i][0]) // found the number?
{
str_cpy(temp_str, cpu_str); // copy cpu_str to temp_str in order to preserve its value
str_cpy(cpu_str, "You have chosen a "); // display the cpu type
str_cat(cpu_str, temp_str);
str_cat(cpu_str, " processor, running at ");
str_for_num(temp_str, cpu_table[i][1]); // and speed
str_cat(cpu_str, temp_str);
str_cat(cpu_str, " MHz");
break; // get out of here!
}
}
if (i == 5) // the cpu code couldn't be found?
str_cpy(cpu_str, "The input cpu code couldn't be found"); // then display an error message
}
The interesting things happen inside function newcode_startup( ). But first, let's talk a bit about our cpu_table[5][2] multidimensional array.
We all know how to work with arrays; working with multidimensional arrays is just a little bit more complicated. I am using a two-dimensional array here; just pretend that cpu_table[5][2] is like a table with 5 rows and 2 columns that can be created with your favorite text editor.
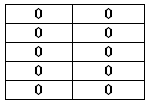
We can access each "cell" like this: cpu_table[0][0] will give us the address of the first cell, while cpu_table[4][1] will allow us to access the last cell; take a look at the picture below to see what I mean.
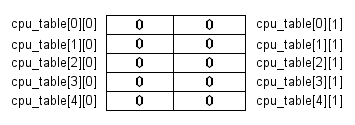
Take a good look at function newcode_startup( ); you can see that I have populated the cells with numerical values, so the actual content of the array looks just like this:
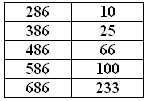
We have now "linked" the cpu type on the left side of the table with its typical frequency from the right side of the table; yes, there were some CPUs named 286 and they were running at 10 MHz (about 20 years ago).
Let's take a closer look at the "for" loop:
for (i = 0; i < 5; i++)
{
cpu_type = str_to_num(cpu_str); // convert the read string to a number
if (cpu_type == cpu_table[i][0]) // found the number?
{
str_cpy(temp_str, cpu_str); // copy cpu_str to temp_str in order to preserve its value
str_cpy(cpu_str, "You have chosen a "); // display the cpu type
str_cat(cpu_str, temp_str);
str_cat(cpu_str, " processor, running at ");
str_for_num(temp_str, cpu_table[i][1]); // and speed
str_cat(cpu_str, temp_str);
str_cat(cpu_str, " MHz");
break; // get out of here!
}
}
if (i == 5) // the cpu code couldn't be found?
str_cpy(cpu_str, "The input cpu code couldn't be found"); // then display an error message
The content of the loop converts the cpu_str string that was input to a numerical value and then compares the result with cpu_table[i][0], which is exactly the left column in our table. If it finds one of the predefined cpu types (286, 386, ... etc) it displays it, as well as its frequency, which is given by the right column in our table, aka cpu_table[i][1]. As an example, if we type in "486", the loop will run until i is set to 2, so the displayed values will be cpu_table[2][0] = 486 and cpu_table[2][1] = 66.
Please note the "break;" instruction; its role is to stop the loop earlier if the player has typed in a proper cpu type, not allowing i to reach a value of 5. If the player types in a wrong cpu number, the loop runs without stopping until i reaches 5 and the error message is displayed.
I hope that you are at least as excited as I am to see some of the fresh lite-C goodies in action. We will continue our journey and explore even more interesting stuff next month!