Welcome to another episode in the AI workshop series! Here are the new additions:
- The action takes place in a real life level;
- The player and the enemy can now kill each other; the player has got an edge on the enemy, though, because it will only die after being shot 10 times, while the enemy will die after 3 shots;
- The enemy can navigate and shoot along the z axis as well; it can climb and descend stairs, as well as shoot the player even if it tries to hide on top of a roof;
- The enemy code uses a combination of two c_trace instructions to make sure that it will hit the player each and every time (provided that the player doesn't take cover, of course);
- Several minor bugs have been squashed.
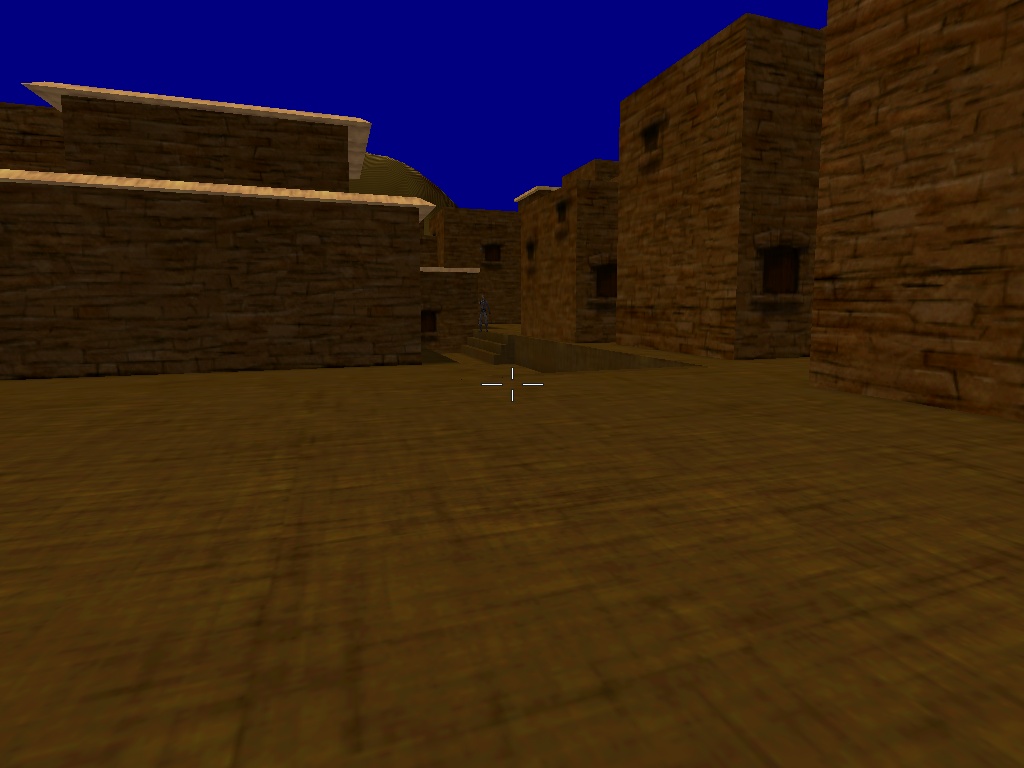
Let's start with the first new feature - the real life level. You already know that I am a horrible level designer, so I have reused one of the levels created by one of my team members for the shooter template. It's a complex, maze-like level, so it's just what we need in order to put our AI code to a strenuous test.
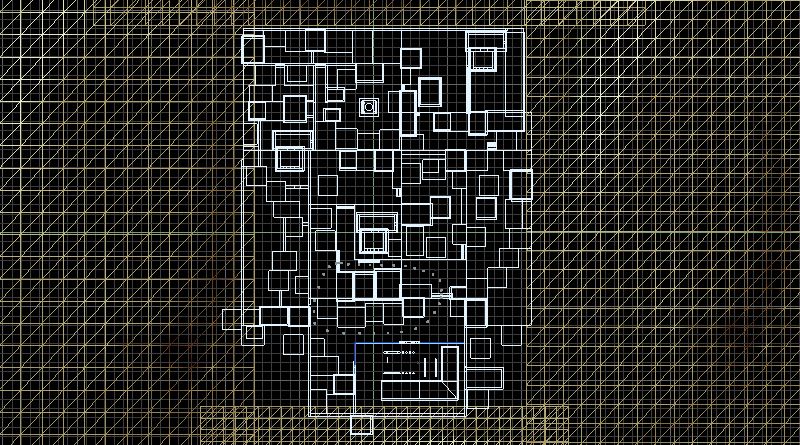
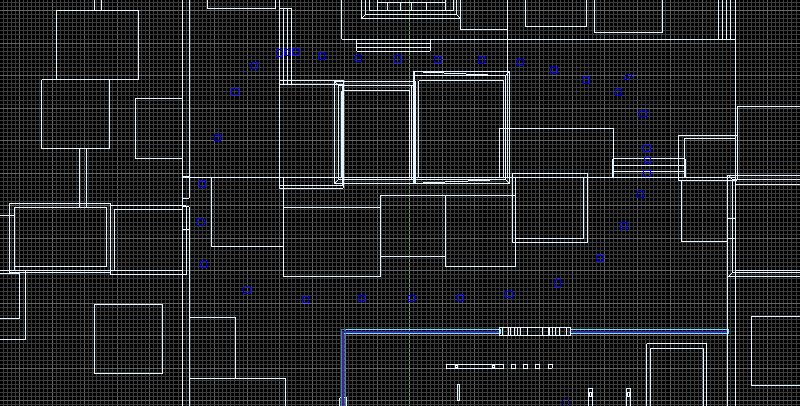
The level is quite big, so I have decided to place nodes in a limited area; we want to be able to study the enemy in a smaller area, rather than allowing it to move freely in the entire level. Don't worry, it can still shoot the player if it is able to see it, even in the regions where there aren't any nodes that lead to the player. You can add more nodes, of course; right now, the limit in the demo is set to 300 nodes, which should be more than enough for any regular level.
The project has grown to about 30KB of code, so we will only discuss the new stuff, which wasn't already covered in the previous versions of the magazine.
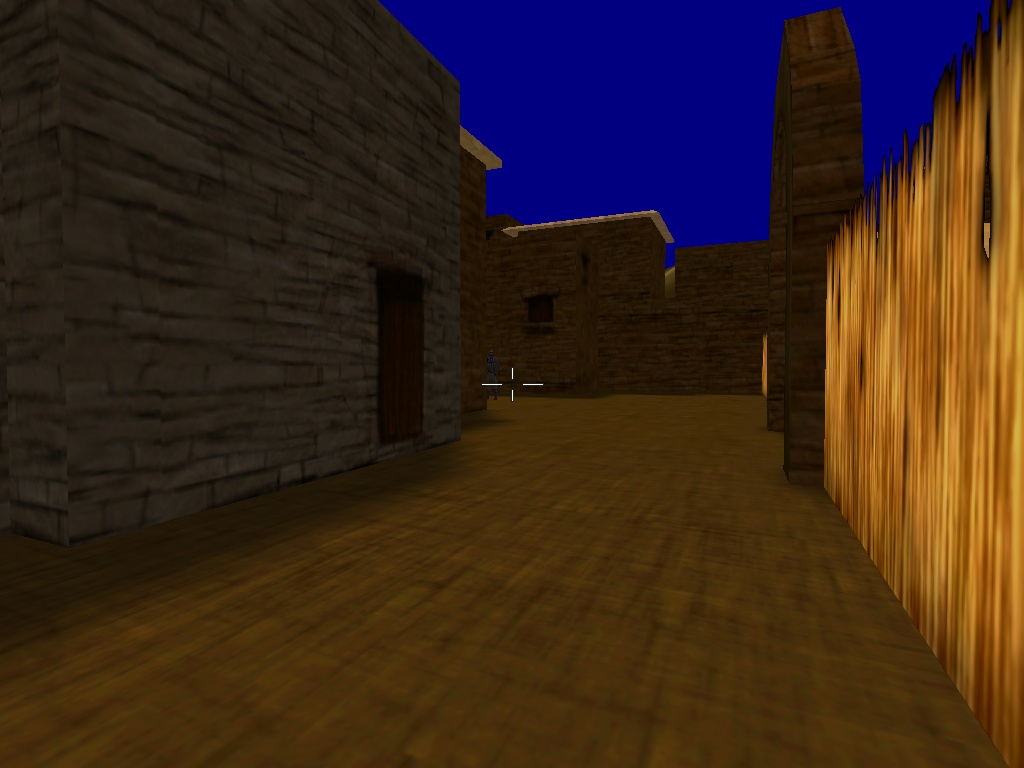
First of all, the player and the enemy can die. Here's the code that kills the player:
action player_code()
{
player = my;
set (my, INVISIBLE); // using a 1st person player
set (my, FLAG2); // will be used by enemies' c_scan instructions to detect the player
var forward_on, backward_on, right_on, left_on, jump_on, run_on;
var current_height = 0, jump_handle;
VECTOR horizontal_speed, vertical_speed, temp;
vec_set(horizontal_speed.x, nullvector); // initialize this vector
vec_set(vertical_speed.x, nullvector); // initialize this vector
while(players_health > 0)
{
// the player movement code starts here
.................................
// the player movement code ends here
wait(1);
}
snd_play(playerdead_wav, 60, 0);
camera.z -= 30; // bring the camera closer to the floor
camera.roll = 40; // and rotate its view (the player is dead here)
}
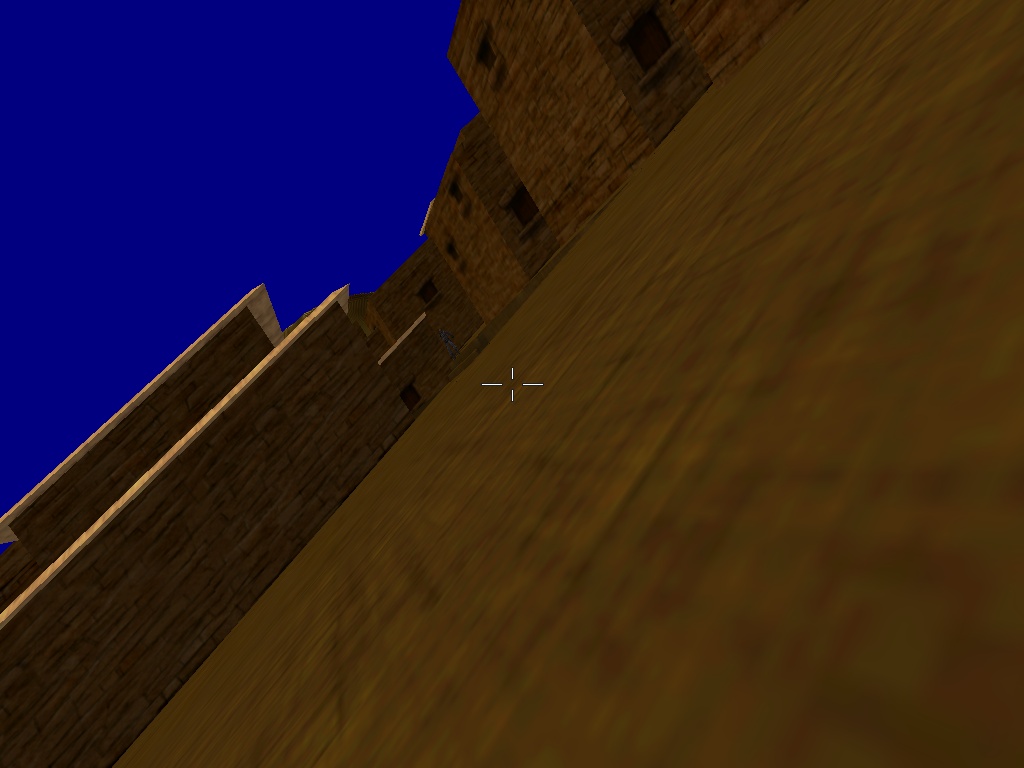
We've got a first person player code, and its movement is controlled by the while loop above. The player will die (the movement code will stop) as soon as the players_health variable reaches zero. When that happens, the playerdead_wav sound is played, and the camera roll angle and height are set to a weird position, thus telling the player that its life is over.
The function that does the actual damage is the one below.
function remove_bullets() // this function runs when the bullet collides with something
{
wait (1); // wait a frame to be sure (don't trigger engine warnings)
if (you) // the bullet has hit an entity?
{
if (you == player) // it has hit the player?
{
snd_play(gothit_wav, 100, 0);
players_health -= 10; // kill the player after 10 shots
}
}
ent_remove (my); // and then remove the bullet
}
The enemy bullets will impact with level blocks and entities, trying to determine if they have hit an entity or not. If a bullet hits an entity (you isn't NULL), we make another check, trying to determine if the bullet has hit the player (you == player) or another entity - a fence sprite, for example - which shouldn't be damaged. If the bullet hits the player, we play a gothit_wav sound, and then we decrease the players_health variable by 10.
What about the code that damages the enemy?
action my_enemy()
{
var anim_percentage;
var shoot_percentage;
VECTOR temp, marker_pos, bullet_coords;
ANGLE temp_angle;
while (!player) {wait (1);} // wait until the player is created
while (distances_computed == 0) {wait (1);} // wait until all the distances are computed
my.skill47 = 5678; // I'm a enemy, used in the trace_back function
my.skill88 = 100; // store enemy's health inside its own skill88
while (player)
{
// the enemy loop code starts here
if (my.skill88 < 0) break; // get out of this loop if the enemy is dead
..............
wait (1);
}
// the enemy is dead here
anim_percentage = 0;
snd_play(death_wav, 40, 0);
while (anim_percentage < 90)
{
ent_animate(my, "deatha", anim_percentage, ANM_CYCLE); // play the "death" animation
anim_percentage += 2 * time_step; // sets the death animation speed
wait (1);
}
set (my, PASSABLE);
}
First of all, please note that we have set skill47 to 5678 for the enemy; this way, we can determine if player's bullet have hit an enemy or another innocent entity (a fence, etc) from the level.
The enemy damage code works differently; there are several while loops in its action, and we must get out of them as quickly as possible as soon as the enemy dies. It would be a big mistake to be able to shoot the enemy from a big distance, for example, and then see it get out of the "stand" animation and die when the player approaches it, without shooting it.
As a conclusion, the enemy death happens when the enemy's skill88, which stores health, reaches zero. When that happens, a "break" instruction gets the enemy out of its "while" loops, making it play a death_wav sound, as well as a "deatha" animation. Finally, the enemy corpse is made passable.
But how does the enemy get damaged in the first place? The code can be found in the weapons.c file.
function fire_bullets() // this function is triggered by any left mouse button push
{
vec_set(trace_coords.x, vector(10000, 0, 0)); // the sniper gun has a firing range of 10,000 quants
vec_rotate(trace_coords.x, camera.pan);
vec_add(trace_coords.x, camera.x);
c_trace(camera.x, trace_coords.x, IGNORE_ME | IGNORE_PASSABLE | SCAN_TEXTURE | ACTIVATE_SHOOT); // trace 10,000 quants in front of the player
if (you) // hit one of the entities in the level?
{
// checking if the entity that was hit is the enemy
if (you.skill47 == 5678)
{
you.skill88 -= 35; // decrease enemy's health
ent_playsound(you, enemyhit_wav, 1500);
}
}
snd_play(sniperfired_wav, 100, 0); // bullet fired sound effect
}
Player's weapon uses c_trace to shoot from its position towards a point that's located 10,000 quants in front of the player. If the c_trace ray hits an entity (you isn't NULL) and that entity is an enemy (if its skill47 is set to 5678), we decrease the enemy's health value by 35 points. Since the enemy starts is journey with 100 health points, this means that it will die after 3 shots. The enemy will also play an enemyhit_wav sound at its position, with a range of 1,500 quants.
OK, so that covers the player and enemy damage code; time to move on to the code that allows the enemy to move vertically, climbing and descending stairs. If you expect to see a complex snippet here, you will be disappointed, as a standard, simple gravity snippet does the job perfectly - see for yourself:
while (vec_dist(marker_pos.x, my.x) > 50)
{
vec_set (temp.x, marker_pos.x);
vec_sub (temp.x, my.x);
vec_to_angle (my.pan, temp); // turn the enemy towards the path node
my.tilt = 0;
if (my.skill88 < 0) break; // get out of this loop if the enemy is dead
vec_set (temp.x, my.x);
temp.z -= 1000; // apply gravity forces for our enemy as well
// 23 allows the enemy to climb stairs, so play with it (as well as with the origin of the enemy model) if it doesn't look natural
temp.z = -c_trace (my.x, temp.x, IGNORE_ME | IGNORE_PASSABLE | USE_BOX) + 23;
temp.x = 10 * time_step; // this value sets the enemy's movement speed
temp.y = 0;
c_move (my, temp, nullvector, IGNORE_PASSABLE | IGNORE_FLAG2 | GLIDE); // 10 = movement speed
anim_percentage += 7 * time_step; // 7 = run animation speed
ent_animate(my, "run", anim_percentage, ANM_CYCLE);
.......................................
wait (1);
}
The code above is the one that moves the enemy from one node to another; first of all, it rotates the enemy towards the destination node, without allowing its tilt angle to change. The gravity code uses c_trace to place the enemy 23 quants above the ground. This is an experimental value, which depends on the height of the origin for the enemy model. Play with this value and / or adjust the height of your enemy model until the enemy can climb the stairs in your own levels without getting stuck. As an alternative, you can fake the stairs by placing passable stair models in the level and using slanted level blocks to do the real job. I didn't want to cheat, though, so just like the player, our enemy can smoothly climb and descend stairs.
The code that allows the enemy to shoot in any direction can be found in the function below.
function move_bullets()
{
VECTOR bullet_speed, temp; // this var will store the speed of the bullet
my.skill30 = 1; // I'm a bullet
// the bullet is sensitive to impact with other entities and to impact with level blocks
my.emask |= (ENABLE_IMPACT | ENABLE_ENTITY | ENABLE_BLOCK);
my.event = remove_bullets; // when it collides with something, its event function (remove_bullets) will run
vec_set(temp, player.x); // rotate the bullet towards the player
vec_sub(temp, my.x);
vec_to_angle(my.pan, temp);
bullet_speed.y = 0; // the bullet doesn't move sideways
bullet_speed.z = 0; // or up / down on the z axis
// the loop will run for as long as the bullet exists (it isn't NULL)
while (my)
{
bullet_speed.x = 50 * time_step; // adjust the speed of the bullet here
// move the bullet ignoring its creator (the enemy)
c_move (my, bullet_speed, nullvector, IGNORE_YOU);
wait (1);
}
}
The main difference is the fact that we're using a vec_to_angle instruction to rotate the bullet towards the player at the moment of its creation. The bullet was using the enemy's tilt angle in the older versions of the demo, so the enemy was unable to shoot the player if it was sitting on a roof, for example, because the enemy has its tilt angle set to zero at all times (it looks bad if we tilt it).
The last feature that has made it into this month's demo is a much more accurate enemy firing experience. The old version of the code was using a single c_trace instruction, with the ray being traced from the enemy's origin towards the player. This led to situations where the enemy was able to see the player, but the bullets fired by its pistol (held in the right hand) were unable to hit the player because they were blocked by a wall, etc.
The new code uses two c_trace instructions: one from the player origin, and one from the gun itself. If both these traces can find the player, the bullet is fired; otherwise, if the enemy can see the player but its weapon can't "see" it, the enemy will move sideways until the weapon can "see" the player as well. Here's how the new code looks like:
action my_enemy()
{
......................
while (player)
{
................................
if (c_trace (my.x, player.x, IGNORE_ME | IGNORE_MODELS | IGNORE_PASSENTS) == 0) // if the enemy can see the player
{
vec_for_vertex(bullet_coords, my, 31); // get the coordinates of an outside gun vertex
if (c_trace (bullet_coords.x, player.x, IGNORE_ME | IGNORE_MODELS | IGNORE_PASSENTS) == 0) // if the enemy's weapon can "view" the player
{
if (my.skill88 < 0) break; // get out of this loop if the enemy is dead
vec_set(temp, player.x); // turn towards the player
vec_sub(temp, my.x);
vec_to_angle(my.pan, temp);
my.tilt = 0;
if (players_health > 0) // shoot bullets only if the player is alive
{
anim_percentage += 12 * time_step; // 12 = shoot animation speed
ent_animate(my, "standshoot", anim_percentage, ANM_CYCLE);
if(anim_percentage % 100 < 3) //it's the beginning of the "shoot" animation?
{
vec_for_vertex(bullet_coords, my, 7); // get the position of the 7th vertex as the bullet origin
ent_create (bullet_mdl, bullet_coords, move_bullets);
snd_play(bullet_wav, 50, 0);
}
}
}
}
.............................
The first c_trace instruction is the one that traces from the enemy to the player. If the player is visible, we get the coordinates of a vertex that's on the right side of the gun, and then we perform the second c_trace. I didn't choose the vertex that fires the actual bullet for the second trace, in order to minimize the chances of having the bullet hit a wall, rather than hitting the player. Basically, the second trace is done using a vertex that's a bit more to the right side of the player.
That's it for now, guys. I'll see you all next time, when we'll have another set of fresh AI features added to our code.