This time we are (finally!) going to play with the template weapons. Before we begin, make sure that you are using A7 if you want to open the test level; otherwise, if you are an A6 user, you will have to create an empty room and put the player inside it by yourself. Copy the experiment1 folder inside your 3DGS folder, start Wed, and then open the exp1.wmp file.
Bring on the project manager and then follow these step IN THIS ORDER (and you know that I hate caps):
1) Add the "fxa (01)" script to the project;
2) Add the "Biped Player Weapons (00)" to the project.
3) Add the "Biped Player Weapon 'HUD' (01)" to the project.
The result should look like this:
Please resist the temptation to add the biped player weapons scripts first - you'll end up having more errors than you can handle. Now save the level, build it and run it. Oh, and while we're here, press Alt + Enter to switch from windowed to full screen mode.
Press The "E" key and you'll see the first weapon. Press "E" or "Q" and you'll (eventually) go through the available template weapons: pistol, machine gun, rocket launcher, and so on.

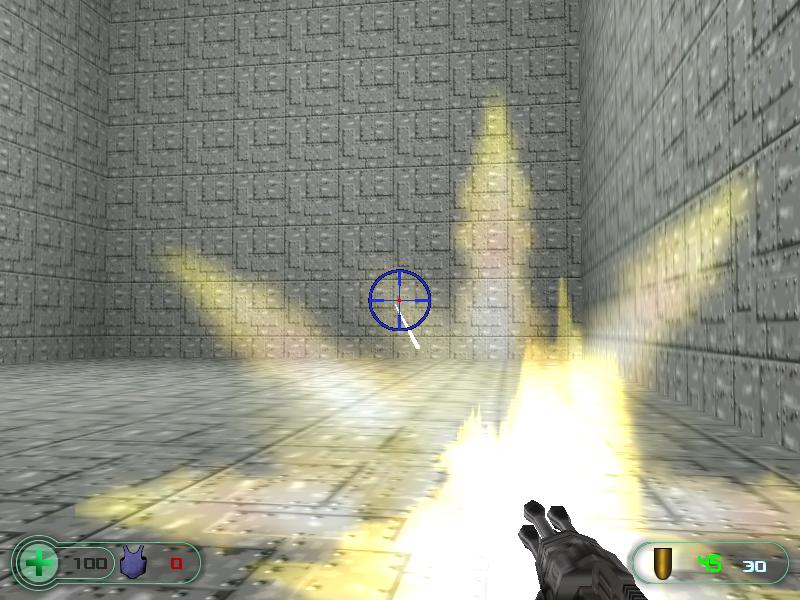
The hud (heads-up display) on the lower right corner of the screen shows the number of bullets that come with the weapon (the green figure), as well as the number of bullets that can be used to reload the weapon (the white figure) if the player presses the "R" key.
If you run out of ammo, it's easy to add more: add a model to the level (kugel.mdl was a natural choice for me) and then attach it the action named "PlBipedWeap00_AmmoP". The "behavior" panel for this action is quite simple:
We can add ammo for a certain weapon (AmmoID) specifying the number of bullets (Ammo), we can have the ammo pack display a message for the specified number of seconds at pickup (MessageTime) and have it rotate before being pickup up (Spin sets the rotation speed).
Change the numerical values as indicated in the picture below, press "Save", and then let's see what happens after we save, build and run the project again.
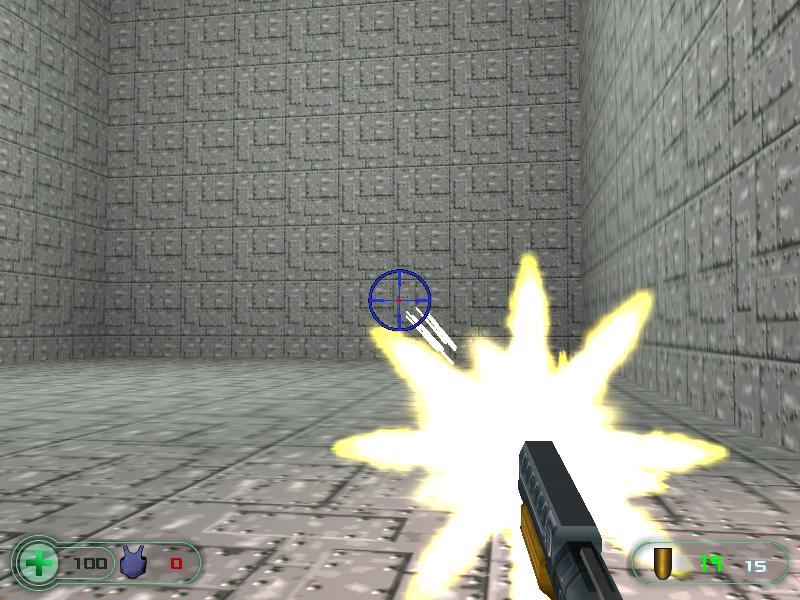
Press the "E" key twice to switch to the machine gun, and then move close to the ammo pack to pick it up; you will see that the number of available bullets has increased from 30 to 80. It's really easy and useful to add ammo packs for all the weapons (unless they have unlimited ammo, of course).
Now that you have seen some of the power behind the template weapons, let's see how we can customize them, creating our own unique, interesting weapons. Fire up the project manager again, select the "Customize" tab, click "Biped Player Weapons (00)" and then press the big "Customize" weapon.
I can't show you the entire weapon customization window as a single picture (it would be too big!) but let's see a sliced version of it right away.

You can see that we've got quite a few parameters to customize for the 8 template weapons, starting with the crosshair bitmap, the model that will be used for the weapon, its position on the screen, its ambient, the position of the muzzle, the weapon firing vertex, the number of bullets that come with the weapon, the option to give the player at game start or not, the upper ammo limit, the option to choose the keys that fire the weapons, reload them and select the previous / next weapons, the picking up sounds and more.
It's all pretty intuitive, so I expect you to create some killer weapons until we meet again.