This month we will add a few more details to our shooter level. What's a sci-fi level without a few graffiti drawings on its walls? Let's add a few of those right away!
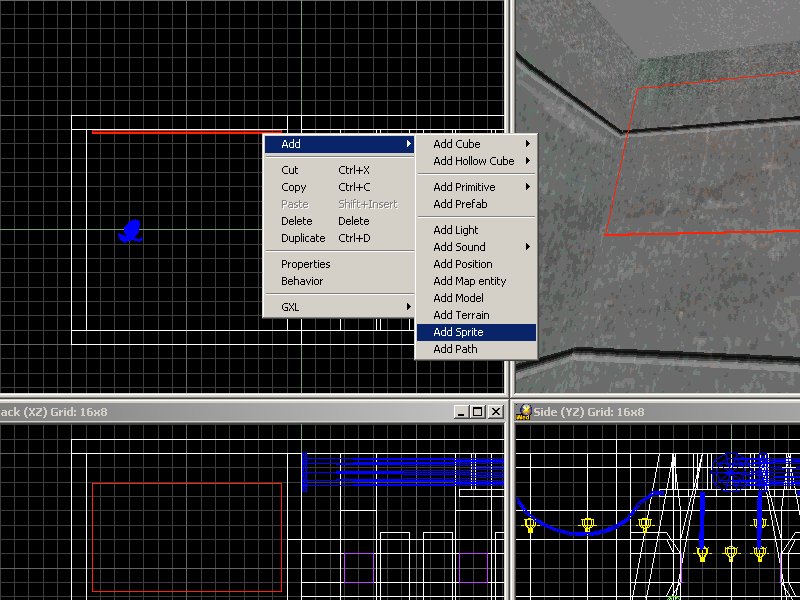
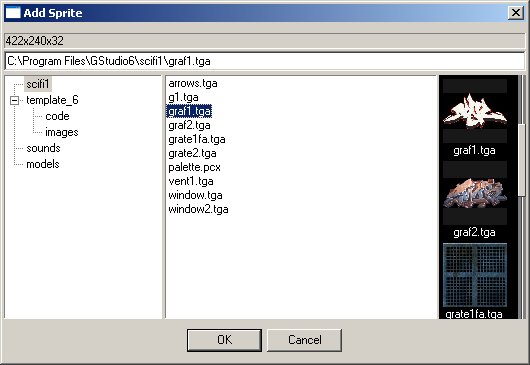
Add the sprite named graf1.tga to the first room in the level, as shown in the picture below.
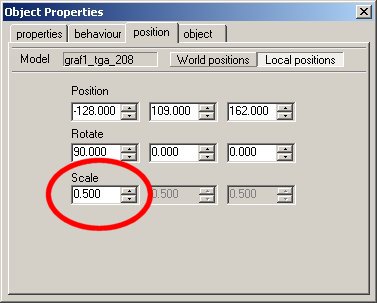
The sprite is too big, so set its scale to 0.5.
We want our entity to be transparent, so we have to attach it the action named FXA_Transparent.

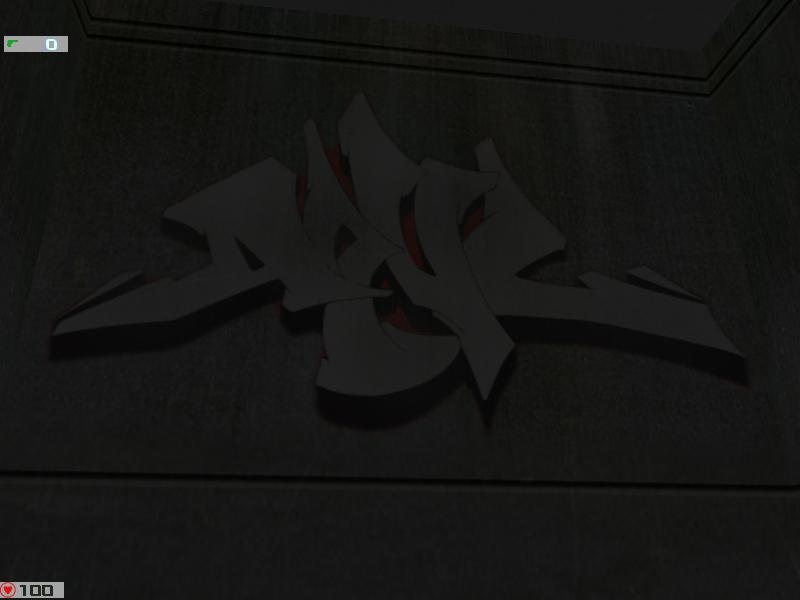
Build the level (update the entities) and let's see our decal in action.
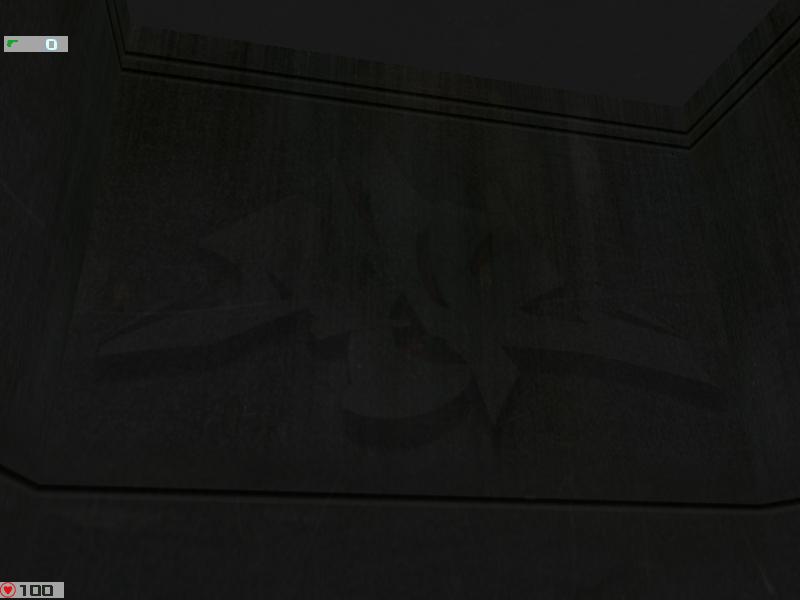
Hmm... I can barely see the sprite, even though it might look good as it is in some projects; however, I did pay the money for the full version of the game, so I'd like to see the decal a bit better...
I know you've seen this picture before, but please take a look at skill1: this is where the transparency of the decal is stored, and the default value of 25 is a bit too small for this sprite. We could edit the transparency value right here, but let's do it with style; right click our sprite, and then choose behavior.
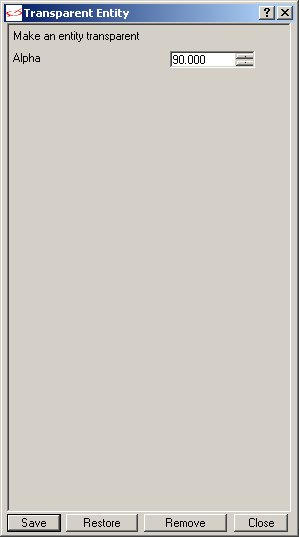
Set the "alpha" value to 90 and then press the "Save" button. Build the level again (update the entities) and you will see something like this.
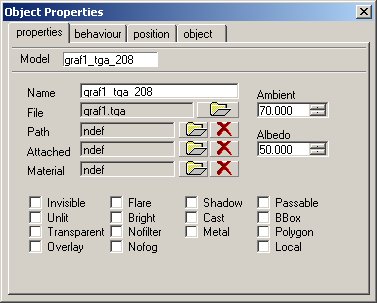
Well, I can tell that it looks a bit better, but it could look even better; the red color isn't too visible, to say the least. Right click our sprite again, choose "properties", move to the "properties" tab and set "Ambient" to 70.
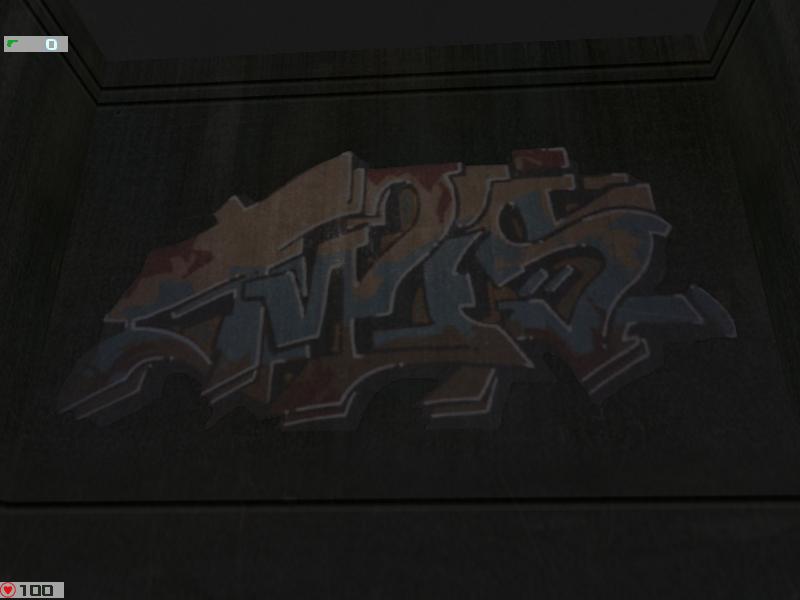
Build the level again and take a look at the result.
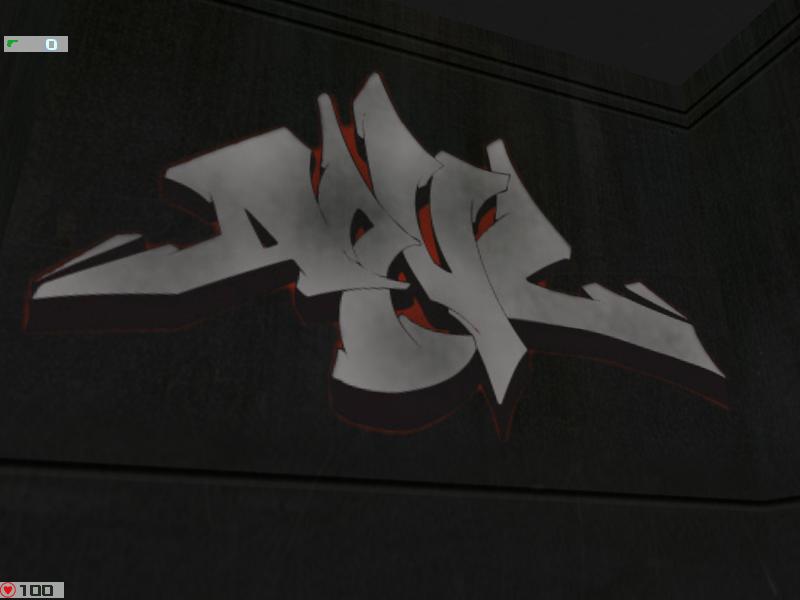
Now we're cooking with gas! Repeat the same procedure for the second decal sprite (graf2.tga) who, being a bit bigger, needs to have its scale set to 0.4. Play with the transparency value, as well as with the ambient value, until you are happy with the result.
I have used some free sprites I've got from Conitec's forum, but you should add decals with your own important information, like "This is a door" and so on.
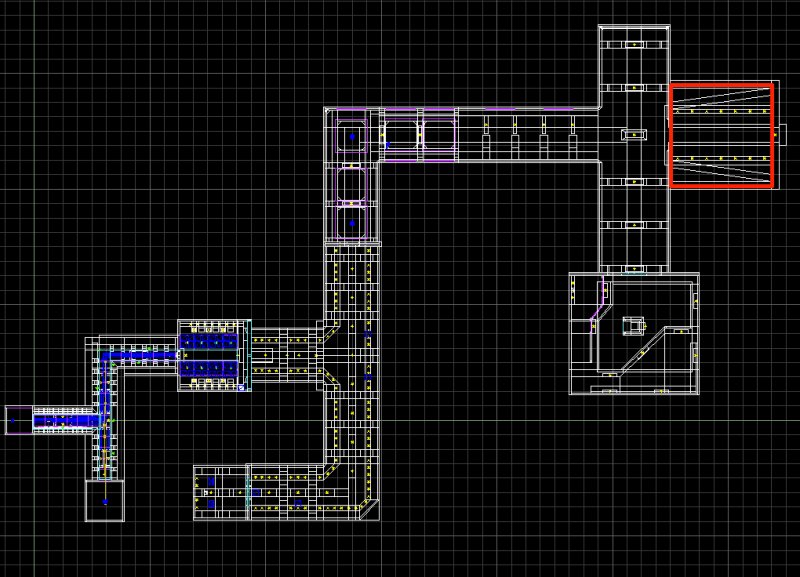
If you've got A6 professional you can add mirrors to your levels. Select the floor of the room that's indicated with the red color in the picture below; I have used Wed's top view for it.
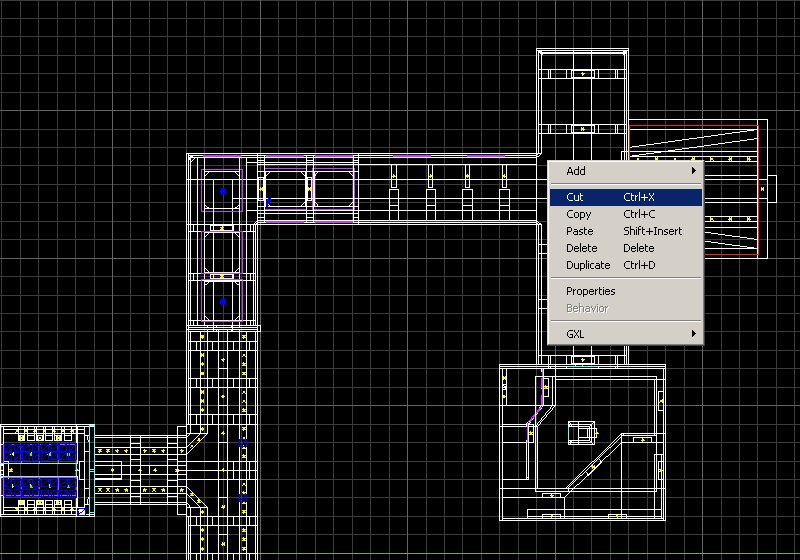
We are going to turn this level block into a reflective piece of geometry. Right click it, and then click "Cut".
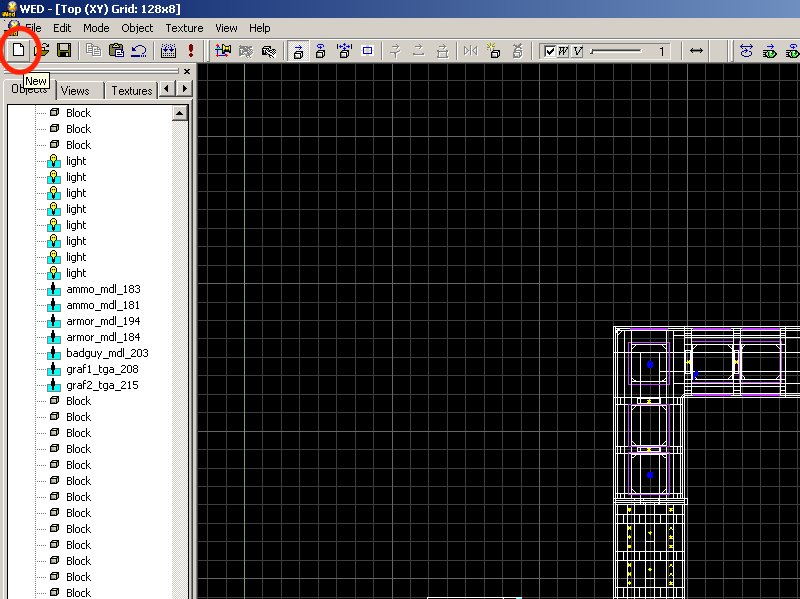
Now our floor block has disappeared from the level, being copied to the clipboard, as if we were using a word processor. Save the level, and then click "New" to start a new level.
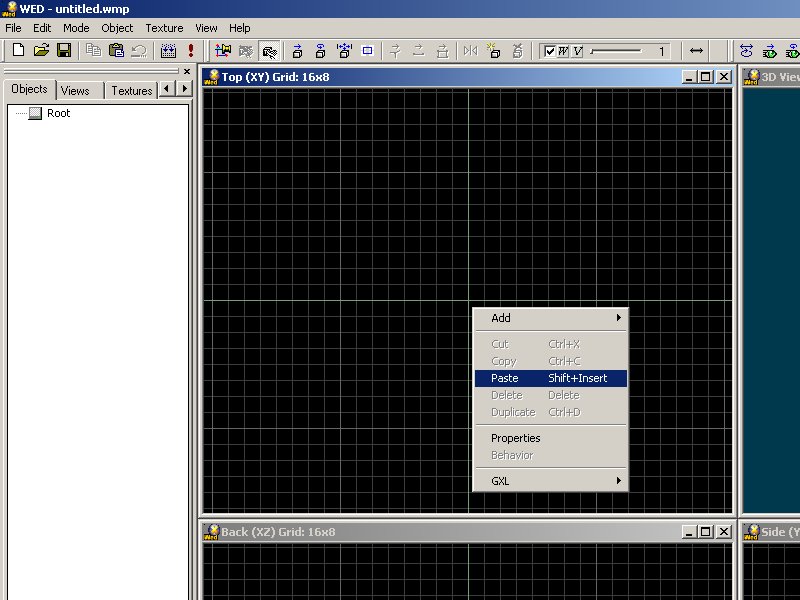
Right click Wed's top view, and then click "Paste".
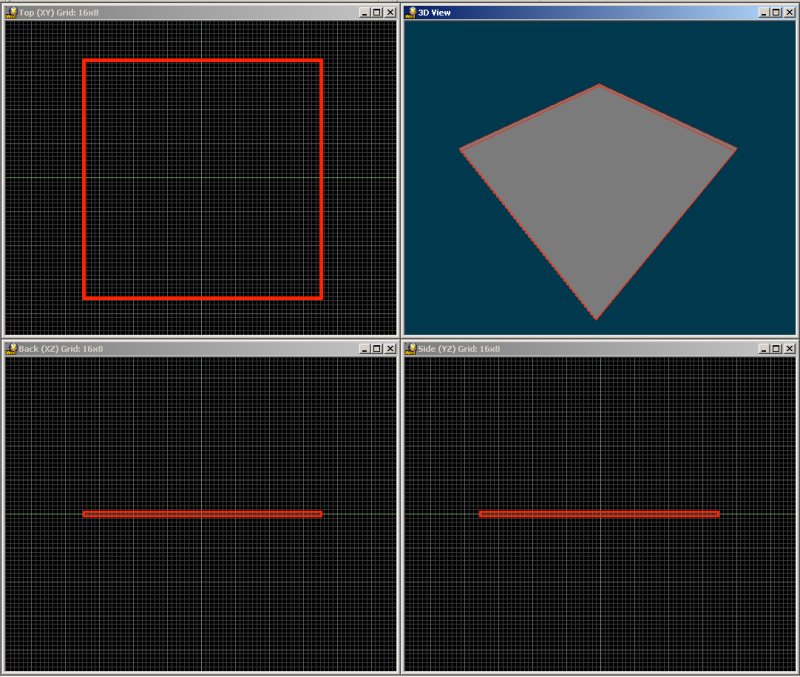
You will see our floor piece appearing in the new level.
We need to make a few changes to the top surface of the block, so right click the block, choose "properties" and then click the "surface" tab.
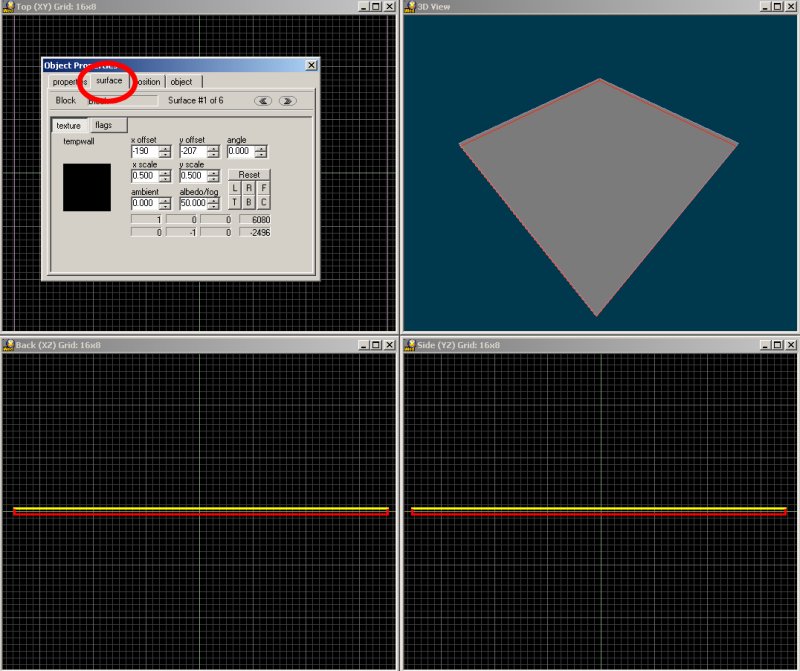
The top surface of the block (the yellow line in my picture) should be selected; otherwise, you can click the "Surface #" buttons until you see it selected. Oh, and the color that shows the selection will probably be different for you, depending on the settings you're using in Wed.
Click the "flags" button:
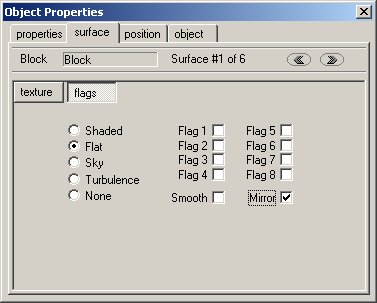
Select "Flat" and then check the "Mirror" flag. Save the mirror entity level; I have chosen (how original!) floor_mirror for its name, but you can use any other name you want.
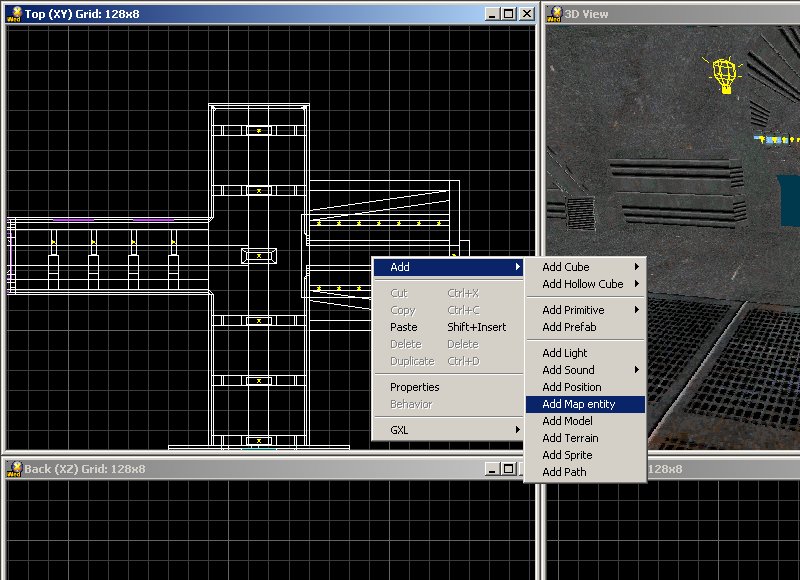
Build the mirror entity in full mode, and then load your good old scifi1_done level. Now go to an area that's close to the room with the missing floor, right click it and then click "Add" -> "Add Map entity".
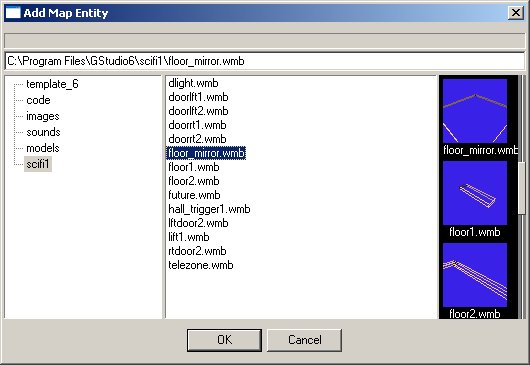
Click the "scifi1" folder, and then select the "floor_mirror.wmb" entity (if you've named it this way). Press "OK" to add the mirror to the level.
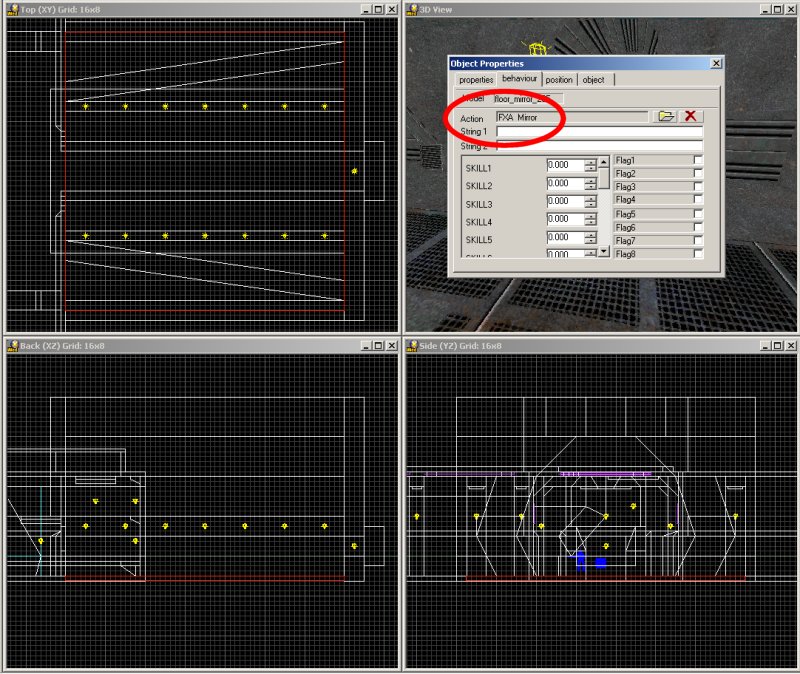
Place the mirror at its designated position, right click it, and then attach it the "FXA_Mirror" action.
Build the level (update the entities), kill the enemies and go to the room with the mirror.
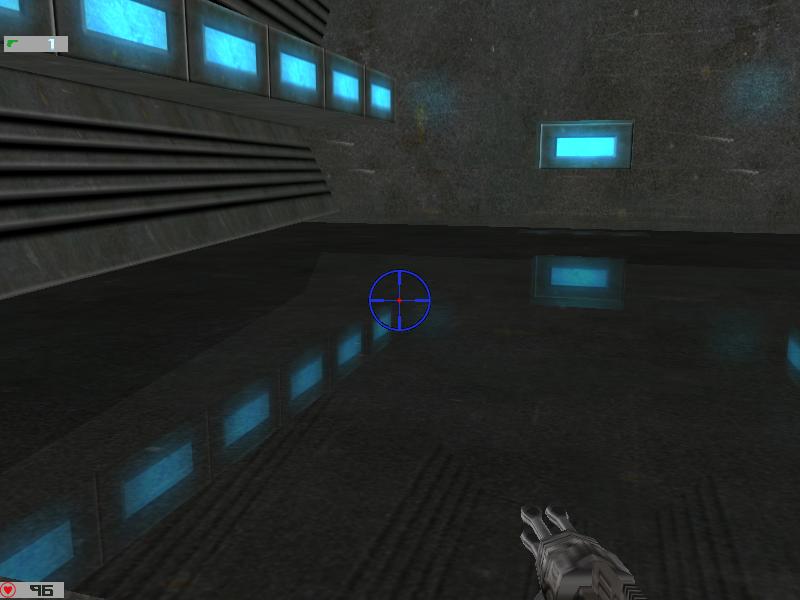
Looks good to me! Well, I know that some of you might not have A6 professional, but there's a way to fake these nice looking mirrors even with the less featured A6 versions. You will find a tutorial that teaches you how to do that in Aum31.