Comment tags
Now that's what I call a handy feature! You (the programmer) add a few lines of code (mostly comments) and the rest of the team (you again?) can edit values, choose different sounds, pictures, and so on, without touching a single line of script! Oh, and they'll get detailed instructions too.
Let's take a look at the code that creates a flashing light:
define red_light skill1;
define green_light skill2;
define blue_light skill3;
define light_range skill4;
define light_on skill5;
define light_off skill6;
Nothing new so far, right? We are setting new names for the first six skills. Let's move on:
// entry: "light is on" sound
// help: This sound is played when the light is on
sound lighton_wav = <lighton.wav>;
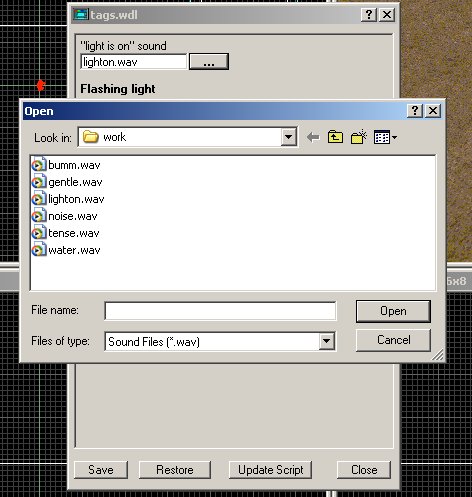
The lines above create a new "entry" that allows you to choose any sound file that exists in the folder, replacing the default "lighton.wav" file. But let's see how this "entry" looks like and how do we get there:


Let's see what each one of the lines above does:
// entry: "light is on" sound creates a new entry for our sound file and places "light is on" sound above the entry. You can create entries for variables, entities, pictures, sounds and strings.
// help: This sound is played when the light is on creates the help text that will be displayed when the user clicks the help button "?" and then clicks the newly created entry;
sound lighton_wav = <lighton.wav>; that's your standard sound definition; it sets the default sound (lighton.wav).
Click the button on the right side of the entry and you will see a list with the sounds that can be loaded, replacing the lighton.wav file.
Let's examine the rest of the tags.wdl script file:
// title: Flashing light
// image: flashing.pcx
// uses: red_light, green_light, blue_light, light_range, light_on, light_off
// desc: Set color, range, on/off intervals for any flashing light
action flashing_light
{
my.invisible = on;
my.passable = on;
if (my.light_on < 0.1) {my.light_on = 0.1;}
if (my.light_off < 0.1) {my.light_off = 0.1;}
my.red = my.red_light;
my.green = my.green_light;
my.blue = my.blue_light;
while (1)
{
snd_play (lighton_wav, 50, 0);
my.lightrange = my.light_range;
sleep (my.light_on);
my.lightrange = 0;
sleep (my.light_off);
}
}
This part of the code changes the aspect of the window that appears when you right click an entity and choose "Behavior".
The first comment sets the title of the window. The second comment displays the picture below the title. The line that "uses" red_light, green_light and so on displays these names on the behavior panel, replacing the rather boring skill1... skill6. You can edit the values and you can "Save" them. The last comment provides the description that appears below the picture, as well as the text that appears when you want to pick an action for a certain entity, and you want to choose help because you don't know what it does.
The code for the flashing light is really simple: it hides the entity, makes sure that light_on and light_off are at least 0.1 and sets the color of the light. The loop plays a sound and switches the range of the light from "Light_range" to zero and back, creating the flashing effect.
Intelligent music
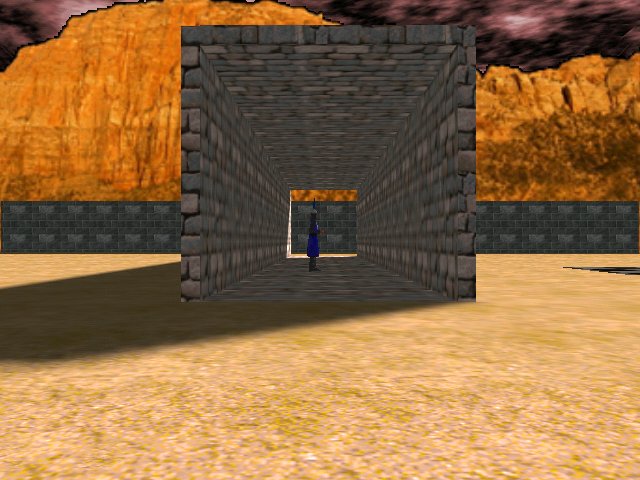
Try to imagine this scenario: you enter a dark hallway, where a few torches create more shadows than light. The music continues to be gentle, so you don't feel too scared. A few more steps and... bang! The door closes behind you and the music changes from gentle to tense, while a hord of monsters attacks you. The music continues to remain tense until you see the daylight again.
I know that we've got a lot of drama here, but the code that plays the music this way is quite simple - see for yourself!
action music_trigger
{
my.passable = on;
music_handle = snd_loop (gentle_wav, 50, 0);
while (vec_dist (player.x, my.x) > 100) {wait (1);}
temp_volume = 50;
while (temp_volume > 5)
{
snd_tune (music_handle, temp_volume, 0, 0);
temp_volume -= 1 * time;
wait (1);
}
I have used a guard model for the entity that triggers the change; you should make this model invisible when you are happy with the result. I chose the snd_loop instruction to play the soundtrack because media_play creates a small gap. The first while loop waits until the player has come closer than 100 quants, and then uses snd_tune inside another while loop to decrease the volume of the soundtrack. We use a variable named temp_volume that decreases its value from 50 (the initial volume of the soundtrack) to 5, and this fades out the soundtrack nicely.
snd_stop (music_handle);
music_handle = snd_loop (tense_wav, 50, 0);
while (vec_dist (player.x, my.x) < 1000) {wait (1);}
temp_volume = 50;
while (temp_volume > 5)
{
snd_tune (music_handle, temp_volume, 0, 0);
temp_volume -= 1 * time;
wait (1);
}
snd_stop (music_handle);
wait (1);
music_handle = snd_loop (gentle_wav, 50, 0);
}
Gentle_wav has stopped for good now, so we can start tense_wav now. This track will play until the distance between the player and the guard model is bigger than 1000 quants (close to the end of the hallway in my demo). When the player gets away from the dangerous area, tense_wav is faded out nicely and the good old gentle_wav soundtrack is played again.