Starfield
Most of your games could use a starfield; the effect look good and the code isn't complicated at all.
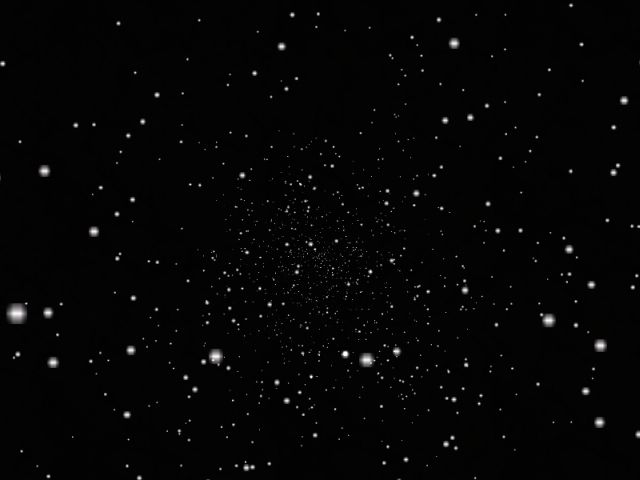
I have to admit that the picture isn't showing too much action but run the demo and you will love it; otherwise you will get a full refund! Here's a shot of the level taken from Wed:
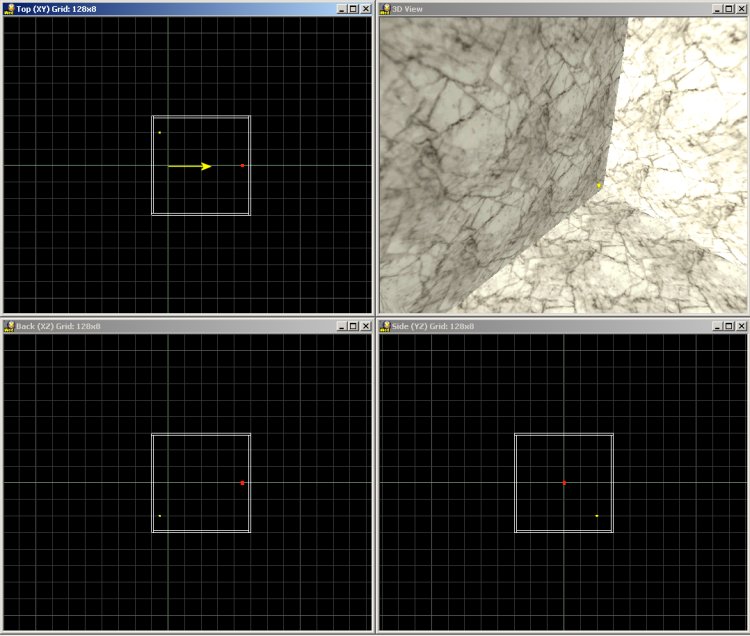
The camera appears in the origin and it points in the direction shown by the yellow arrow. Guess what? That red dot is an invisible entity that generate particles, and these particles move towards the camera, generating the starfield effect. I have used a normal texture for the walls, but I have added a small light source close to one of the corners of the cube; this way, the level looks really dark.
function main()
{
fps_max = 50;
level_load (stars_wmb);
wait (3);
camera.pan = 0;
}
Function main limits the frame rate to 50, loads the level, waits until the level is loaded and then sets the correct orientation for the camera.
action particle_generator
{
my.invisible = on;
my.passable = on;
while(1)
{
effect (particle_init, 5, my.pos, normal);
wait (1);
}
}
The action above is attached to the (red) model that generates the particles: it makes the model invisible and passable and then it generates 5 particles every frame, using the coordinates of the model (my.pos) as the starting point for the particles.
function particle_init()
{
temp.x -= 2 + random (1) ;
temp.y += 1 - random (2);
temp.z += 1 - random (2);
vec_normalize (temp, 5);
vec_add (my.vel_x, temp);
my.bmap = star_pcx;
my.alpha = 50; // play with this value
my.size = 0.1;
my.flare = on;
my.bright = on;
my.move = on;
my.lifespan = 1000;
my.function = kill_particles;
}
The function that drives the particles generates a random positive speed on the x axis and random speeds (positive or negative) on the y and z axis. The magnitude of the "temp" vector is set to 5; you will have to change a single figure (5) if you want to increase or decrease temp.x, temp.y and temp.z simultaneously.
The next lines of code add the resulting "temp" speed to the speed of the particle and set star_pcx as the bitmap that will be used for stars. The particle has an initial alpha value of 50 and a small size (0.1); its flare, bright and move flags are set. Finally, the lifespan of the particle is set to 1000 and the function associated to the particle is kill_particles.
function kill_particles()
{
my.size += 0.01 * time;
if (my.x <= 0)
{
my.lifespan = 0;
}
}
The size of the particle increases as it approaches the player; if the particle gets behind the camera (my.x <= 0) it is terminated. Here's the same starfield effect with the "beam" and "streak" flags set for the particles. The code inside the article includes the necessary lines; if you own A5 pro, A6 commercial or A6 pro you can remove the comments.
Realistic water
This time we will learn to create a water effect that looks pretty good. Take a look at the picture below to see what I mean.
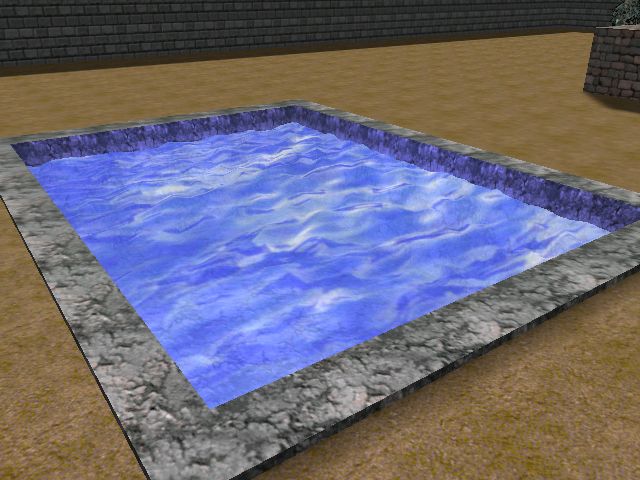
First of all we create a terrain in Med. I have used the default values (33 x 33 vertices, 5 quants / triangle) and I have pulled down the first vertex of the terrain, just like in the picture below:
Remember to do that for every terrain that will be used for water; otherwise, the vertices of the terrain will not be able to move at all. Choose any skin that looks good for your terrain and you're ready to go!
define amplitude skill1;
define water_speed skill2;
define number_of_vertices 1089;
var vertex_array [number_of_vertices];
var counter;
var index;
My terrain has 33 * 33 = 1089 vertices; change this value if your terrain has a different size. I have defined an array that will store a different value for every vertex and two variables that will be used as counters.
action nice_waves
{
my.transparent = on;
my.passable = on;
my.alpha = 75;
my.ambient = -100;
if (my.amplitude == 0)
{
my.amplitude = 2; // default wave amplitude value
}
if (my.water_speed == 0)
{
my.water_speed = 10; // default wave speed value
}
The terrain is made transparent and passable; its transparency factor is set to 75 but you can use any other value here. The skin used in my demo wasn't too dark so I have set ambient to a negative value. If you forget to set skill1 in Wed, amplitude will be set to 2; if you forget about water_speed, it will default to 10.
while (counter < number_of_vertices)
{
vertex_array[counter] = random(360); // set random values in vertex_array
counter += 1;
}
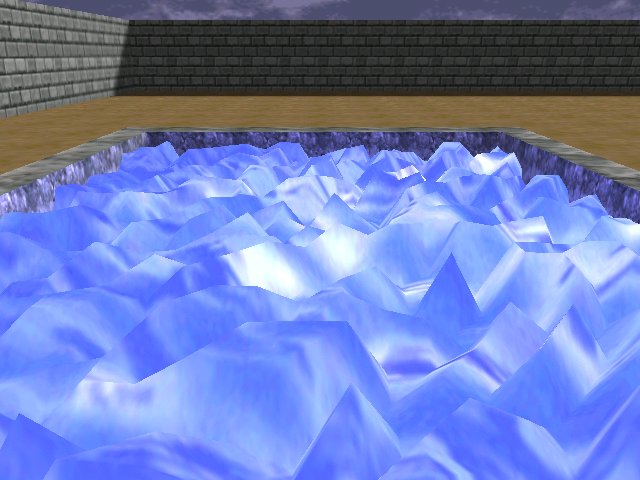
The first while loop fills vertex_array with random values; here's a possible result for my.amplitude = 5:
We are going to use the sine function for our waves because it looks good and it is really simple to use. I'll give you a quick explanation about it.
First of all you will notice that this function looks like a wave - that's a good sign! You can see that no matter how big is x, the values of the sine function will range from -1 to 1. Our waves will have an amplitude given by this sine value (from -1 to 1) multiplied with my.amplitude (skill1) set in Wed. If I set amplitude = 5 in Wed, the vertices will change their z values from -5 to 5, get it?
We have generated random values as starting points for our waves; take a look at the picture below to see how they look on the sine wave.
I couldn't draw all the points because there are 1089 values on this sine wave! Every vertex will start from its own value stored in vertex_array and its z coordinate (its height) will change continuously as indicated in the picture above. Let's get back to our action now:
while (1)
{
index = 0;
while (index < number_of_vertices)
{
vec_for_mesh(temp, my, index); // store the vertex coordinates in temp
temp.z = sin(counter + vertex_array[index]) * my.amplitude; // change the z component
vec_to_mesh(temp, my, index); // deform the terrain entity
index += 1;
}
counter += my.water_speed * time;
wait(1);
}
}
We start with the first vertex; we store its coordinates in temp using vec_for_mesh, we set temp.z to the new value given by our sine function multiplied with my.amplitude and then we change the height of the vertex using vec_to_mesh. We repeat the process for all the vertices, without using a wait (1) instruction in the while loop because we would need 1089 frames (5...20 seconds) to pass through all the vertices. This is one of those situations when we can use a while loop without "wait".
We get out of the inner while loop as soon as all the vertices are set to their new heights, and then we increase the counter by adding the time corrected water_speed to it. This moves all the vertices to the right along the sine function graphic; like I said, we can increase counter over and over because the sine function won't go below -1 or above 1.
That's the end of the article! Don't forget to set the proper scale for your terrain in Wed.