This month the templates make their glorious return with the first episode from the Car Templates series. Let's start by copying the \cartemplate folder inside our GameStudio installation folder.
I have created a simple test level for you; its name is car_test so go ahead and open it in Wed. You can use your own levels, but let's work with my level for now.
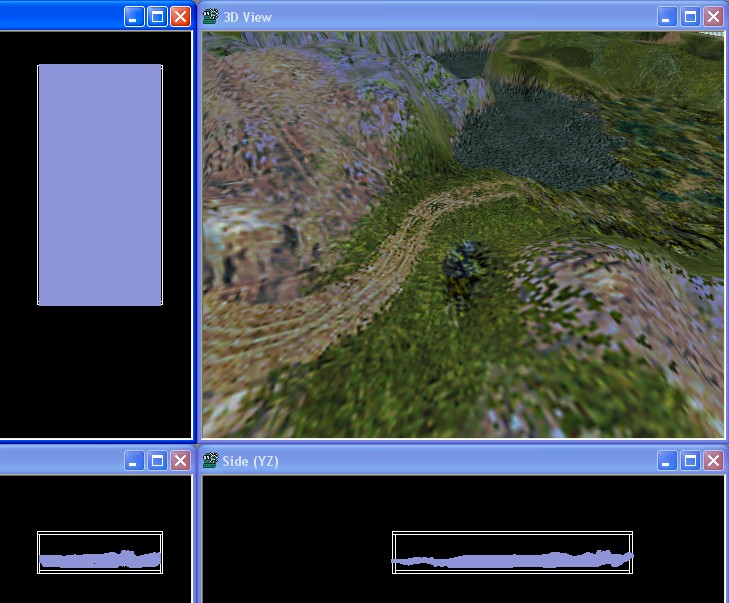
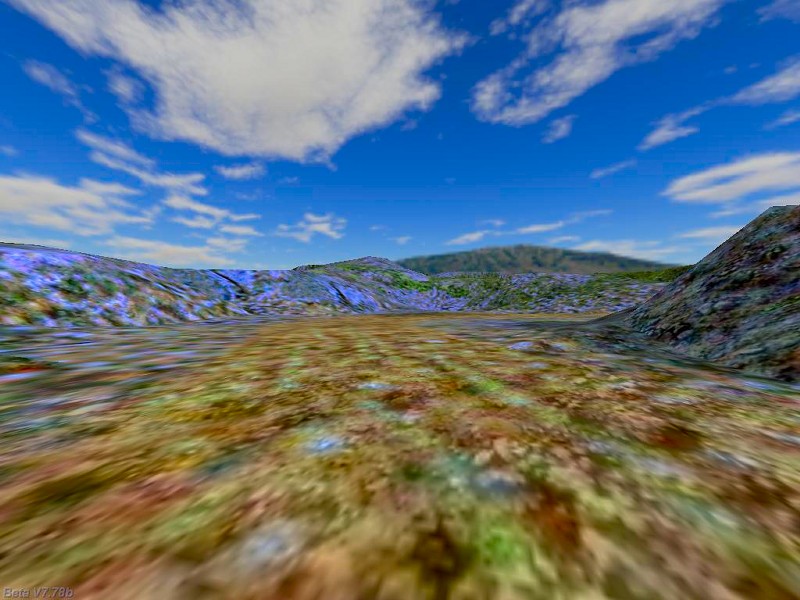
The level is very simple: it consists of a single terrain entity and the car body model that has the action named CarInit attached to it. Let's run the project, shall we?
Do you see that tiny little car on the left side of the screen? You actually do? Well, that's player's car; move it using the WSAD, the cursor keys, the mouse or a joystick. This setup would be perfect for one of those tiny car racing games. I have placed the camera at a height of over 2,000 quants on purpose; I wanted to be able to see an area that's as large as possible.
Let's see the content of function main; believe it or not, you can create your own car demo using just 10 lines of code!
#include <acknex.h>
#include "t_car.c" // car code
ENTITY* sky =
{
type = "skycube+6.tga";
flags2 = SKY | CUBE | SHOW;
}
function main()
{
video_screen = 1; // start the game in full screen mode
video_mode = 8; // run at a 1024x768 pixels resolution
camera.arc = 100; // set a proper camera arc value
level_load("car_test.wmb");
wait (3);
// let's set a decent camera position
vec_set(camera.x, vector(4271, -6033, 2400));
camera.pan = 180;
camera.tilt = -90;
}
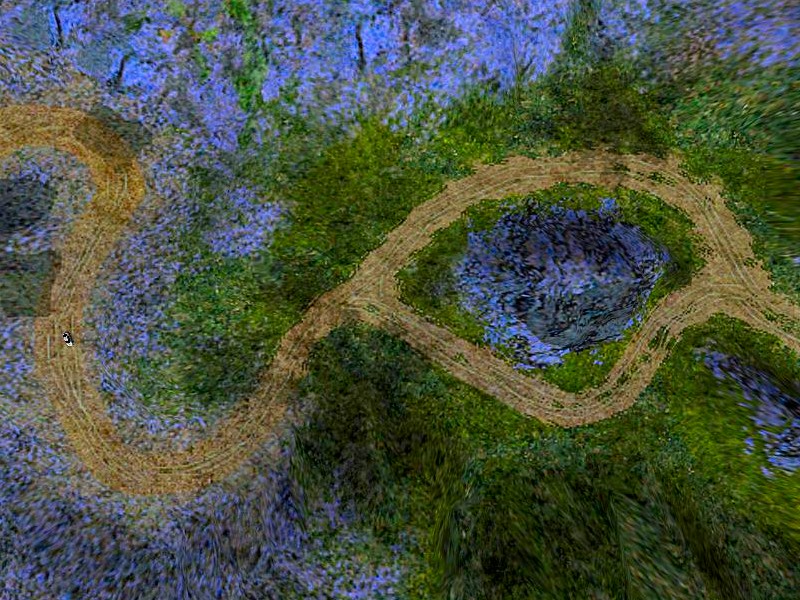
The script includes the car template (t_car.c) code, creates a sky cube and makes it visible, tells function main to start the game in full screen mode, at a video resolution of 1024x768 pixels, sets the zoom factor (camera.arc) to 100 and then loads our test level. The last few lines wait until the level is loaded, and then set a fixed camera position and angles.
That's pretty much it! If you would start creating a top view racing game, you'd simply have to replace my level with your level and set a proper camera position inside function main( ). Ok, ok, I hear some of you saying, but what if I don't want to create a top view racing game? What if I want to use a 3rd person perspective camera? What if I want to use a 1st person perspective camera? And what if I'd like to use them both in my game?
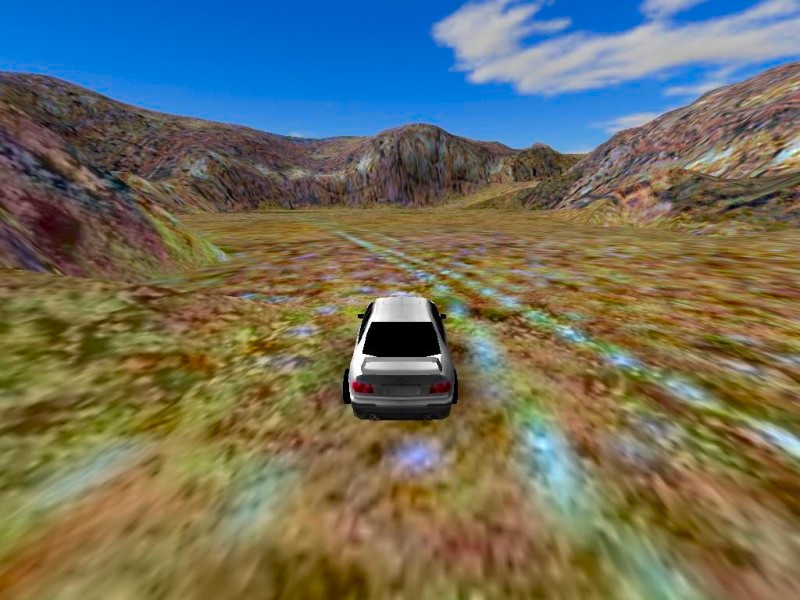
If these questions have troubled you fear not, for the solution is here: simply add one more line of code to your project to turn it into a 1st / 3rd / orbit camera racing game:
#include <acknex.h>
#include "t_car.c"
#include "t_car_cameras.c" // new line of code
////////////////////////////////////////////////////////////////////////////////////////////
ENTITY* sky =
{
type = "skycube+6.tga";
flags2 = SKY | CUBE | SHOW;
}
///////////////////////////////////////////////////////////////////////////////////////
function main()
{
video_screen = 1;
video_mode = 8;
camera.arc = 100;
level_load("car_test.wmb");
}
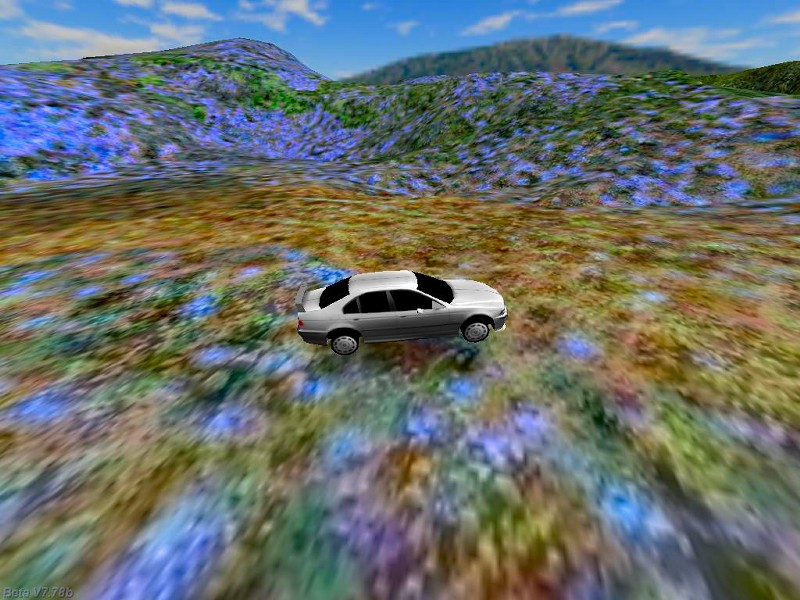
The code is even shorter now; since we have included the "t_car_cameras.c" file, we don't need to set a fixed position for the camera inside function main so I have deleted those (now) useless lines of code. Run the project again, and then press the "C" key to go trough the 3 available camera modes:
Now that's what I call progress! The car and the cameras are fully customizable; click the "Resources" tab in Wed, then "script files" and you will see the "t_car.h" and "t_car_cameras.h" files - these are the files than can be customized to your liking.
Simply right click one of the .h files, and then select "Customize" from the context menu to bring on their customization panels.
Now that's a big customization panel! Feel free to play with the values but read what each field does before changing its value; help is available by clicking the "?" button in the upper right corner of the window, and then the desired field. You might have noticed that the car body is lighter than the wheels; it's not a mistake - I chose to go this route in order to increase the stability of the car.
If you are going to use another car model and wheels, you'll have to change the "Wheel Offsets" value. Finally, you can use other file names for the wheels and the sound effects if you want to.
The camera customization panel is more simple: we can choose the default camera mode (chase, cockpit or orbit), the movement speed, angles and orbit distances, as well as the offsets on the X, Y, Z axis. Feel free to experiment with different values until you find a set that matches your project perfectly. Next month we will add adversaries for our car, so stay tuned!