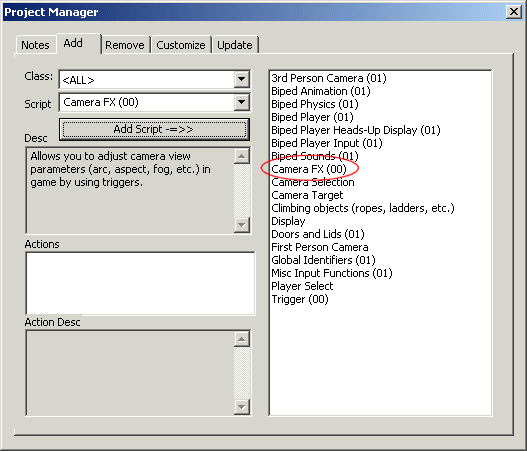
This time we are going to play with the camera trigger effects. Copy this month's experiment1 folder inside your 3DGS folder, and then open exp1.wmp in Wed. We have to add Camera FX (00) so bring on the project manager, and then add the script.
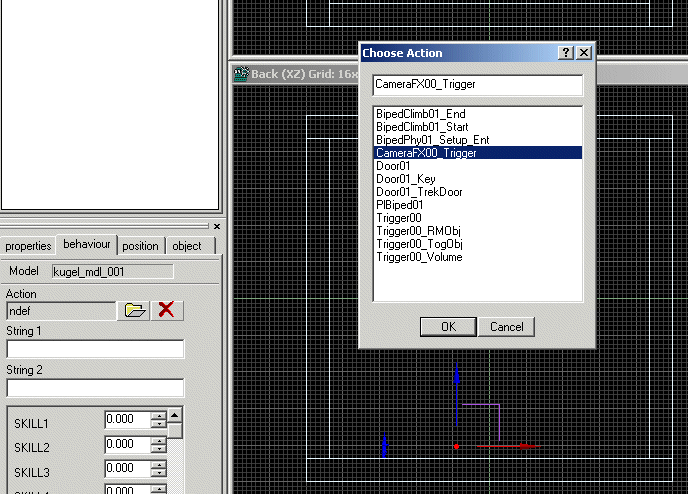
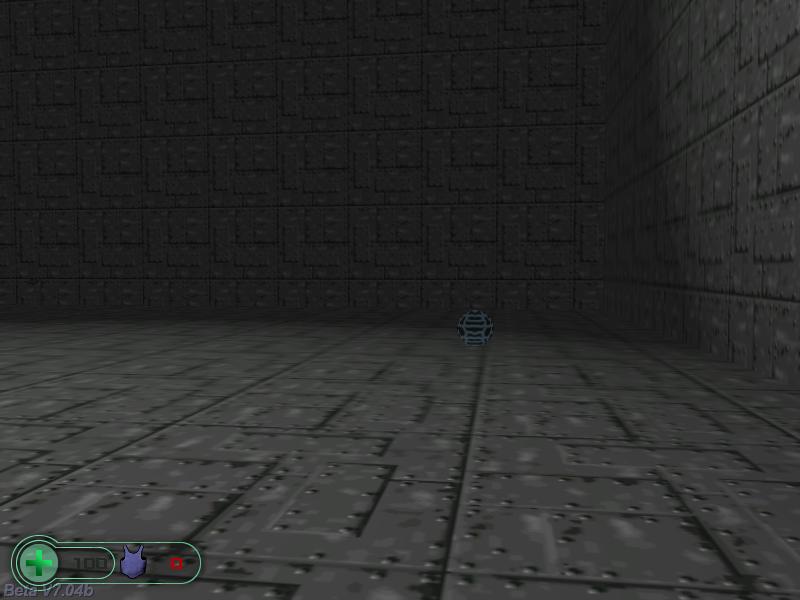
Add a model to the level (I have used kugel.mdl), place it close to the floor and then attach it the action named CameraFX00_Trigger.
This turns the model into an entity that can change many parameters of the camera when the player touches it. Let's see what can be customized:
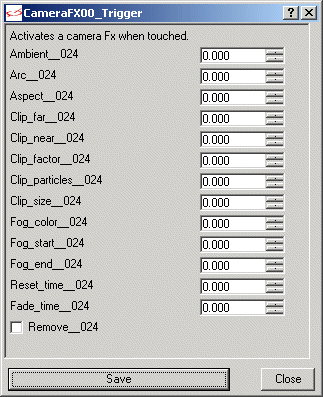
- "Ambient" sets the ambient of the camera to a new value. We can put values ranging from -100 to 100 here. I have placed two ambient triggers in the level; touch one of them and the level will become brighter, and then touch the other one to restore the initial room ambient. And while we're here, you will notice that the two triggers have their "Remove" flag checked, so they disappear as soon as the player has come close to them.
- "Arc" sets the zoom factor for the camera; you can use small values to zoom in and bigger values to zoom out. As an example, you can increase camera.arc if you want to create the illusion that the player is on steroids ;). You'll also find two triggers that change and restore the camera arc value in the level.
- "Aspect" determines the vertical-to-horizontal pixel size ratio. You can use a trigger like this if you want to create the illusion that the player is poisoned, etc because a proper aspect value flips the camera upside down. I have included two triggers that set and reset the proper aspect values of the camera.
- "Clip_far", "clip_near", "clip_factor", "clip_particles" and "clip_size" deal with... clipping, what else? They instruct the camera to clip (to remove) all the geometry that is closer than clip_near or farther than clip_far, thus increasing the frame rate. The same thing happens with clip_particles, which controls the number of visible particles, or with clip_size which tells the engine to ignore the polygons that aren't using at least clip_size pixels on the screen. I'll let you play with these; we'd need a much bigger level to put them to good use.
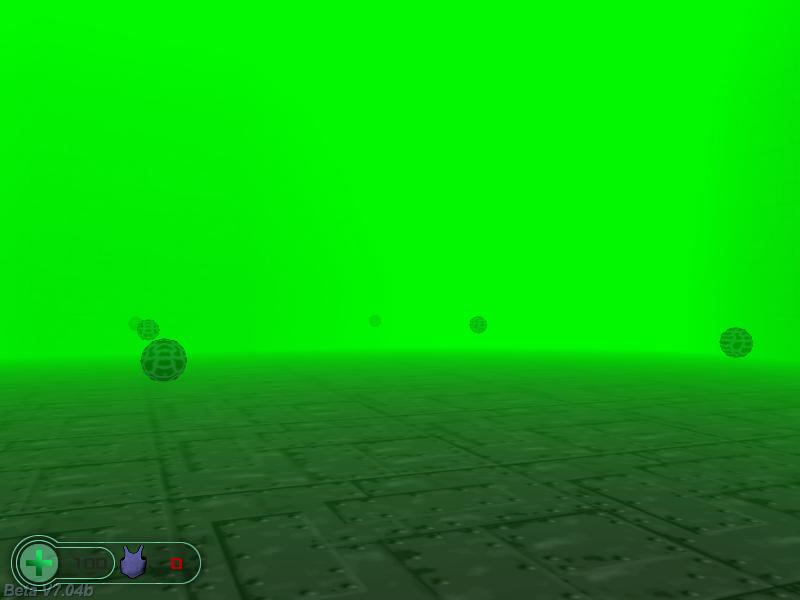
- "Fog_color", "fog_start" and "fog_end" trigger, as you can imagine, the fog in our level. We can select one of the 4 fog colors which can be set in Wed's File -> Map properties, or we can use a trigger that's got a value of -1 to turn off the fog. I have added triggers that change the color of the fog and remove it in the demo level; in my examples, the fog starts 100 quants away from the camera and ends at 1000 quants.
- "Reset_time" tells the triggers to wait for the specified number of seconds before repeating their task. As an example, if you come close to the green fog trigger, you will notice that the green fog can't change its color as quickly as the others - Reset_time was set to 3 for that particular trigger.
- "Fade_time" sets the interval (in seconds) that passes from the moment when the player touches it and until the trigger does its job. You might remember that the trigger that increases the ambient for the camera does it progressively; this happens because I have set Fade_time to 2 for that trigger.
The last parameter that needs our attention is the "Remove" checkbox; you can check it if you want to create triggers that do their job and then disappear or you can leave it unchecked if you'd like to use a trigger several times.
I hope that you are feeling comfortable when it comes to using the camera fx triggers; they are simple to use and can be very useful. I can imagine an area where I'd put a trigger which sets a dark, thick fog - don't you?