The more expensive A6 editions allow you to use "Level of Detail" aka LOD. It's a simple and effective way of creating huge levels without killing the CPU and the graphics card. How does LOD work? When you move away from an entity (a model, a sprite and so on), that entity is replaced automatically with another entity that has a smaller polygon count, a smaller skin size, and so on. The process is reverted when you are coming close to the object, so you can never tell what has actually happened.
The LOD snippet I've coded is simple and efficient, having several advantages that will (hopefully) lure the owners of the more expensive A6 editions into using it as well:
- Allows the A6 lite and A6 standard users to use LOD entities in their levels;
- You can specify individual LOD steps (distances) for each entity;
- You can expand the code, allowing each entity to have a virtually unlimited number of LOD steps;
- The code uses few computer resources.
I have created a standalone project, so all you have to do is to open the level1.wmp file and run it using the main.wdl script file. You will see the following image:
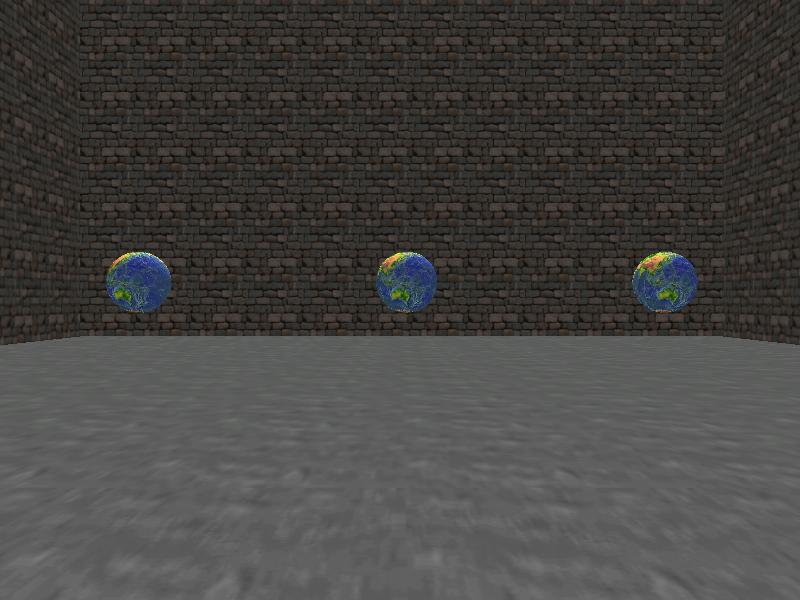
Now move towards one of the spheres using the "W", "S", "A" and "D" keys and you will see it being replaced with another sphere:
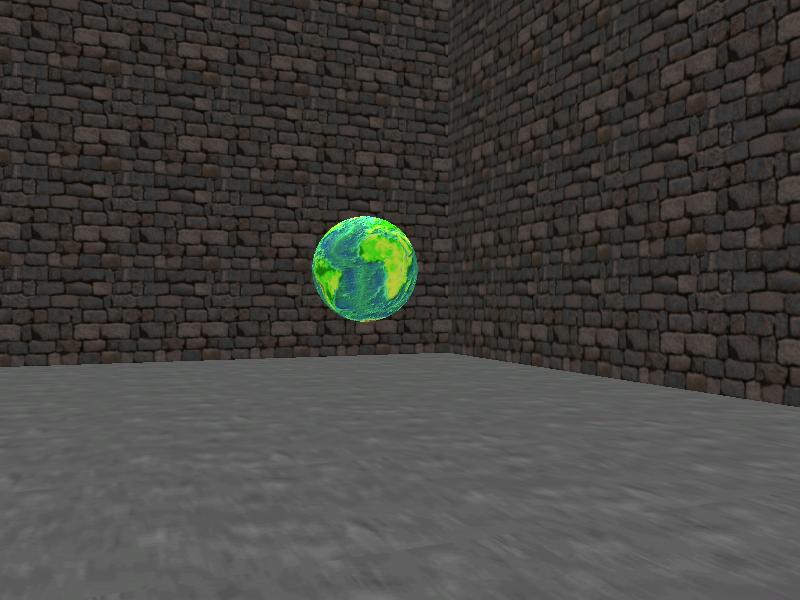
Come even closer to the sphere to see it being replaced with another model:
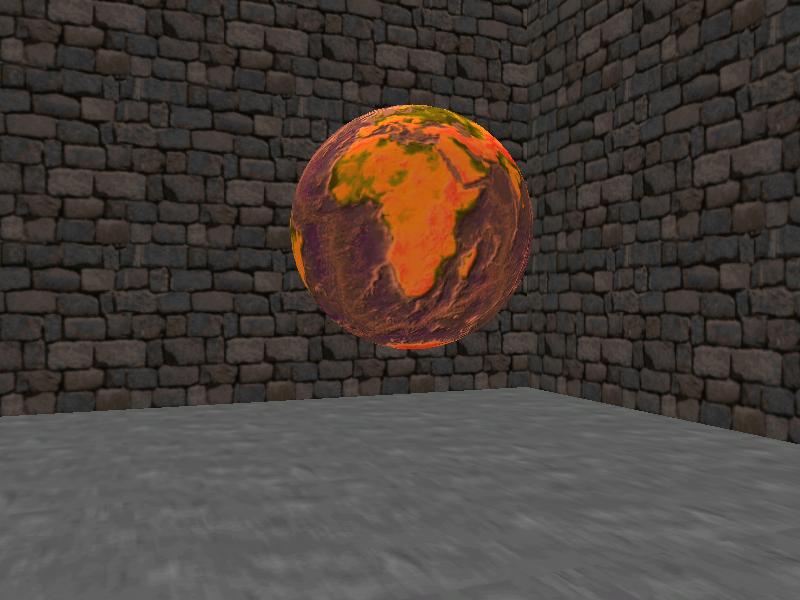
These three LOD models are being swapped automatically, as you come closer or move away from the sphere. I have used identical models (with different skin colors) for the demo because I wanted to keep its size as small as possible, but you should use a model with a high polygon count for close up viewing, a model with a medium polygon count for medium distances and a low poly model for big distances.
How do you incorporate the LOD code in your own projects? First of all, you need to include the lod.wdl file in your main script. Then, add a single line of code at the beginning of the actions that will use LOD models:
new_lod();
That's it! Here's a simplified version of the action that is attached to our spheres:
action lod_example
{
new_lod(); // call the lod function
while (1) // your regular action should be put here
{
my.pan += 1 * time;
wait (1);
}
}
The action above uses the default LOD steps, which are set to 300 and 1000 quants inside the lod.wdl file. Feel free to change them if they aren't good enough for you, or even better, set individual LOD steps for each entity, just like I did with the spheres from our demo:
action lod_example
{
my.skill19 = 500; // set the first lod step (don't use the default step = 300 quants)
my.skill20 = 1200; // set the second lod step (don't use the default step = 1000 quants)
new_lod(); // call the lod function
while (1) // your regular action should be put here
{
my.pan += 1 * time;
wait (1);
}
}
This example sets the first LOD step (my.skill19) to 500 quants and the second LOD step (my.skill20) to 1200; this way you can customize the distances that will trigger the swapping for each entity, without having to use a global LOD distance.
How do you set up your models? Name the first, high poly model "name-1.mdl" (where "name" can be any name). Then, name the medium poly model "name-2.mdl" and the third, low poly model "name-3.mdl". The code uses the names that are assigned by Wed to the entities automatically, so make sure to add new entities and attach them fresh actions every time. Don't replace a model with another one that has a different name, keeping the old LOD action attached to it - it won't work until you delete the old model and add a new model in Wed, assigning it the LOD action anew.
That's all! Of course that you can also use sprites and wmb entities.