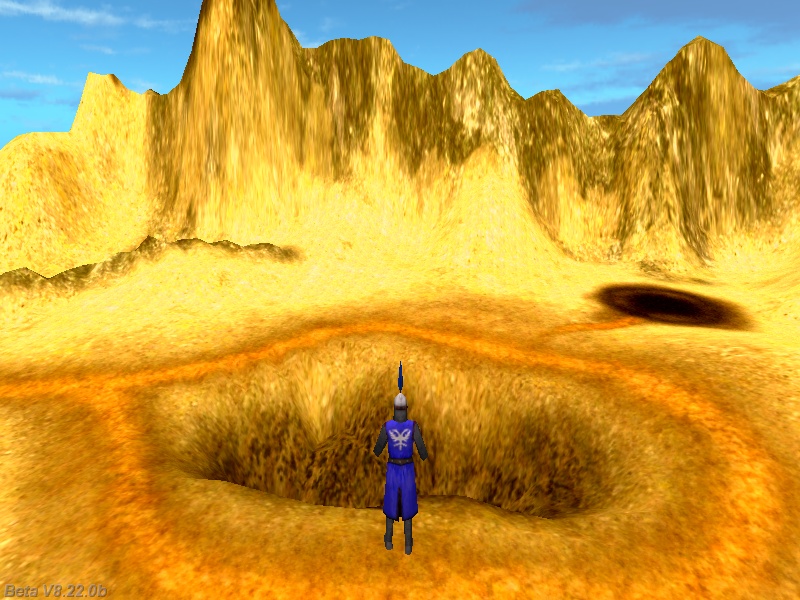
This time we will keep ourselves busy by discussing six different camera types. And to make the things even easier, we've got a single code snippet (cameras.c) which allows us to go through them all all by simply clicking the right mouse button. Open the script, and then run it; you should see something like this.
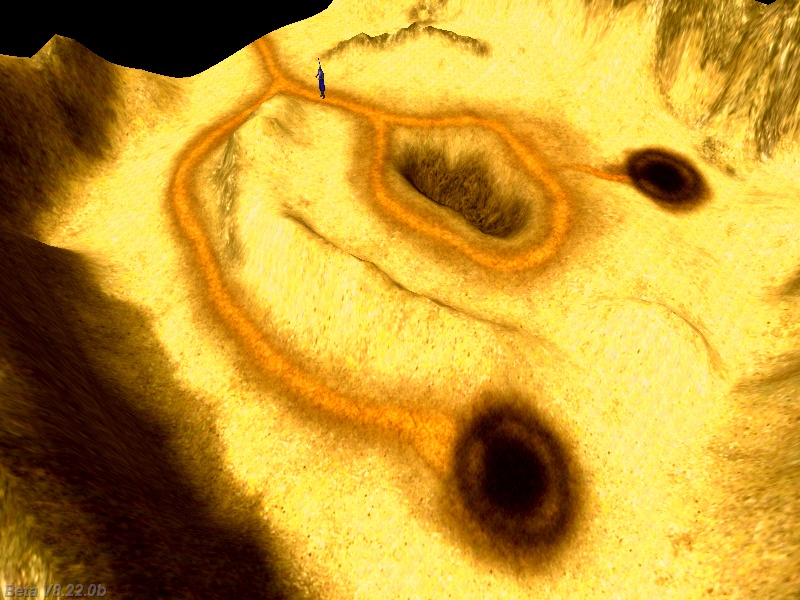
Do you see that little guy? This is our player and can be moved using the WSAD keys; we are using a fixed camera this time, so we might be able to move the player out of sight. Nevertheless, these fixed cameras are very good when you plan to show a large portion of the level, create cut scenes, etc. All you need to do is to pick the proper camera position and angles by moving the camera where you like it after you have created the level, pressing F11 and then writing down camera's X, Y, Z, pan, tilt and roll values - here's the set of values used for this camera:
function fixed_camera() // doesn't move and doesn't change its angles
{
vec_set (camera.x, vector (700, 600, 500)); // camera position on the x, y, z axis; use your own values
camera.pan = 225; // pan angle, use your own value here
camera.tilt = -45; // tilt angle, use your own value here
camera.arc = 80; // zoom factor, put your own value here
}
As you can see, I have also used a custom camera.arc value, which allows me to get a closer perspective or (for bigger values) to see larger areas of the level.
Time to click the right mouse button! Do this once and you'll discover the second camera type:
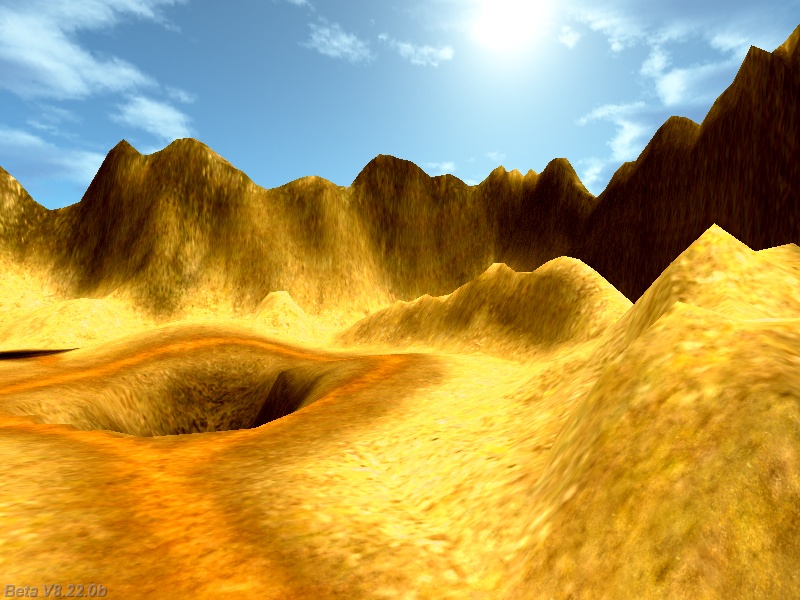
This is a first person camera; it shows the level through player's eyes.
function first_person_camera() // follows the player at all times, camera_type = 2
{
while (!player) {wait (1);} // wait until the player is created
while (camera_type == 2)
{
vec_set (camera.x, player.x); // keep the camera at the player's position
camera.z = player.z + 35; // compute the approximate height of the eye; play with 35
camera.pan = player.pan; // the angles of the camera are identical to player's angles
camera.tilt = player.tilt;
wait (1);
}
}
The code places the camera at the same coordinates with the player, 35 quants above the origin of player's model. We also make sure that the pan and tilt angles of the camera match player's pan and tilt angles; this way, if we allow the player to look upwards or downwards, the camera will follow the same orientation.
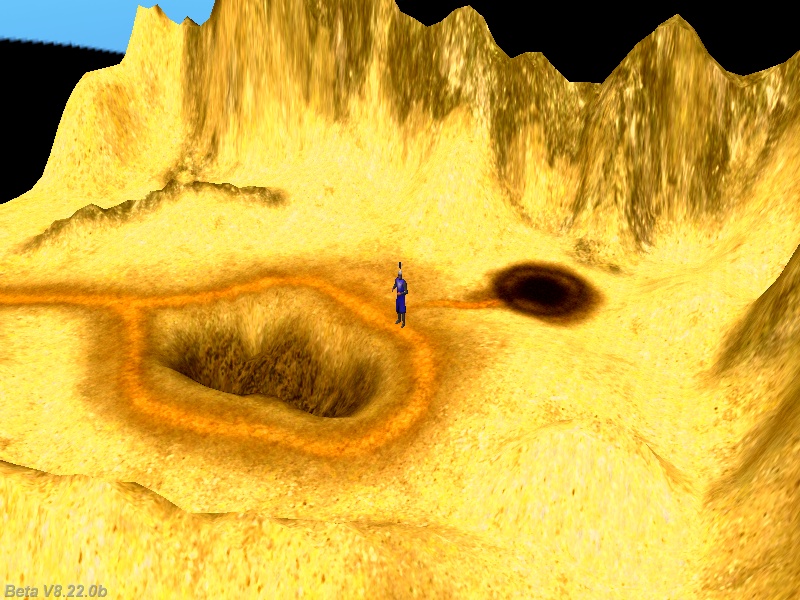
Let's right click once again; we will discover the 3rd camera type.
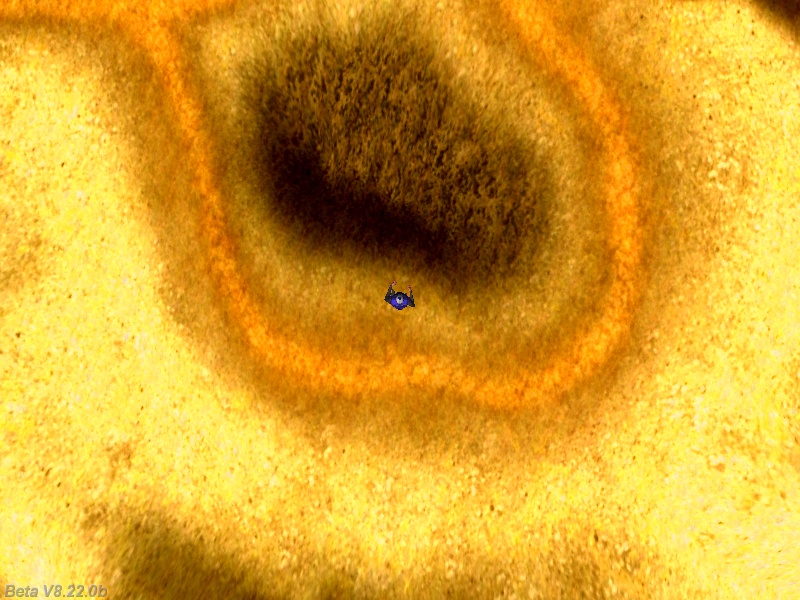
This is a top view camera, one that follows the player as if you were a bird that looks down at the player at all times - that's why it is often called a bird view camera. Here's the code that drives it:
function top_camera() // displays a top view of the player and the surrounding level parts, camera_type = 3
{
while (!player) {wait (1);} // wait until the player is created
camera.tilt = -90; // the camera will look downwards all the time
while (camera_type == 3)
{
vec_set (camera.x, player.x); //the player and the camera have the same x and y position
camera.z = player.z + 500; // but the camera is placed 500 quants higher; play with this value
camera.pan = player.pan; // the camera shares the same pan angle with the player
wait (1);
}
}
The code keeps the camera 500 quants above player's origin at all times, changing its height as the player climbs a mountain, etc. If you would like to have a camera with a fixed height, replace the existing camera.z line of code with something like "camera.z = 500;" (without using the quotes, of course).
It's time to check out the 4th camera now, so click the right mouse button once again.
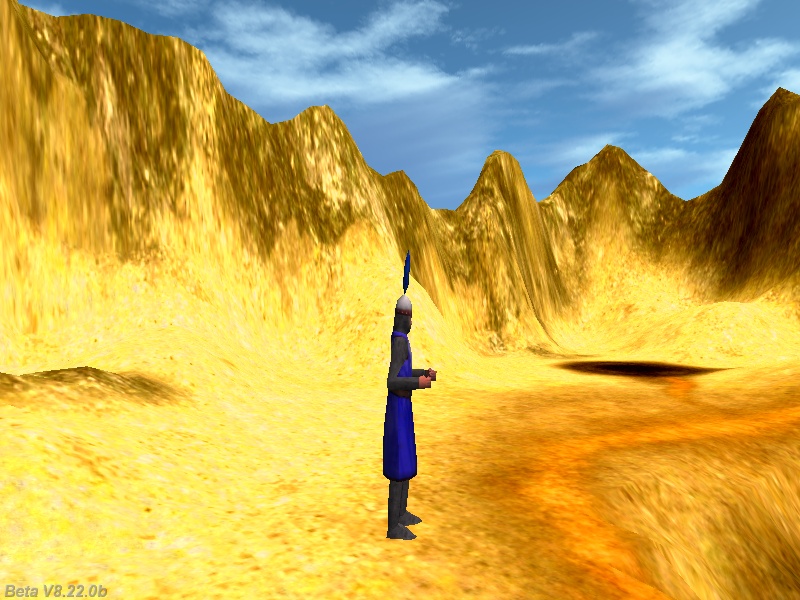
This is a side view camera, a camera that follows the player from its side, keeping it in the center of the view at all times. If you plan to create a standard karate game, then this is the type of camera that you are going to need.
function side_camera() // shows the player from a side view, camera_type = 4
{
while (!player) {wait (1);} // wait until the player is created
while (camera_type == 4)
{
camera.x = player.x + 200 * sin(player.pan); // 200 = distance between the player and the camera, play with this value
camera.y = player.y - 200 * cos(player.pan); // use the same value here
camera.z = player.z + 40; // place the camera a little higher than player's origin, play with this value
camera.pan = player.pan + 90; // face the player at all times
camera.tilt = 0;
wait (1);
}
}
The code allows you to set the sideway distance between the camera and the player (200 quants in this example), as well as the height of the camera in relation to player's origin.
Let's click the right mouse button one more time - this is an isometric camera, one that shows us the player and its surrounding areas from a 3rd person perspective, looking down at the player at all times.
This is the type of camera used in most RPG games, because it allows you to see the player, as well as a good area of the level around it.
function isometric_camera() // displays the player from an isometric view aka 3rd person view, camera_type = 5
{
while (!player) {wait (1);} // wait until the player is created
camera.tilt = -15; // look down at the player, play with this value
while (camera_type == 5)
{
camera.x = player.x - 250 * cos(player.pan); // 250 = distance between the player and the camera, play with this value
camera.y = player.y - 250 * sin(player.pan); // use the same value here
camera.z = player.z + 150; // place the camera above the player, play with this value
camera.pan = player.pan; // the camera and the player have the same pan angle
wait (1);
}
}
The code allows you to control the tilt angle, the distance to the player and the height of the isometric camera in relation to player's origin. OK, we've reached the last camera in the workshop, so let's click the right mouse button one more time:
This camera follows the player at all times, keeping it in the center of the screen no matter where it goes. It's a variation of the fixed camera (it never moves), but its pan, tilt and roll angles change depending on player's position in the level. Once again, this camera works well when you want to show the game player certain areas in the level, create a cut scene, etc.
function follow_camera() // this fixed camera changes its angles, focusing on the player, camera_type = 6
{
VECTOR temp;
while (!player) {wait (1);} // wait until the player is created
camera.arc = 60; // zoom factor, play with this value
vec_set (camera.x, vector(700, 600, 350)); // set the position of the camera; put your own values here
while (camera_type == 6)
{
vec_set(temp.x, player.x);
vec_sub(temp.x, camera.x);
vec_to_angle(camera.pan, temp); // rotate the camera toward the player every frame
wait (1);
}
}
Don't forget to choose a proper position for the camera; if the player will leave the area you can easily switch to another camera, just like I did it in this workshop.
function change_cameras()
{
camera_type %= 6;
camera_type += 1;
if (camera_type == 1)
fixed_camera();
if (camera_type == 2)
first_person_camera();
if (camera_type == 3)
top_camera();
if (camera_type == 4)
side_camera();
if (camera_type == 5)
isometric_camera();
if (camera_type == 6)
follow_camera();
}
The action that is attached to the player is simple, but includes gravity and animation code.
action players_code()
{
VECTOR temp, movement_speed;
var anim_percentage; // animation percentage
var distance_to_ground; // the distance between player's origin and the ground
player = my; // I'm the player
while (1)
{
my.pan += 6 * (key_a - key_d) * time_step; // rotate the player using the "A" and "D" keys
vec_set (temp.x, my.x); // copy player's position to temp
temp.z -= 5000; // set temp.z 5000 quants below player's origin
distance_to_ground = c_trace (my.x, temp.x, IGNORE_ME | USE_BOX);
movement_speed.x = 10 * (key_w - key_s) * time_step; // move the player using "W" and "S"
movement_speed.y = 0; // don't move sideways
movement_speed.z = - (distance_to_ground - 17); // 17 = experimental value
movement_speed.z = maxv (-35 * time_step, movement_speed.z); // 35 = falling speed
c_move (my, movement_speed.x, nullvector, GLIDE); // move the player
if (!key_w && !key_s) // the player isn't moving?
{
ent_animate(my, "stand", 0.5 * anim_percentage, ANM_CYCLE); // play the "stand" animation
}
else // the player is moving?
{
ent_animate(my, "walk", anim_percentage, ANM_CYCLE); // play the "walk" animation
}
anim_percentage += 7 * time_step; // 7 = animation speed
wait (1);
}
}
That's all for now, so I'll see you all next month!