This month we will keep ourselves busy by studying several events: EVENT_BLOCK, EVENT_IMPACT, EVENT_SCAN, EVENT_SHOOT, EVENT_TOUCH and EVENT_CLICK. Copy the \events folder from this month's resources to your Gamestudio folder, and then open and run it; you should see a level that looks just like in the picture below.
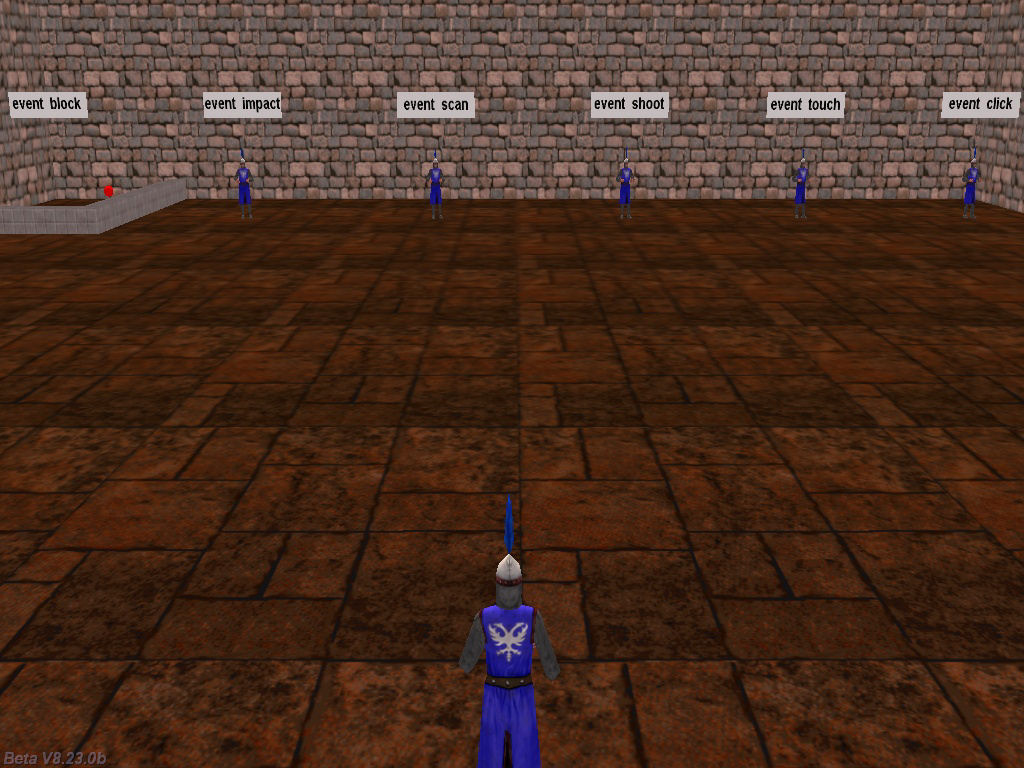
I used the code from a previous workshop as a base, but I improved it heavily, adding visible c_scan cones, tracing rays and so on. But let's start with the simple stuff!
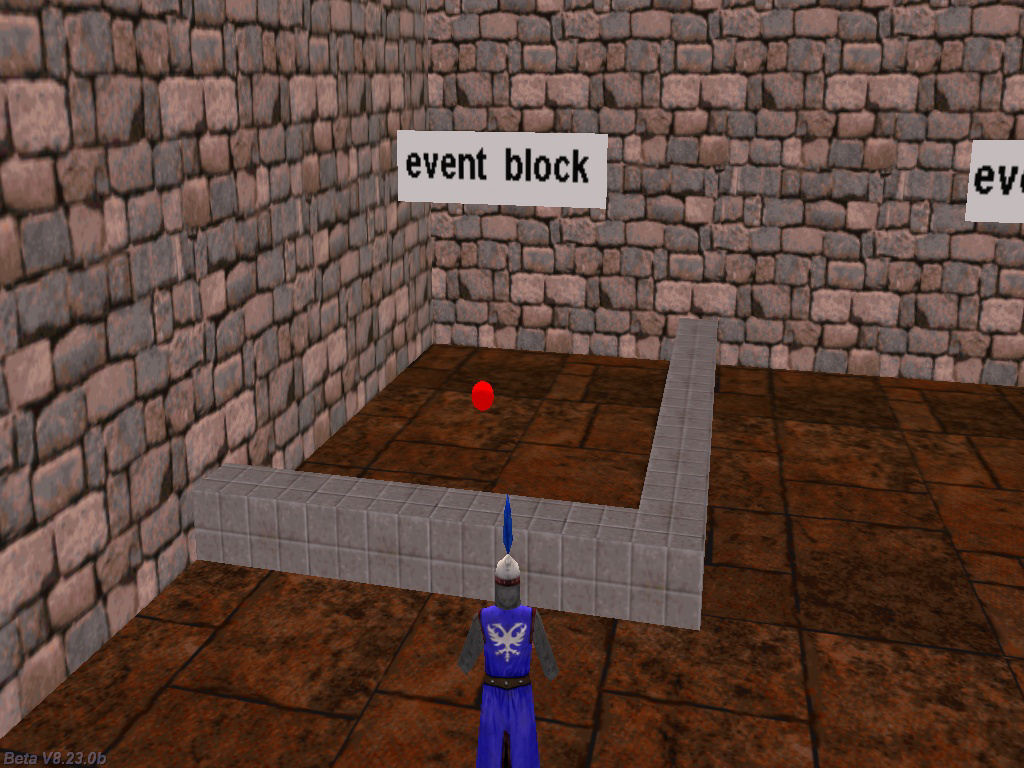
The first event that we are going to discuss is EVENT_BLOCK; our example uses a red ball that changes its direction (actually, its pan angle) each and every time it collides with a level block.
action test_block()
{
my.emask |= ENABLE_BLOCK;
my.event = entity_event_block; // never put parenthesis to the function here!
while(1)
{
c_move (my, vector(20 * time_step, 0, 0), nullvector, IGNORE_PASSABLE);
wait(1);
}
}
function entity_event_block()
{
if (event_type == EVENT_BLOCK)
{
my.pan = random(360);
}
}
The code is very simple and consists of two parts: an action that is attached to the ball (test_block) and a function that runs when the targeted event (EVENT_BLOCK) takes place. Let's examine the action first: we make the ball sensitive to collisions with level blocks by setting ENABLE_BLOCK, and then we tell it to run the entity_event_block whenever the event takes place. Finally, a small while (1) loop moves the ball with the speed given by 20 * time_step in the direction given by its pan angle, telling it to ignore any passable object that it might encounter along the way.
The event function is even more simple; it checks if the event that took place is an EVENT_BLOCK or not and if the answer is affirmative, it changes the pan angle of the ball to a random value, thus making it move in a random direction until it will collide with a level block again. It really is simple stuff, isn't it? Let's move on to the following event.
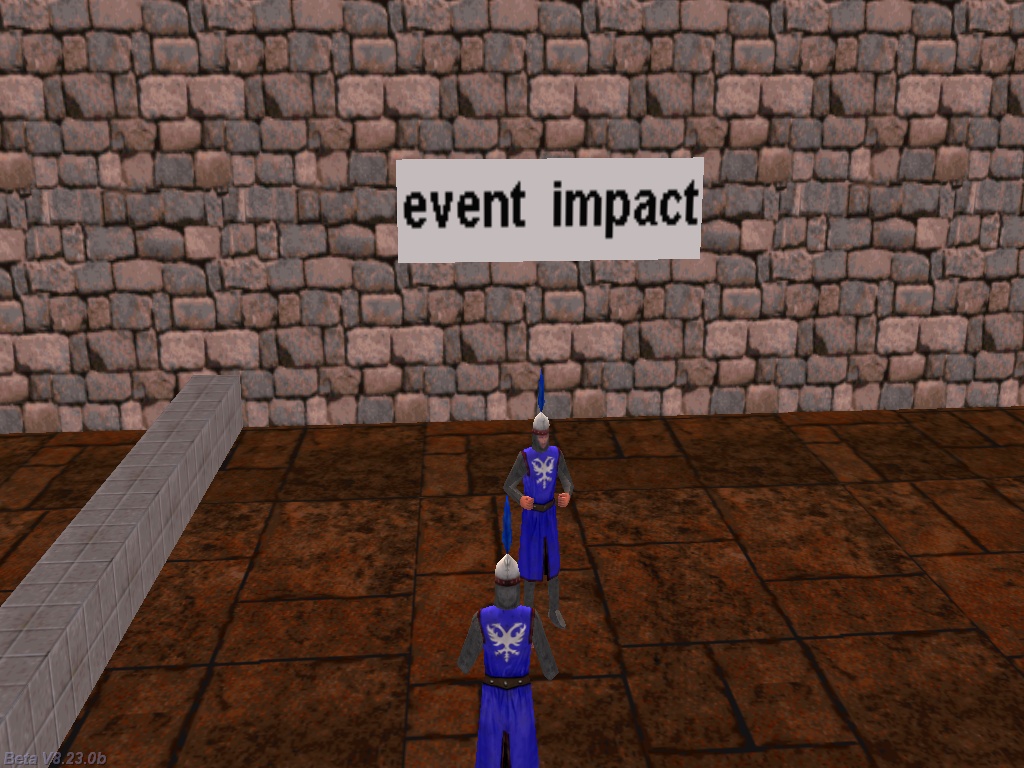
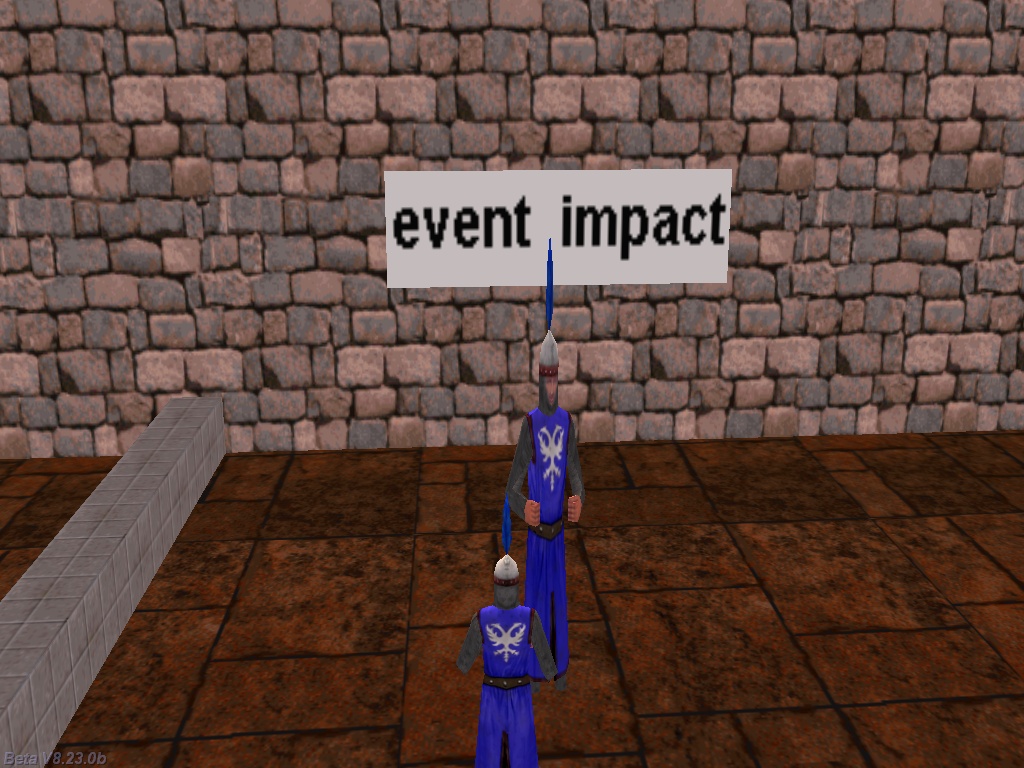
This time we will be tracking the EVENT_IMPACT event; while the previous one was tracking the collision of an entity with the level blocks, this time we are tracking the collision of an entity with another entity. As you can imagine, this type of event is very useful when you are trying to detect if an enemy (or the player) was hit by a bullet or not. Let's take a look at the code.
action test_impact()
{
my.emask |= ENABLE_IMPACT;
my.event = entity_event_impact; // never put parenthesis to the function here!
}
function entity_event_impact()
{
if (event_type == EVENT_IMPACT)
{
my.scale_z += 0.01;
}
}
Once again, we are telling our test entity that it is supposed to be sensitive to the impact with other entities, running the entity_event_impact function each time it collides with another entity. The event function increases the scale of the model with 0.01; move the player close enough and you'll see that the entity changes its vertical size quite fast.
Time to move on to the following event - EVENT_SCAN.
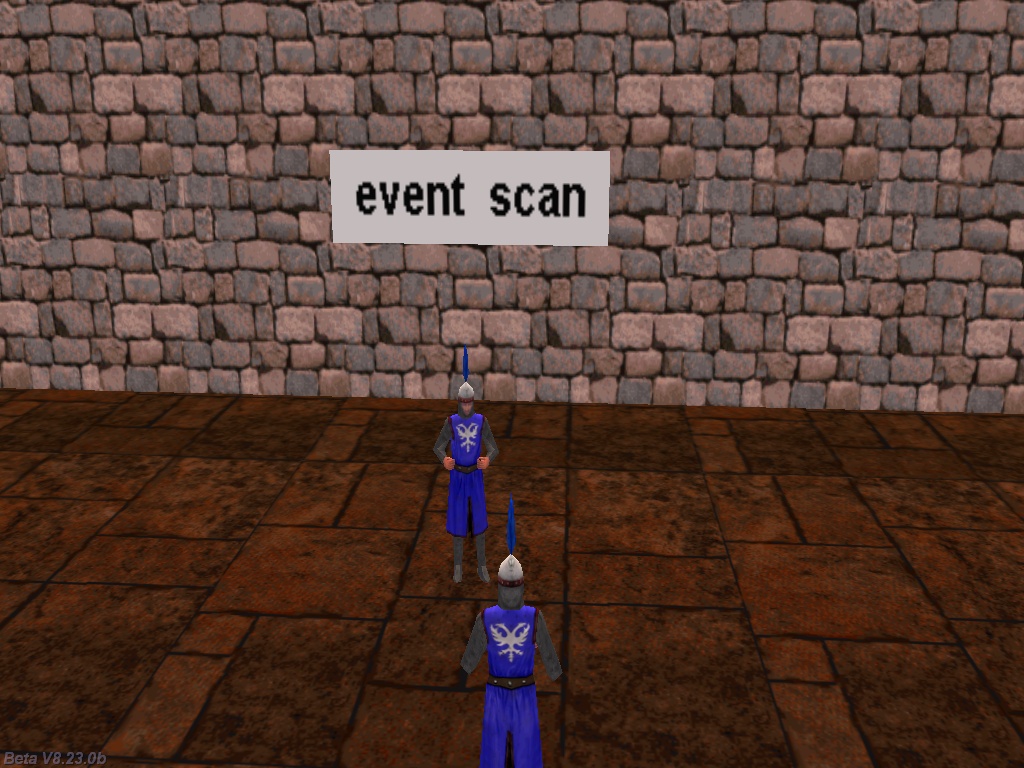
This time we are using the c_scan instruction to trigger the event of the entity; move close to it, and then press and hold the "1" key on your keyboard - the entity will start to rotate around its roll angle.
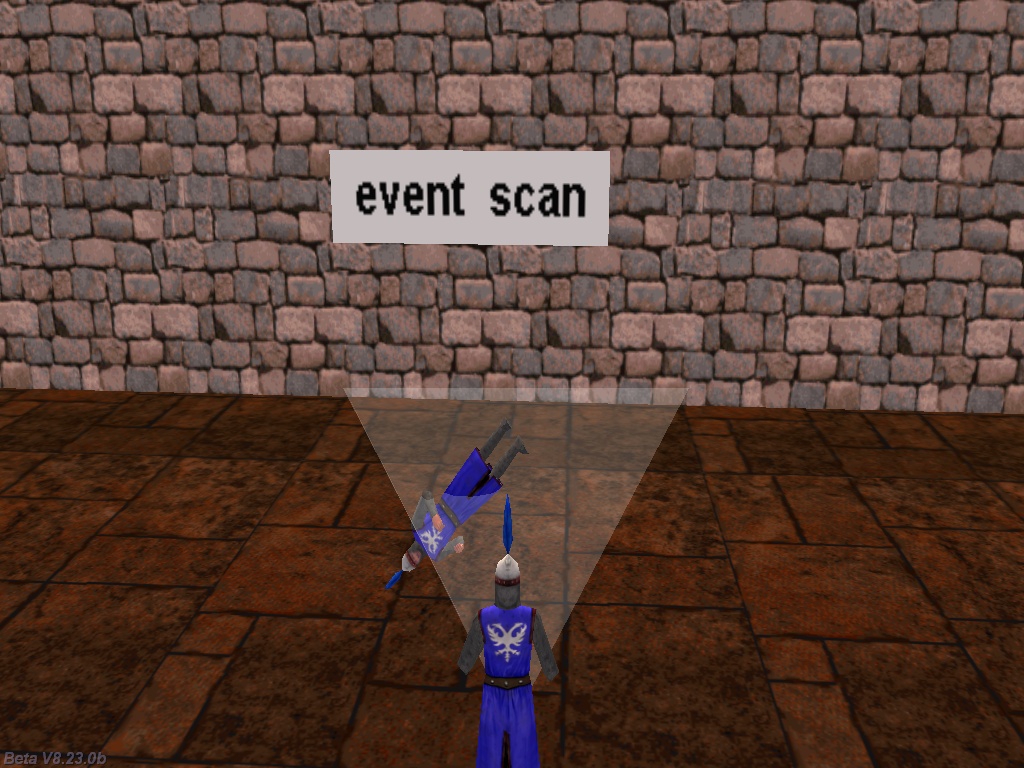
You are right, you can actually see the scanning code (in fact, a good approximation of it) - a handy feature to have, which will be discussed at the end of this workshop. Let's concentrate on the actual event-related code for now.
action test_scan()
{
my.emask |= ENABLE_SCAN;
my.event = entity_event_scan; // never put parenthesis to the function here!
}
function entity_event_scan()
{
if (event_type == EVENT_SCAN)
{
my.roll += 5;
}
}
You can see the same code structure: we are setting ENABLE_SCAN for the entity, and then we tell it what is its associated event function. Finally, the event function increases the roll of the entity by 5 degrees each frame.
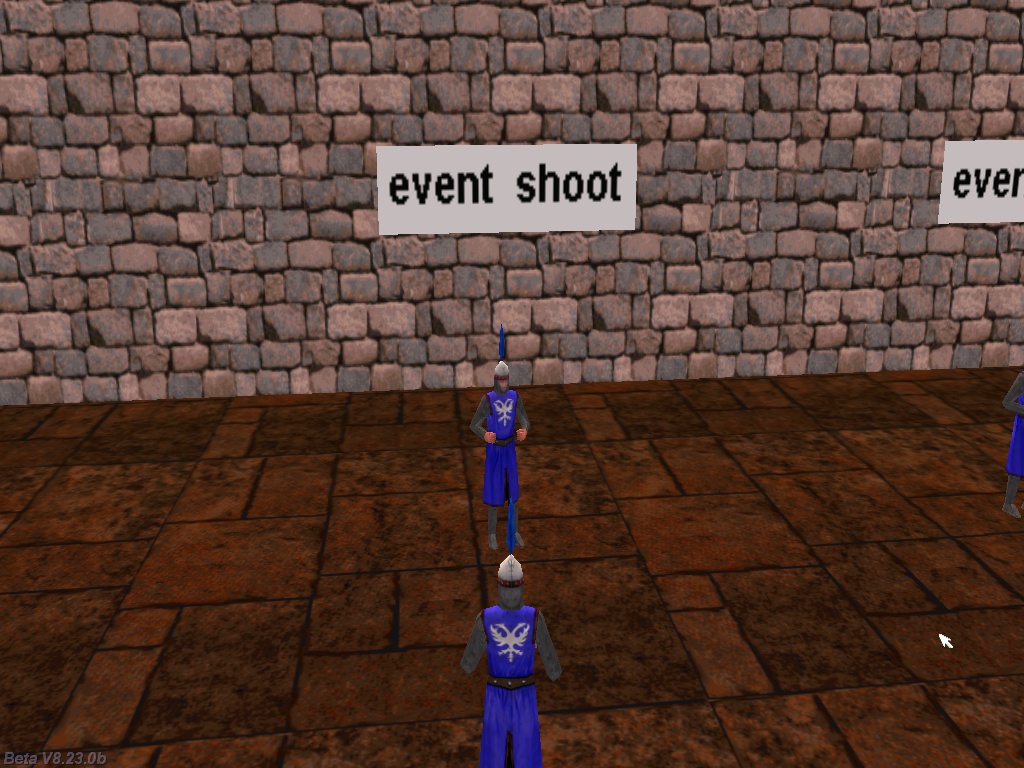
EVENT_SHOOT is triggered each time an entity is hit by a c_trace instruction; this is the reason why I have given the player a virtual gun, which is triggered when you press the "2" key on the keyboard.
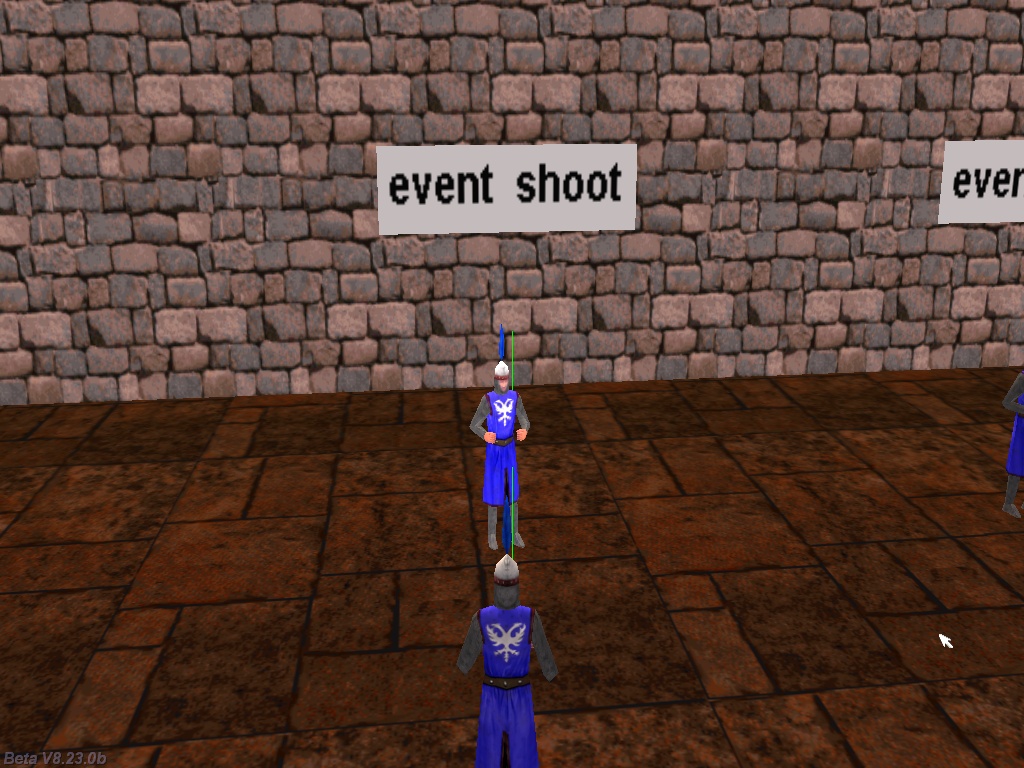
In case that you are wondering, the code that creates the green ray doesn't influence EVENT_SHOOT at all; it is a part of player's code and will be discussed at the end of the workshop.
action test_trace()
{
set (my, POLYGON);
my.emask |= ENABLE_SHOOT;
my.event = entity_event_shoot; // never put parenthesis to the function here!
}
function entity_event_shoot()
{
if (event_type == EVENT_SHOOT)
{
my.ambient = 100;
wait(-0.1);
my.ambient = 0;
}
}
This time you will notice an extra line of code inside the test_trace action; it sets the POLYGON flag for the entity, telling the guard to use the actual shape of the model for collision purposes, instead of using a standard bounding box. I chose to do this because a tracing ray shouldn't register any hits if it doesn't actually hit the model. The event function sets the ambient of the model to 100 for 0.1 seconds, and then it resets it.
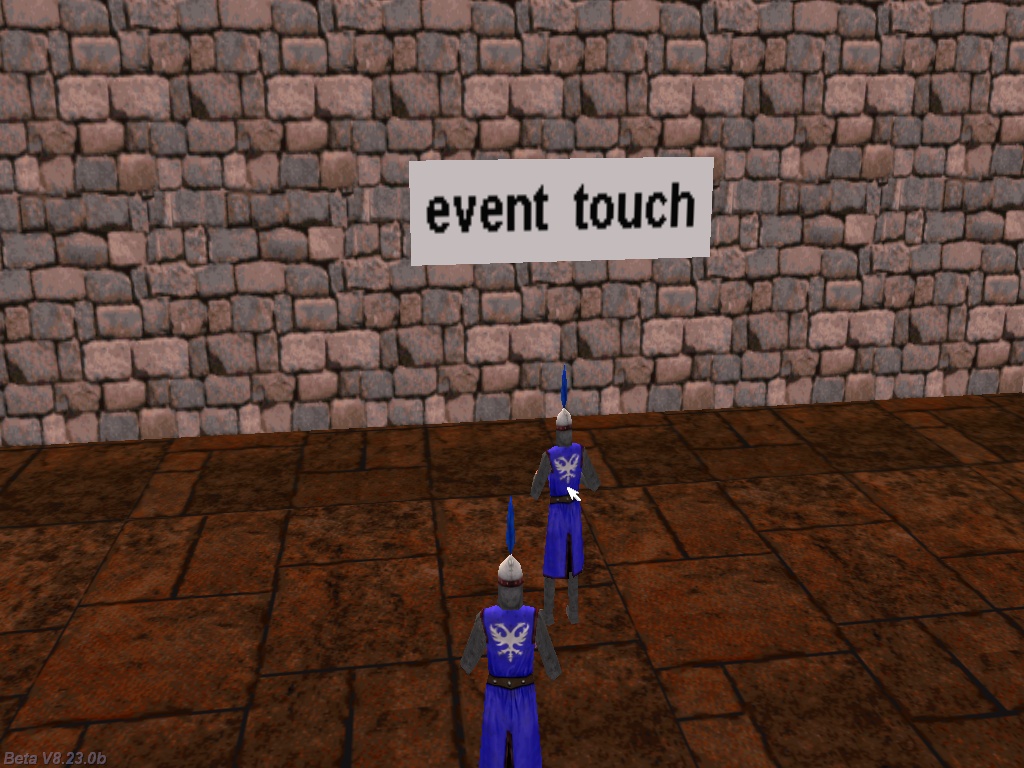
EVENT_TOUCH is triggered when the entity is "touched" by the mouse pointer. Move the mouse over the entity and you will see it changing its pan each time the pointer is placed over it. This is the code that makes it happen:
action test_touch()
{
my.emask |= ENABLE_TOUCH;
my.event = entity_event_touch; // never put parenthesis to the function here!
}
function entity_event_touch()
{
if (event_type == EVENT_TOUCH)
{
my.pan += 90;
}
}
The last event that we are going to discuss is EVENT_CLICK; this one is triggered whenever the entity is clicked using the left mouse button.
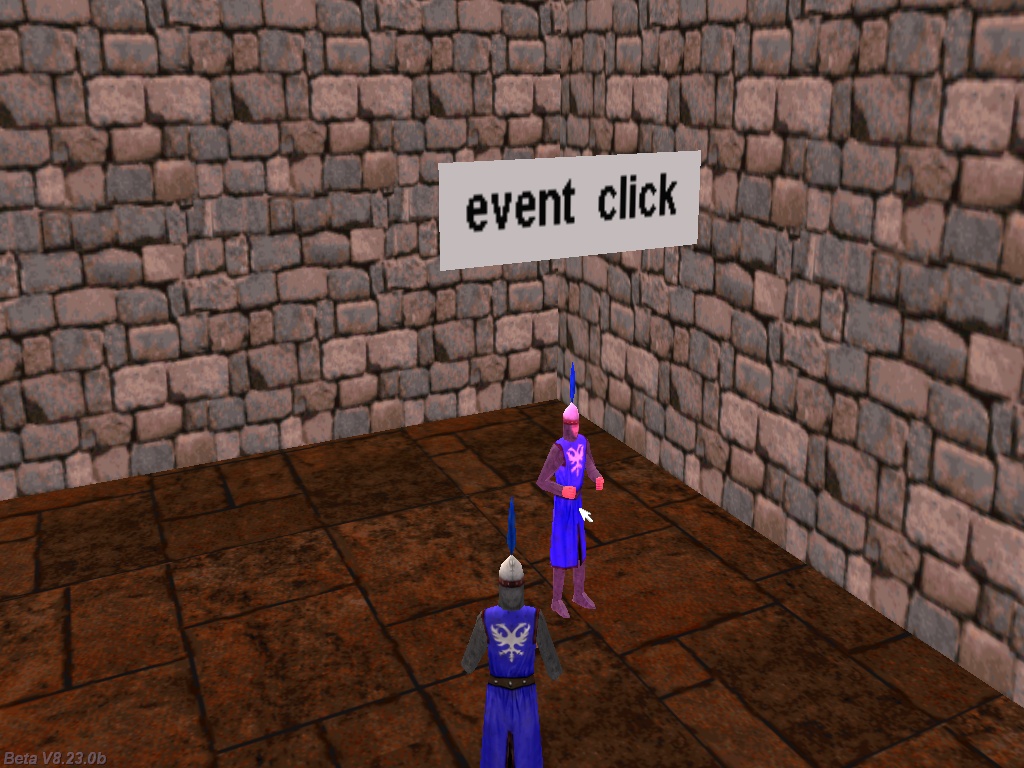
Move close to the entity, and then click it using the left mouse button; you will see that it changes its color each and every time you do that.
action test_click()
{
set (my, LIGHT);
my.emask |= ENABLE_CLICK;
my.event = entity_event_click; // never put parenthesis to the function here!
}
function entity_event_click()
{
if (event_type == EVENT_CLICK)
{
my.red = random(255);
my.green = random(255);
my.blue = random(255);
}
}
This time we have set the LIGHT flag of the entity, which allows us to change its color by playing with its red, green and blue parameters - this is exactly what the event function does.
The events-related code in the workshop is over, but maybe you are interested in seeing how the scanning cone and the c_trace ray were created. In fact, let's examine all the code that wasn't discussed yet.
function main()
{
mouse_range = 5000;
video_mode = 8; // 1024x768 pixels
video_screen = 1; // start the engine in full screen mode
level_load (events_wmb);
while (!player) {wait (1);} // wait until the player is created
camera.tilt = -15; // look down at the player, play with this value
mouse_map = cursor_tga;
mouse_mode = 2;
while (1)
{
camera.x = player.x - 250 * cos(player.pan); // 250 = distance between the player and the camera, play with this value
camera.y = player.y - 250 * sin(player.pan); // use the same value here
camera.z = player.z + 150; // place the camera above the player, play with this value
camera.pan = player.pan; // the camera and the player have the same pan angle
vec_set(mouse_pos, mouse_cursor);
wait (1);
}
}
Function main allows us to interact with the entities from a distance of up to 5,000 quants by setting a proper mouse_range value. The camera will be placed 250 quants below the player and 150 quants above its origin, looking down at it because its tilt is set to -15 degrees.
action players_code()
{
var anim_percentage; // animation percentage
VECTOR trace_dist;
player = my; // I'm the player
my.skill1 = 40;
my.skill2 = 60;
my.skill3 = 300;
while (1)
{
my.pan += 3 * (key_a - key_d) * time_step; // rotate the player using the "A" and "D" keys
c_move (my, vector(15 * (key_w - key_s) * time_step, 0, 0), nullvector, GLIDE); // move the player
if (!key_w && !key_s) // the player isn't moving?
{
ent_animate(my, "stand", anim_percentage, ANM_CYCLE); // play the "stand" animation
}
else // the player is moving?
{
ent_animate(my, "walk", anim_percentage, ANM_CYCLE); // play the "walk" animation
}
anim_percentage += 7 * time_step; // 7 = animation speed
Player's code is simple: the controls are WSAD and we're using either the "stand" or the "walk" animations, depending on player's movement. Please note that we are storing 3 numerical values inside player's skill1... skill3; these are the horizontal scanning sector, the vertical scanning sector and the scanning range. Why did I chose to do that? We will pass these values to another function, so we can easily access them through player.skill1, etc.
if (key_1) // press "1" to start scanning around the player
{
c_scan(player.x, player.pan, vector(my.skill1, my.skill2, my.skill3), IGNORE_ME);
ent_create(scancone_mdl, my.x, scanning_cone);
}
If the player presses the "1" key, the player will start to scan around it, using the values that were stored inside its skill1... skill3 and ignoring itself. The following line of code creates the scanning cone model at player's position and attaches it the scanning_cone function - we'll discuss about it shortly.
if (key_2) // press "2" to start tracing
{
vec_set(trace_dist, vector(1000, 0, 0));
vec_rotate(trace_dist, vector(player.pan, 0, 0));
vec_add(trace_dist.x, my.x);
// now trace from the player to a position (stored in trace_dist) that is placed 1000 quants in front of it
c_trace (my.x, trace_dist.x, IGNORE_ME | ACTIVATE_SHOOT);
draw_line3d(my.x, NULL, 100);
draw_line3d(trace_dist.x, vector(0, 255, 0), 100);
}
wait (1);
}
}
If the player presses the "2" key, we create a point that's placed 1000 quants in front of the player (the vector named trace_dist holds its coordinates), and then we c_trace between player's origin and trace_dist. Finally, the two draw_line3d instructions trace the green line between player's origin and trace_dist.
OK, time to examine the function that runs when we press the "1" key on the keyboard.
function scanning_cone()
{
set (my, PASSABLE | TRANSLUCENT);
my.alpha = 20;
vec_set(my.x, you.x);
my.pan = you.pan;
my.tilt = you.tilt;
my.scale_x = you.skill3 / 10; // the model has a size of 10 quants on the x axis (10 times more than normal)
my.scale_y = 2 * you.skill3 * tan(you.skill1 / 2) / 10; // scale_y = 2 * scannning_range * tg (scanning_sector / 2)
wait (1);
ent_remove(my);
}
Function scanning_cone makes the scanning cone model passable and transparent, and then sets its alpha to 20. The model has the same position, pan and tilt angles with the player (the default roll value is zero and that won't change).
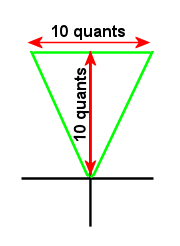
If you open the scancone.mdl model in Med you will notice that it is a regular triangle model which has the dimensions indicated in the picture above; I'd say that it is a decent approximation for our scanning cone sector, considering the fact that my modeling abilities are practically zero. These two lines inside function scanning_cone do all the hard work, setting the proper scale_x and scale_y values for the triangle / scanning cone depending on the actual values that were used for skill1... skill3 inside player's action.
my.scale_x = you.skill3 / 10; // the model has a size of 10 quants on the x axis (10 times more than normal)
my.scale_y = 2 * you.skill3 * tan(you.skill1 / 2) / 10; // scale_y = 2 * scannning_range * tg (scanning_sector / 2)
The formula that sets scale_x is dead simple; it divides the x scale of the model by 10, because our scanning cone model has a size of 10 quants. This means that if the scanning range (skill3) is 300 quants, the scale of the model will be set to 30, and thus the model will have a size of 30 x 10 quants = 300 quants, which is exactly what we want to achieve.
The formula that computes the scale_y of our model is a bit more complex, but if you know a bit of math and examine the picture below you should be safe ;)
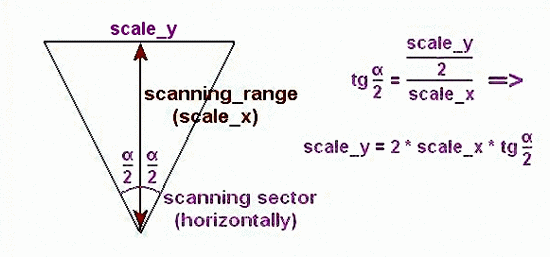
Basically, we compute half of the tangent of the scanning angle, and then we get the formula for the scale_y value, which takes into account the scanning range and the horizontal scanning angle.
I hope that you've learned a few things by going through this workshop; I'll see you all next month!