Welcome to a new Game Business workshop episode! This month we will build a WordPress-based website from scratch, optimizing it for SEO purposes.
I will use a Hostgator account to set up the website. Feel free to do your research and purchase web hosting services from the best company that you can find, in case that you don't have one already.
First of all, we need to add our new domain as an add-on domain. This only has to be done if you are hosting several domains on the same account; otherwise, simply ignore this step.
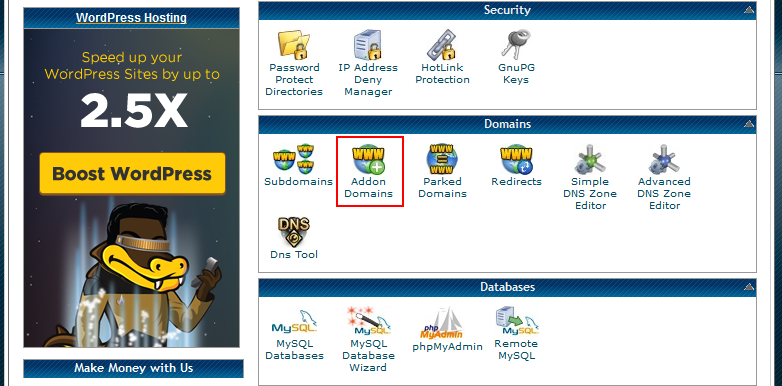
Log into cPanel using the data provided by your hosting company, and then click the "Addon Domains" button.
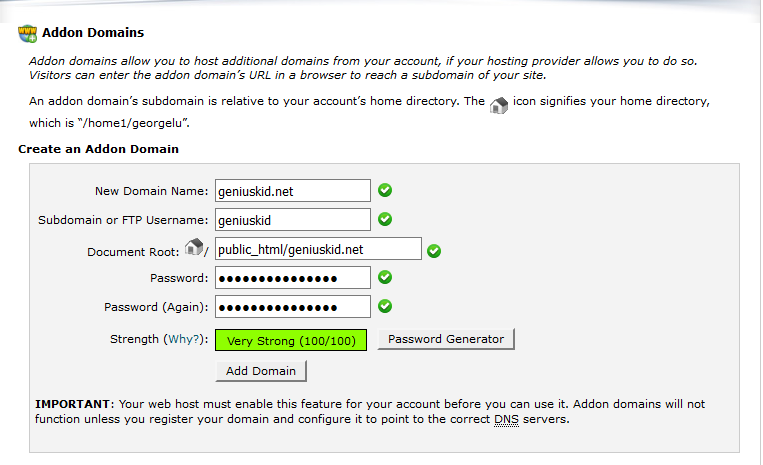
Type in your domain name in the "New Domain Name" text box, and then click one of the text boxes below. The "Subdomain or FTP Username" and "Document Root" fields should be pre-populated. Basically, we are creating a folder that will hold all our website files.
Then, we need to set a password for our folder. A strong password, but one that we won't need to remember under normal circumstances. So go ahead and create a strong password using the built-in password generator, or simply type in a series of letters, numbers and special characters. Feel free to write down this password if you want to. Finally, click the "Add Domain" button.
It's time to install WordPress in our newly created folder. We can do a manual install, but it's much easier to use QuickInstall or Softaculous, free software installation services that can be found in most cPanels.
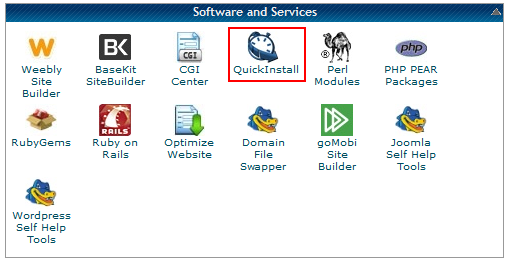
Click QuickInstall and you will see a new window that looks like the one below. Choose the name of your website from the drop-down menu (that's needed if you've got several websites that use the same hosting account), and make sure that the install/path/here section is empty. Some hosting providers pre-populate this field with strings like "wp" and so on, but if you do that you won't be able to access your WordPress installation using the plain yourdomain.com URL.
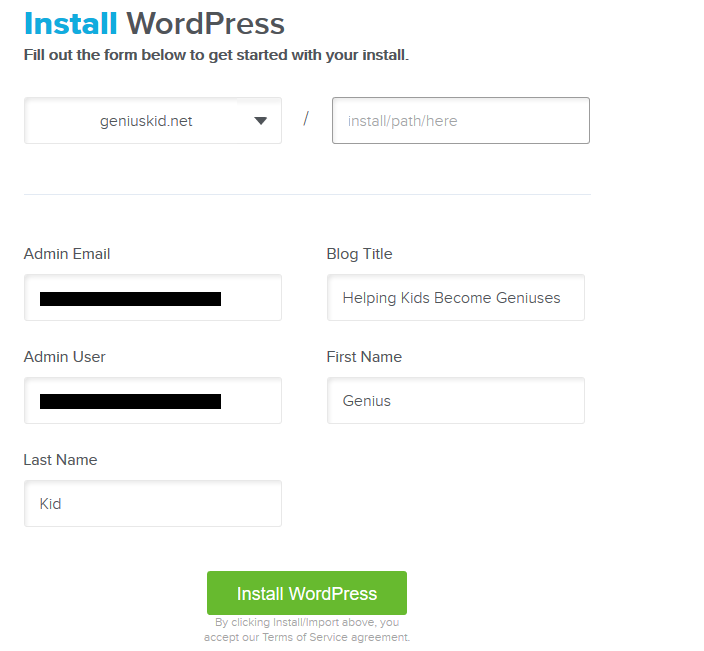
Type in the website admin email (an active email address) and a less common admin user name - avoid "admin", for example. Then, set up a "Blog Title" (you can change it later if you want to) and choose a "First Name" and "Last Name". Finally, press the "Install WordPress" button. That's it!
The WordPress login URL and a password will be generated for you. Often times, they will be emailed to your admin email, but you can also opt to have them sent to another email address. They should also be displayed in a "Credentials" or similar menu option on this page. Whatever you do, make sure that you have this information before moving on. Actually, all you need is your WordPress password, because you already know the admin user name and the default login URL is http://yourwebsite.com/wp-admin.
Use the info above to log into your WordPress site. Here's how the main dashboard looks like.

We will use the menu on the left side of the screen to set up our site. Don't worry, it may look quite complex at first, but I'll be your guide, helping you set it up properly.
Wordpress powers over 25% of the websites in the entire world, so it is the preferred target for many hackers. In fact, the problem is so serious that I decided to write an article that teaches how to make your WordPress-based website impenetrable a while ago. Make sure to read that article if you plan to use WordPress for your site(s). We'll only focus on a simple technique in this workshop, but it's one that can successfully block over 99% of the intruders: a plugin that can stops brute force attacks.
Fast CPUs are present in most computers these days, so it is quite easy for a hacker to run applications that try lots of passwords, one at a time, in an attempt to log into your website. And if you use a short, easy to guess password, a hacker can get into your site within minutes! Fortunately, there are several WordPress plugins that will ban their IPs after a specified number of tries, making it impossible for them to access your site (unless they change their IP address, of course).
Plugins like "Limit Login Attempts" or "Loginizer" are easy to install, and then you can let them do their job and forget about them. Here's how to set up the "Limit Login Attempts" plugin; the "Loginizer" plugin has similar settings.
First of all, you need to install it.
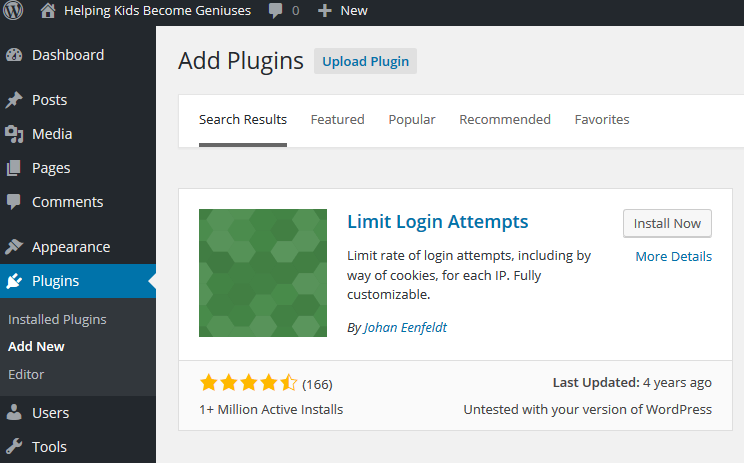
Choose Plugins -> Add New from the left side menu. Then, type in the plugin name in the box from the upper right corner.

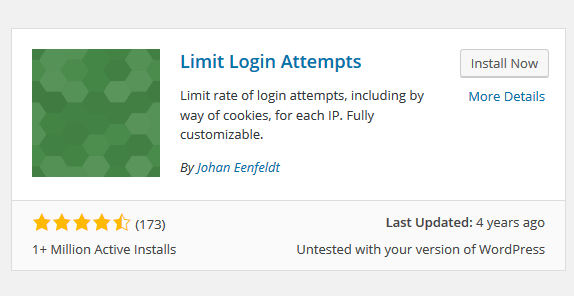
The plugin should now be displayed. Click the "Install Now" button.
It's time to set up the plugin. Choose "Settings" -> "Limit Login Attempts" from the left side menu.
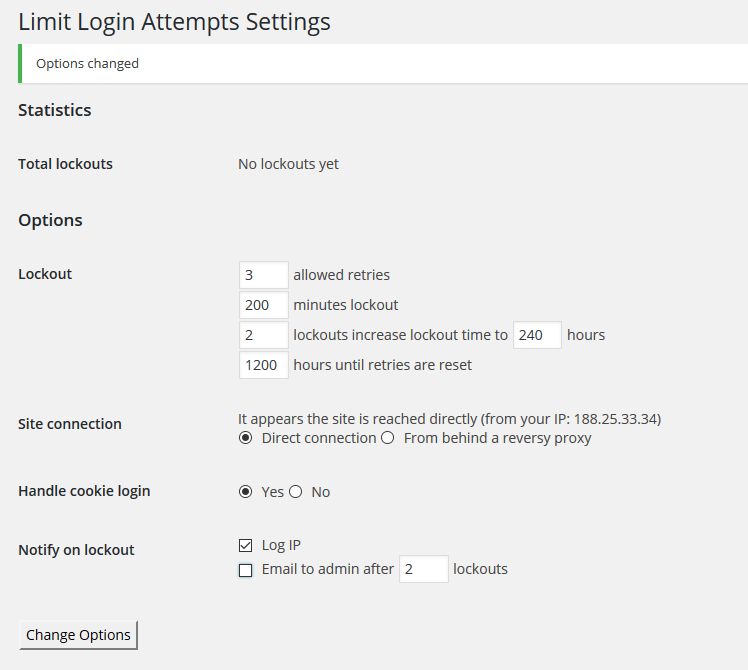
Set up the plugin as shown above; they are quite aggressive, but that's exactly how we want them to bo. Be careful, though; if you use bad user/pass combinations several times while trying to log in, you will get locked out of your own website!
If this happens, you will have to log into cPanel, access the file manager, and then delete the plugin directory from the "wp-content" -> "plugins" folder.
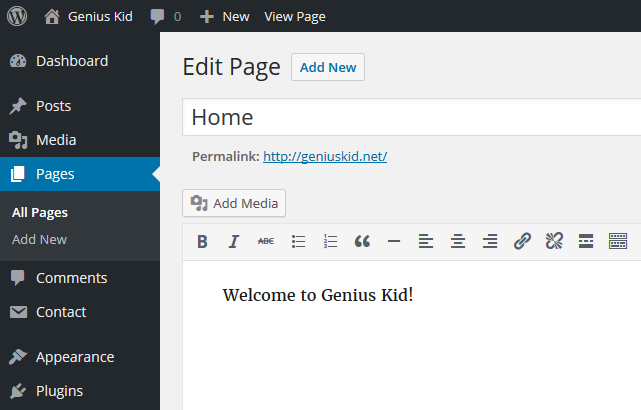
Let's add a page, and set it as our home page! Choose "Pages" -> "Add New", set a page title ("Home", in the example below) and then type in a few words ("Welcome to Genius Kid!") and hit the "Publish" button that's located on the right side of the screen.
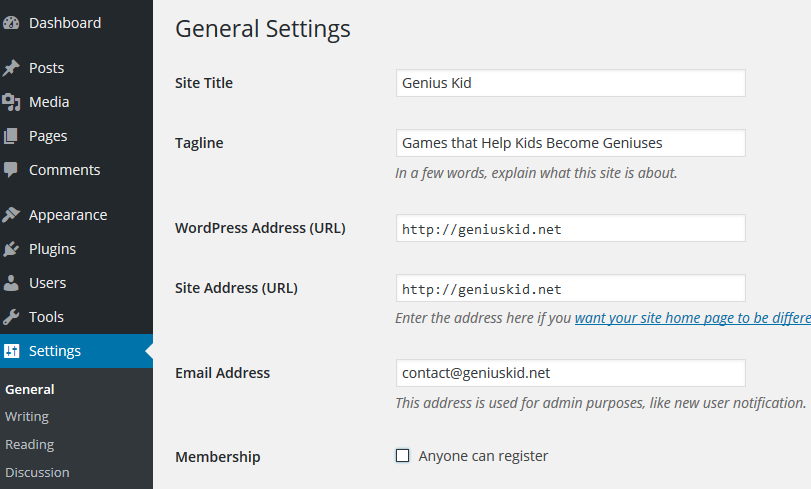
Time to verify and/or edit the "General Settings". This is the area that allows you to set the website title and tagline, the www/non-www version of your site, and the email address that will be used by the contact form.
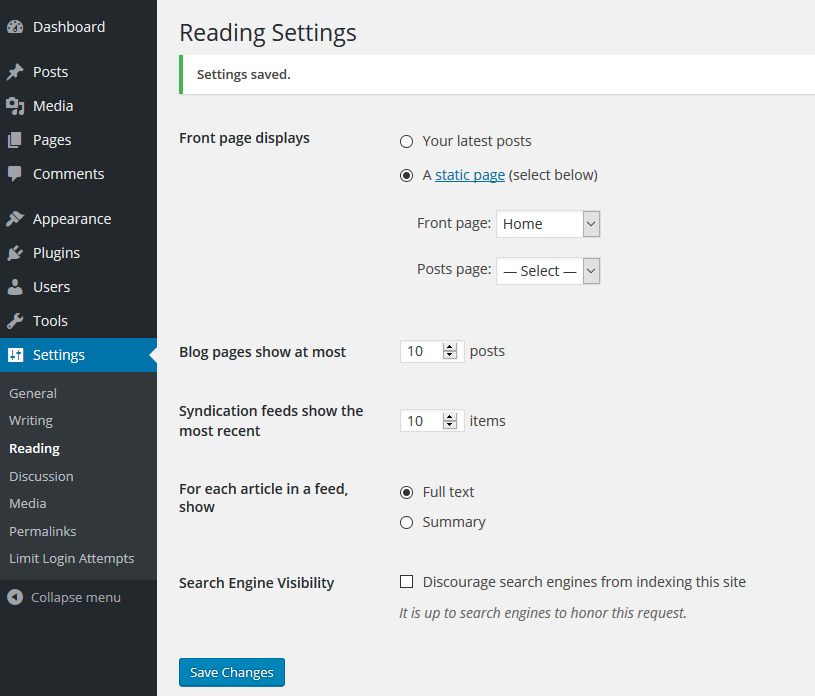
Let's set up the "Reading Settings". The home page can display either your latest posts, or a static page. I have chosen the later option (our previously created "Home" page) but you can choose the first one as well, if you want your blog posts to be the first thing your website visitors see.
"Discussion Settings" is a critical area, because the default WordPress settings will allow your site to receive and post lots of spammy comments.
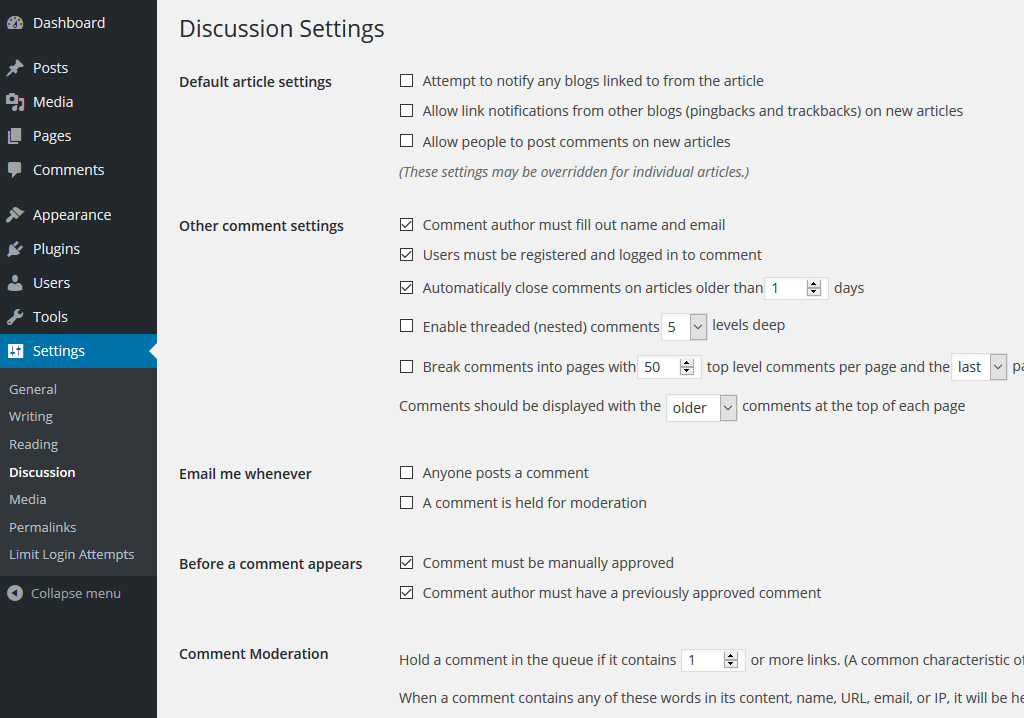
Once again, I am using aggressive settings here, but it's much better to relax them after you have fully set up your site and you are actively monitoring it. You don't want people to post links to crappy sites in their comments to your blog posts, for example.
It's time to move on to the first WordPress settings that have a direct SEO impact, helping your website rank higher in the search engines: permalinks.
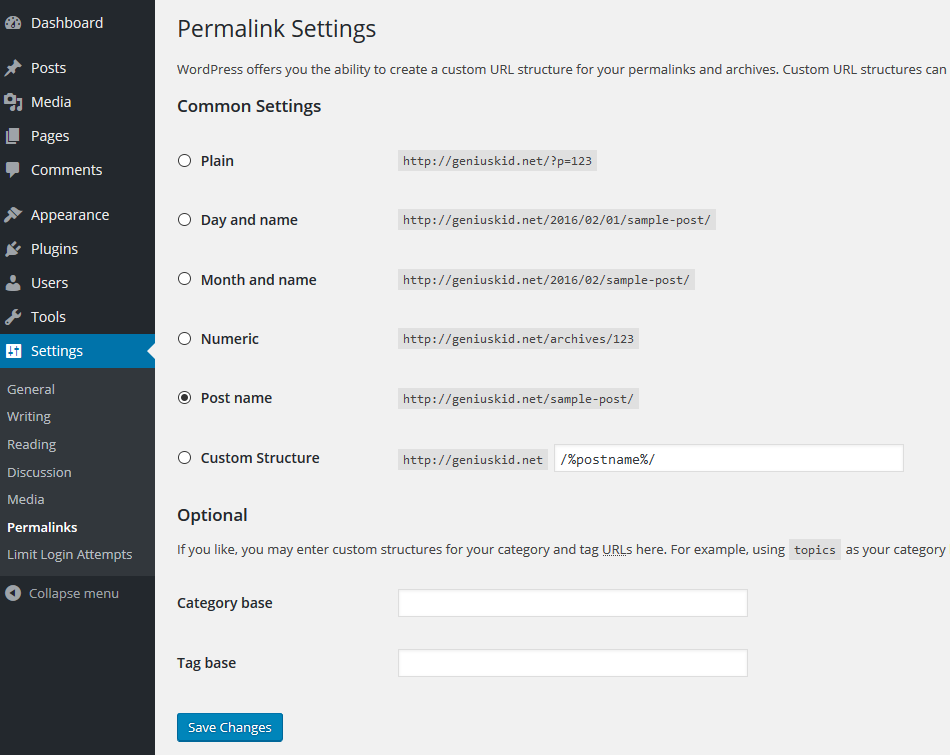
It is essential to choose "Post name" in the "Permalink Settings" section. This way, the targeted keywords, which are (hopefully) included in each article title, will also be included in the article URLs.
By simply adding the desired keyword to the title and URL, you are significantly increasing the chances of getting your website ranked higher in the search engines. Here's an example from one of the articles on my company website.
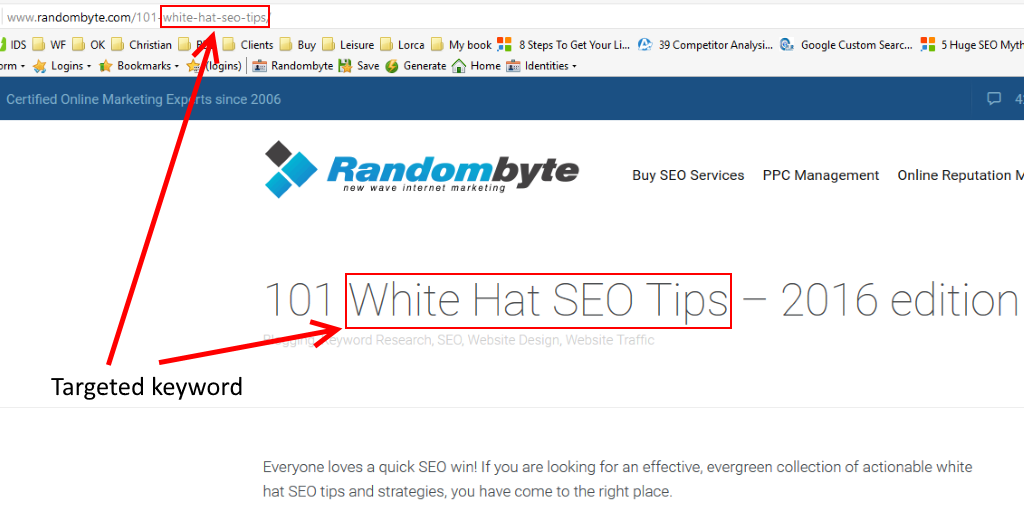
This article alone bring in a few hundreds of visitors to my website each month. It also ranks high in Google for keywords like "white hat seo tips", "white hat seo tricks" and so on. I guarantee that the rankings would diminish if I wouldn't include the "white hat seo tips" keyword in the article title and URL. That's why setting the permalinks to "Post name" is essential.
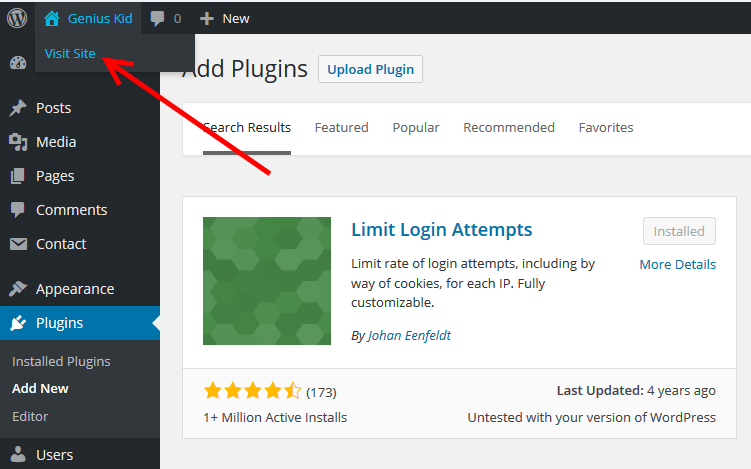
Did you take the time to take a look at your new website so far? Just click the home icon in the upper left corner of the screen, and then choose "Visit Site".
Well, there aren't too many things to look at, but that will change soon.
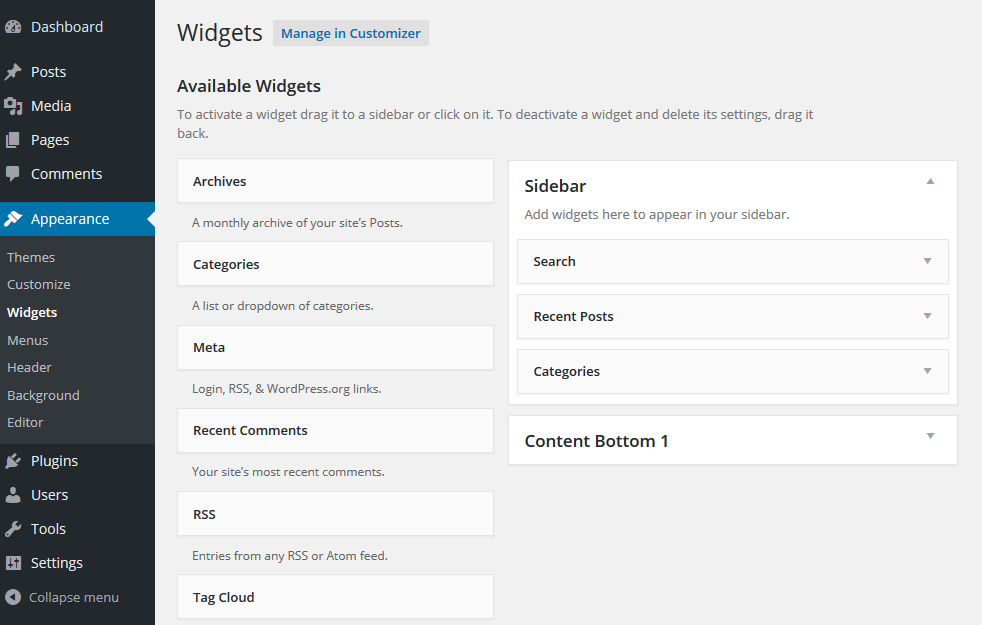
Let's customize our website using a few widgets. Choose "Appearance" -> "Widgets", and then delete the unwanted widgets from the sidebar (click -> delete) or add the desired widgets by dragging them to the sidebar.
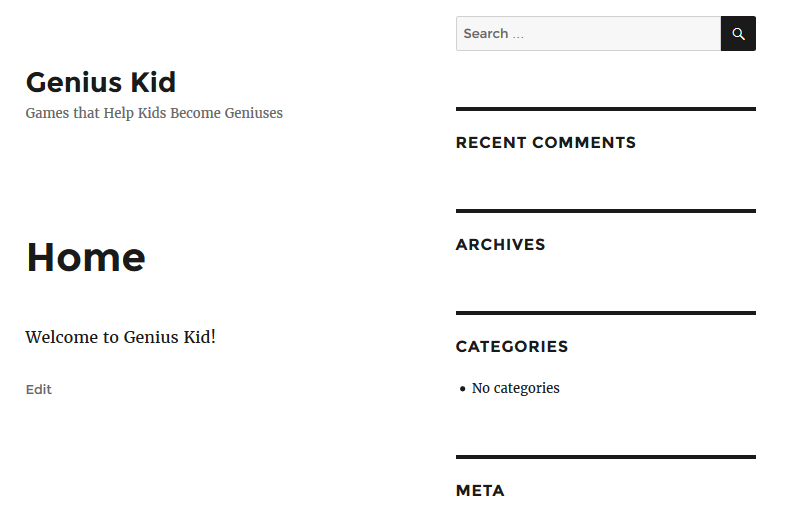
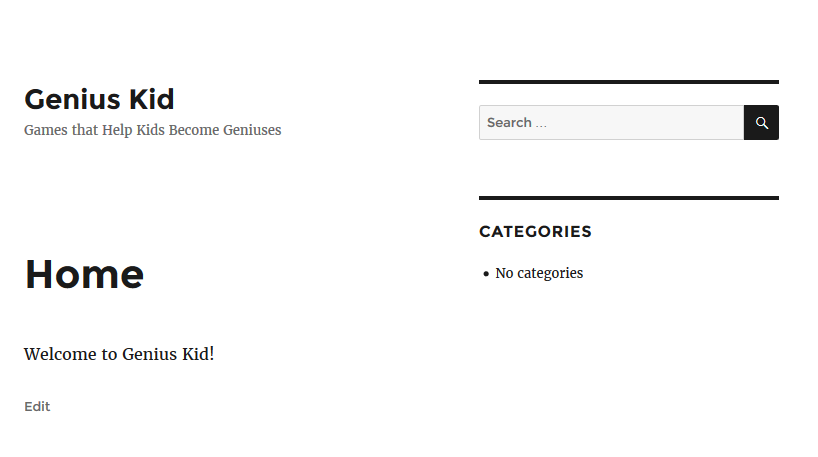
I'll have to admit that I prefer my sites to have a cleaner look, so I have removed most of the widgets. Here's how my website looks like at the moment.
I know, the site doesn't look too exciting at the moment, but everything will change right now, because we are going to add a new theme. WordPress themes are collections of files that create attractive graphical interfaces, which can also add useful features to a standard, bland WordPress theme. Of course, we are going to need to create some content as well, but the first step is to install a great looking WordPress theme.
There are thousands of high quality WordPress themes on the web, and many of them are 100%. Just search Google for "best free wordpress themes", etc and you'll see plenty of results. I will use the paid "Gameleon" theme for this project, but don't let that get in the way; often times, some of the free themes can look way better than many of the paid themes.
Choose "Appearance" -> "Themes", and then click the "Add New" button.

You can either upload a previously downloaded theme, or use WordPress' "Search Themes" built-in function, which is accessible in the upper right corner of the screen.
IMPORTANT TIP: Make sure to choose a responsive theme, one that is able to adapt its size to mobile devices as well. With more than 50% of the Google searches being made on mobile devices today, you want to offer your users a great experience no matter what devices they use to access your website.
Install, and then activate the theme. Then, "Visit Site" to view the new look of your website. Here's how my website looks like after installing the new theme.
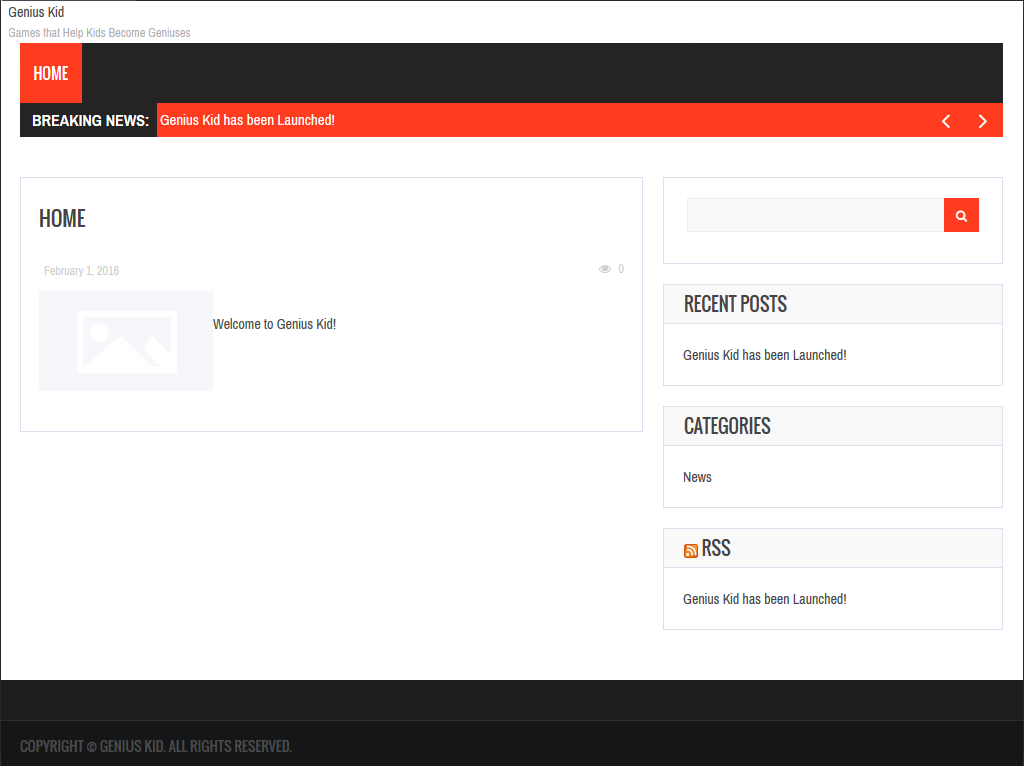
Not too shabby, isn't it? And I haven't started to edit the theme settings yet! Each theme has a different set of features, so you'll have to play with them on your own. Most of them have built-in help, so you shouldn't have any problems.
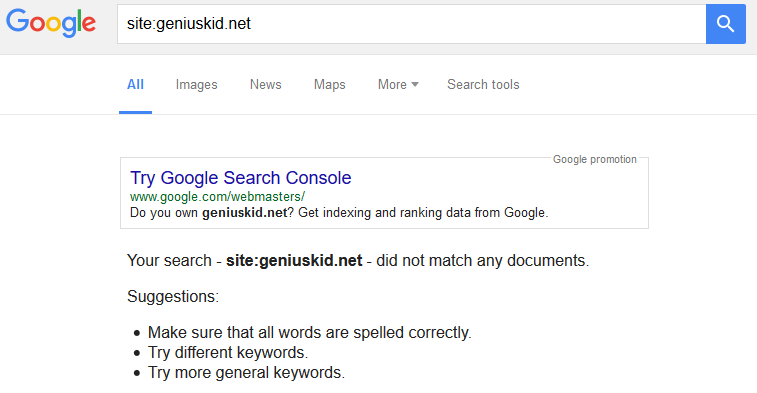
Our website doesn't have any content yet, but it's ready to be indexed by the search engines. Right now, if you type in:
site:yourwebsite.com
into Google's search box, you will see that it isn't indexed.
To accelerate the process, create matching social media accounts on Twitter and Facebook, for example, and put your website URL in the Twitter/Facebook profile. You can also register your website in Google's search console.
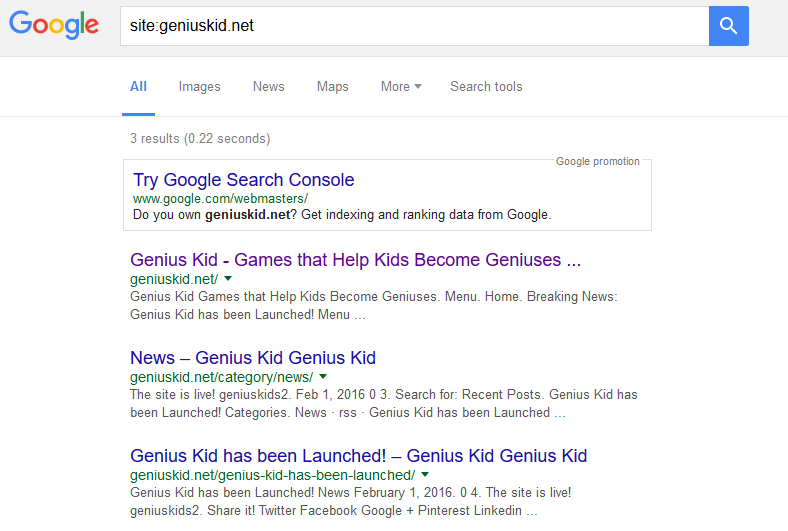
Here's how an indexed website shows up in Google.
Well, it's been a long workshop, but we are making significant progress. We have built a website from the ground up, and now we are ready to put some meaty content on it. I'll see you all in the next episode, when we will do just that!