Any entity can be made sensitive to certain events: its impact with one of the level blocks, its collision with another entity, and so on. Why would we want to keep ourselves busy with these events? Maybe we want to write the code for an enemy that falls down when the player shoots it. Our enemy would be a model, the bullet would be another model and when the two models collide we would make the enemy fall down, get it?
Before I begin, please note that the code from this workshop will only run with Acknex 6.4 or newer versions of it. Open the work29.wmp file in Wed and then run it using the script29.wdl file; you will see the following image:
You can see several sprites that are placed over several entities. Each entity demonstrates one or several events in action; we'll discuss them all a bit later. Let's focus our attention on function main first:
function main()
{
mouse_range = 5000;
level_load (work29_wmb);
while (player == null) {wait (1);} // wait until the player is created
camera.tilt = -15; // look down at the player, play with this value
mouse_map = cursor_tga;
mouse_mode = 2;
while (1)
{
camera.x = player.x - 250 * cos(player.pan);
camera.y = player.y - 250 * sin(player.pan);
camera.z = player.z + 150; // place the camera above the player, play with this value
camera.pan = player.pan; // the camera and the player have the same pan angle
mouse_pos.x = pointer.x;
mouse_pos.y = pointer.y;
wait (1);
}
}
The first line of code sets the range of the events that can be triggered by the mouse (by clicking an entity, by placing the mouse pointer over it, and so on) to 5000 quants. If we set mouse_range to a small value like 100, we will not be able to trigger any event using the mouse if the distance to the sensitive entity is bigger than 100 quants.
The following lines of code are simple, so we won't discuss them again; we went through similar code several times. Please note how I have incorporated the code for the mouse and for the isometric camera from the previous workshop inside function main.
Let's examine the action that is attached to the player:
action players_code
{
var anim_percentage; // animation percentage
var movement_speed; // player's movement speed
var trace_dist;
player = my; // I'm the player
while (1)
{
my.pan += 4 * (key_a - key_d) * time; // rotate the player using the "A" and "D" keys
c_move (my, vector(10 * (key_w - key_s) * time, 0, 0), nullvector, glide); // move the player
if ((key_w == off) && (key_s == off)) // the player isn't moving?
{
ent_animate(my, "stand", anim_percentage, anm_cycle); // play the "stand" animation
}
else // the player is moving?
{
ent_animate(my, "walk", anim_percentage, anm_cycle); // play the "walk" animation
}
anim_percentage += 5 * time; // 5 = animation speed
The player can rotate using the "A" and "D" keys and can move using the "W" and "S" keys. If the player isn't moving, it plays its "stand" animation; otherwise, it plays its "walk" animation. Those lines of code are nothing more than a condensed version of the movement script from the 27th workshop.
if (key_1 == on) // press "1" to start scanning around the player
{
c_scan(player.x, player.pan, vector(120, 60, 300), ignore_me);
}
If the player presses the "1" key on the keyboard, the "c_scan" line of code is executed. Let's see how the c_scan function definition looks like:
c_scan (position, angle, range, mode);
The c_scan instruction can detect the entities, camera positions, paths and static lights from a certain area in the level; let's examine each parameter of the function:
- "position" gives the starting position of the scanner;
- "angle" gives the direction of scanning;
- "range" is a vector with 3 components: horizontal scanning angle, vertical scanning angle, scanning distance;
- "mode" sets the scanning mode; we can use values like "ignore_me" (ignores the "my" entity), "ignore_you" (ignores the "you" entity), "scan_paths" (detects the paths in the level), "scan_lights", and so on. Don't forget to check "c_scan" in the manual for a complete feature list.
Take a good look at the picture below to see how our c_scan instruction works; compare the numerical values with the ones from our code.
We scan from player's origin (player.x) in the direction given by its pan angle, with a horizontal scanning range of 120 degrees, a vertical scanning range of 60 degrees and a range of 300 quants. The scanning mode is set to ignore_me; this means that the scanning entity (the player) will not detect itself; we don't want that to happen. Let's continue with the rest of the code that can be found inside player's action:
if (key_2 == on) // press "2" to start tracing
{
vec_set(trace_dist, vector(1000, 0, 0));
vec_rotate(trace_dist, vector(player.pan, 0, 0));
vec_add(trace_dist.x, my.x);
// now trace from the player to a position (stored in trace_dist) that is placed 1000 quants in front of it
c_trace (my.x, trace_dist.x, ignore_me | use_box | activate_shoot);
}
wait (1);
}
}
If the player presses the "2" key on the keyboard, we create a vector with a length of 1000 quants and we store it in trace_dist, we rotate the trace_dist vector according to player's pan angle (player.pan) and then we add it to player's origin (my.x). I know that you might feel a bit lost here, so let's examine a picture that shows what's happening clearly.
The first phase (1) shows the initial vector; it has a length of 1000 quants and it points towards the right side of the screen (along the x axis). The second phase shows the vector after being vec_rotated according to player's pan angle. Finally, the third phase shows the vector being added to player's origin.
Why do we have to go through all this trouble? We will "shoot" (in fact, we will c_trace) with invisible rays in front of the player, and we want to be able to shoot in the direction that the player is facing, right? That's what those line of code do; they make sure that our c_trace target has the same angle with the player. Now take a look at the c_trace line of code:
c_trace (my.x, trace_dist.x, ignore_me | use_box | activate_shoot);
We trace from player's origin to trace_dist, which is placed 1000 quants in front of the player model, ignoring the player, using a thick tracing ray and activating the event_shoot for the hit entity (if any). Don't worry, we'll discuss event_shoot soon.
Let's examine the "real" event code now; we will start with event_block. Move the player to the corner with the "event_block" billboard; you will see a poor red ball that bounces off walls, trying to escape from the evil, blocky prison.
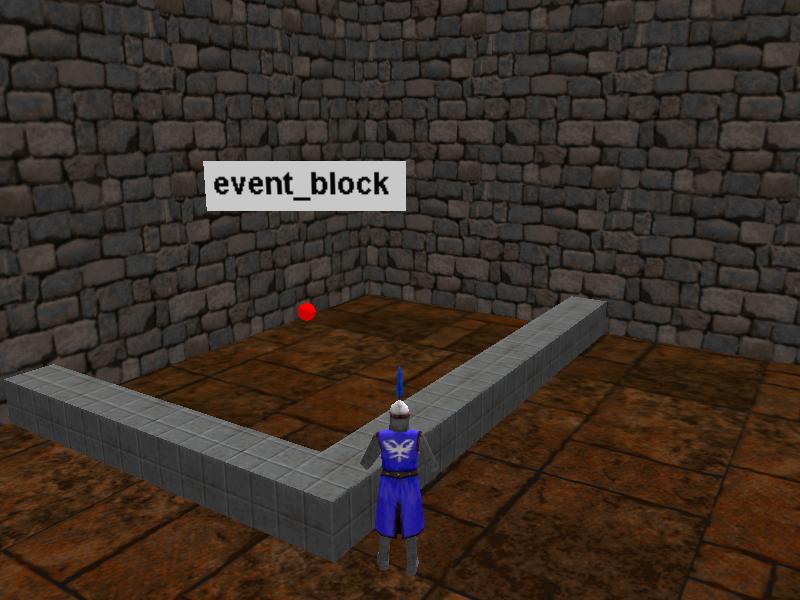
Now let's see the code that makes this ball tick:
action test_block
{
my.enable_block = on;
my.event = event_blk; // never put parenthesis to the function here!
while(1)
{
c_move (my, vector(20 * time, 0, 0), nullvector, ignore_passable);
wait(1);
}
}
The action named test_block is attached to the red ball. The first line of code makes the ball sensitive to impact with the level blocks; this means that whenever the ball collides with one of the level blocks, it will fire up its event function, which in our case is function event_blk(). One of the frequent mistakes made by beginner programmers is to put the parenthesis to the event function; that won't work because by putting those parenthesis you are actually forcing the function to run right away, without waiting to be triggered, and to return the result of its execution in "my.event", which is a total nonsense for the engine.
Look inside the while (1) loop and you will see that the ball moves continuously in the direction given by its pan angle and with the speed given by 20 * time. If the ball hits one of the walls, its event function runs.
function event_blk()
{
if (event_type == event_block)
{
my.pan = random(360);
}
}
Please note that the actual event function has its pair of parenthesis in place; don't forget to put them here. If the event that has happened was a collision with a level block (event_type == event_block) the ball will pick a new, random pan angle between 0 and 360 degrees, changing its movement direction; this way the ball won't get stuck in the wall. You didn't know that you can create a breakout clone this easy, did you?
That's how all the events work! We instruct the entity to be sensitive to one or several event types, and then, if that event happens, the entity runs its associated event function, which takes care of the problem.
Let's move on to the following event type: event_impact.

Come close to the guard model and touch it; you will see that it grows taller and taller. Event_impact, as you might have guessed already, is fired up whenever two entities impact with each other.
action test_impact
{
my.enable_impact = on;
my.event = event_imp; // never put parenthesis to the function here!
}
function event_imp()
{
if (event_type == event_impact)
{
my.scale_z += 0.01;
}
}
You can see that the guard model is sensitive to impact with other entities; we could use this type of event for a bullet or for a sword that impacts with the guard. If event_impact is triggered, we add 0.01 to the z scale of the model, increasing its height.
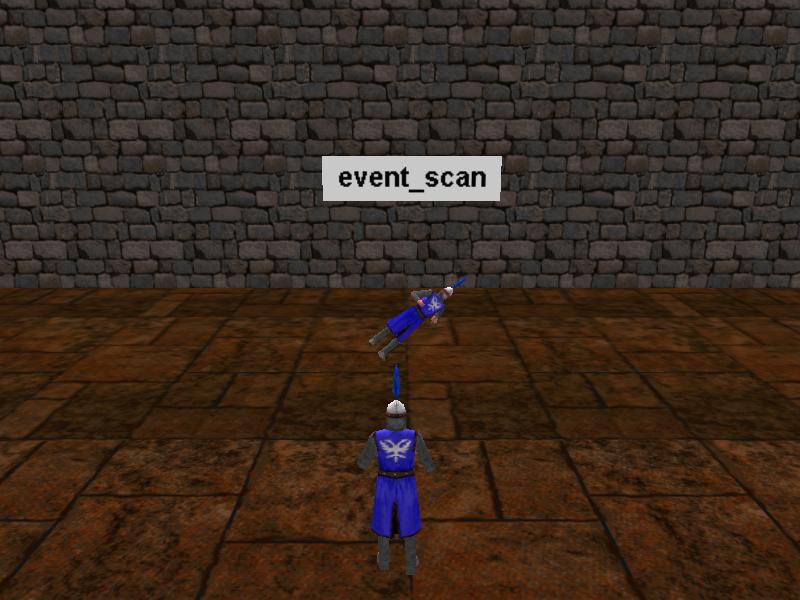
The following event on our list is event_scan; come close to that guard model, and then press and hold the "1" key; you will see the guard rotating around its roll angle. Don't forget that our player scans around it for as long as we press and hold the "1" key.
action test_scan
{
my.enable_scan = on;
my.event = event_scn; // never put parenthesis to the function here!
}
function event_scn()
{
if (event_type == event_scan)
{
my.roll += 5;
}
}
The code for the guard that is sensitive to scanning is simple; we set "enable_scan" and if the entity is scanned we add 5 degrees to its roll angle. The horizontal scanning angle is wide enough (120 degrees) so the player doesn't have to face the guard. Replace 120 with 360 and the player will scan all the entities around it, because its horizontal scanning angle has become the full circle = 360 degrees; this means that the guard will rotate even if the player model turns its back to it.
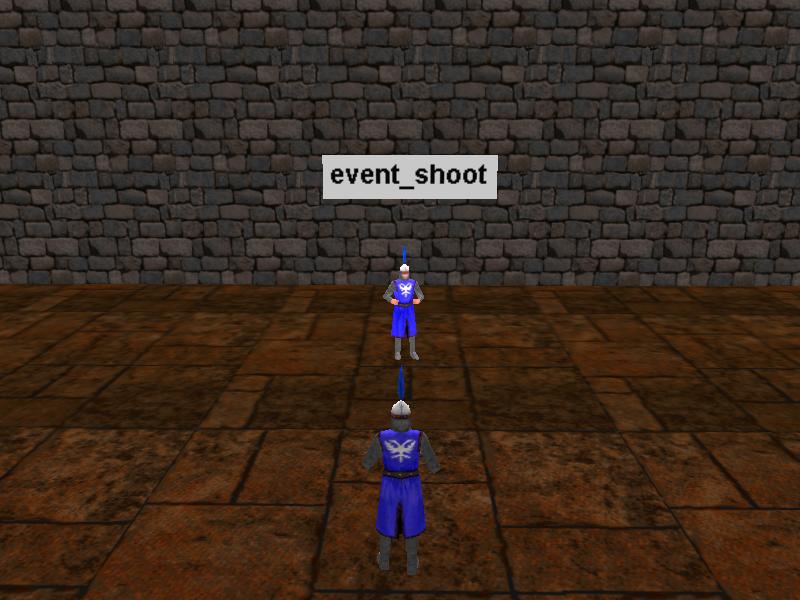
The following guard is sensitive to tracing (event_shoot). Move close to it, make sure that the player faces it, and then press the "2" key. You will see that the model lights up whenever you press "2".
C_trace shoots an invisible ray from start to target; therefore, the guard will light up only if the player is closer than 1000 quants and faces it directly. The c_trace code is placed inside the function that drives the player and we have discussed it already; let's examine the code that is attached to the guard model now:
action test_trace
{
my.enable_shoot = on;
my.event = event_sht; // never put parenthesis to the function here!
}
function event_sht()
{
if (event_type == event_shoot)
{
my.ambient = 100;
sleep (0.1);
my.ambient = 0;
}
}
The guard is sensitive to shooting (tracing) and runs its event_sht event function whenever it is hit by a c_trace instruction. If the player shoots the guard, it sets its ambient to 100 for 0.1 seconds, and then it sets it back to 0; this way, the guard model will light up for a short period of time.
You can see that it is quite easy to work with events; however, before handing you the well deserved "Event Master" bracelet (limited edition) I want to show you how to combine several events in a single action / function. Approach the last guard model - it is the one on the right side of the level.
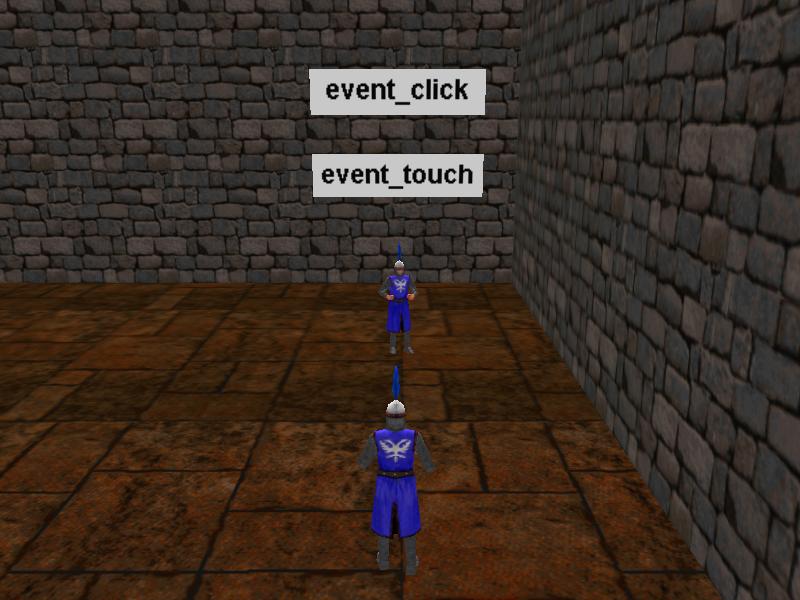
This little guy is sensitive the mouse touching, as well as to mouse clicking. This means that its event function is triggered when the player places the mouse pointer over the model, as well as when the player clicks the model using the left mouse button.
action test_touch_click
{
my.light = on;
my.enable_touch = on;
my.enable_click = on;
my.event = event_tch_clk; // never put parenthesis to the function here!
}
The first line of code illuminates the entity depending on its red, green and blue (RGB) colors. We didn't set any RGB values yet, so don't expect to see anything special for now. The following lines make the guard sensitive to touching and clicking; you can use as many events as you want for any entity; just make sure that you take care of them in the event function.
function event_tch_clk()
{
if (event_type == event_touch)
{
my.pan += 30;
}
if (event_type == event_click)
{
my.red = random(255);
my.green = random(255);
my.blue = random(255);
}
}
This event function is a bit more special; it has different "if" branches for each event. If the guard is touched with the mouse, its pan angle is increased by 30 degrees; if the guard is clicked with the left mouse button, we set a random combination of RGB colors for the model. Click the guard model several times and you will see it changing its color every time.
That's all for now, folks! There are a few more events that weren't covered here, but they work in a similar way; you will find a complete list in the manual. Now that we've put the events behind us we can dive into the following workshop. We will learn about the wonderful world of artificial intelligence, also known as AI.