This time we will learn to create six different types of cameras that should cover the needs for most of your games. Let's start examining the code right away:
The first things that should be noted are these weird function declarations:
function fixed_camera(); // function prototypes
function first_person_camera();
function top_camera();
function side_camera();
function isometric_camera();
function follow_camera();
These are, as you might have guessed, the function prototypes. If we declare the functions this way before using them, the engine will know that they exist and won't error out if we try to use them before encountering their declarations. Sounds too complicated? Let's discuss a practical example from our very script:
function main()
{
level_load (work28_wmb);
wait (3); // wait until the level is loaded
// call the desired camera function here
fixed_camera();
}
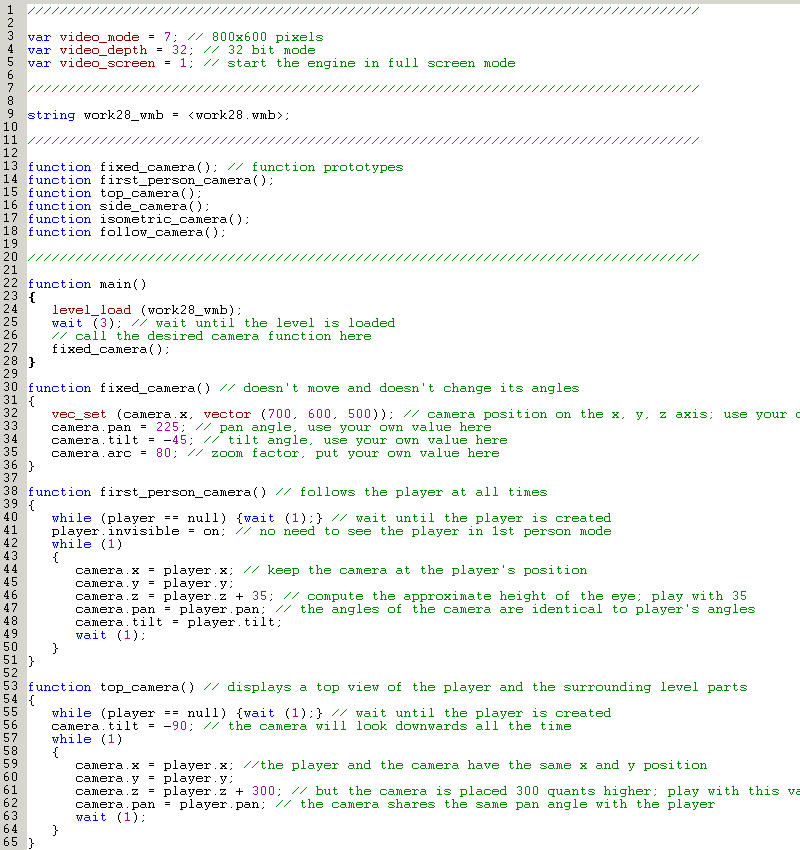
function fixed_camera() // doesn't move and doesn't change its angles
{
vec_set (camera.x, vector (700, 600, 500)); // camera position on the x, y, z axis; use your own values
camera.pan = 225; // pan angle, use your own value here
camera.tilt = -45; // tilt angle, use your own value here
camera.arc = 80; // zoom factor, put your own value here
}
Function main wants to call function fixed_camera(), which is defined a few lines below it. The engine reads the code just like a human being, from the top of the screen to its bottom, so function main() doesn't know what fixed_camera() is, because that function is defined below it and the engine hasn't read that part yet. What is the solution? We can reverse the order of the two functions, placing function fixed_camera() before function main(), or we can use function prototypes, which include the keyword "function", the name of the function and have a semicolon at the end. Oh, and make sure to define these prototypes at the beginning of the script, before using them.
Back to our function main: it loads a level, and then it calls one of our six camera functions. Make sure to replace "fixed_camera();" with "first_person_camera();" and so on while we are going through this workshop.
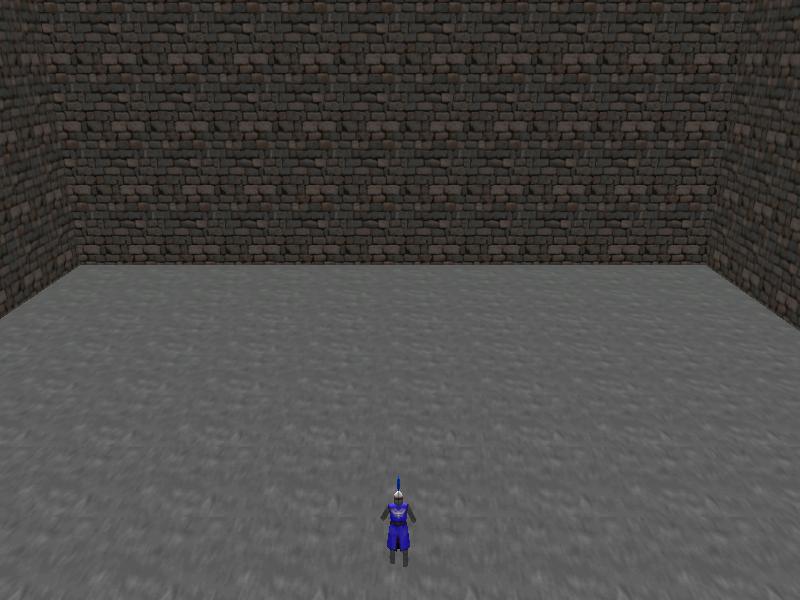
Function fixed_camera() creates nothing more than a... fixed camera, of course! You can move the player around using the "W", "S", "A" and "D" keys and the camera will keep its position and angles every single frame. This camera is useful if your game takes place in a small area, or if it doesn't imply too much activity on the screen (think chess games, battleship games, and so on). The code that makes it tick is really simple:
function fixed_camera() // doesn't move and doesn't change its angles
{
vec_set (camera.x, vector (700, 600, 500)); // camera position on the x, y, z axis; use your own values
camera.pan = 225; // pan angle, use your own value here
camera.tilt = -45; // tilt angle, use your own value here
camera.arc = 80; // zoom factor, put your own value here
}
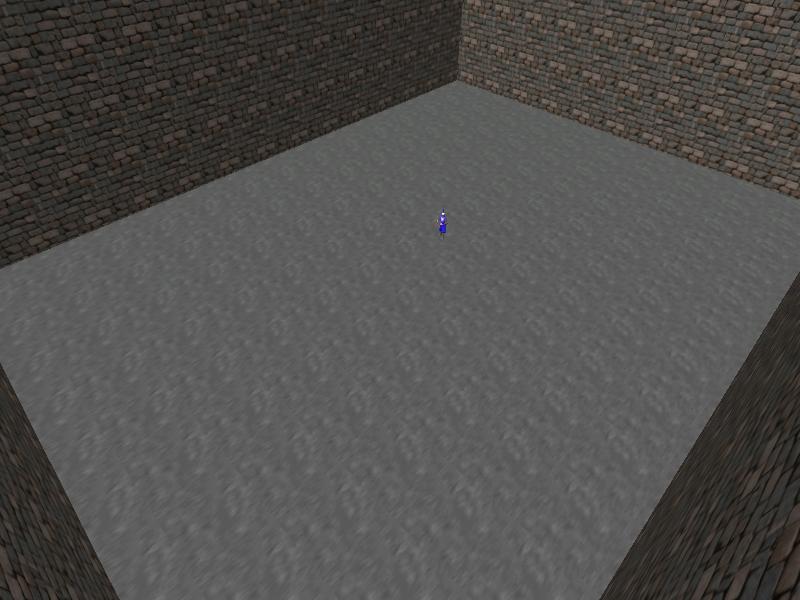
The first line of code sets the camera position at x = 700, y = 600, z = 500. The following lines set the pan and tilt angles, as well as the zoom factor. Feel free to play with all these values; I have got all of them (excepting camera.arc, which isn't a critical value) from Wed. You can create a variety of static cameras just by playing with those figures; here's a "bug's eye" camera as an example:
Moving on to the following camera type; don't forget to replace "fixed_camera();" with "first_person_camera()" in function main (that's the last warning!).
function first_person_camera() // follows the player at all times
{
while (player == null) {wait (1);} // wait until the player is created
player.invisible = on; // no need to see the player in 1st person mode
while (1)
{
camera.x = player.x; // keep the camera at the player's position
camera.y = player.y;
camera.z = player.z + 35; // compute the approximate height of the eye; play with 35
camera.pan = player.pan; // the angles of the camera are identical to player's angles
camera.tilt = player.tilt;
wait (1);
}
}
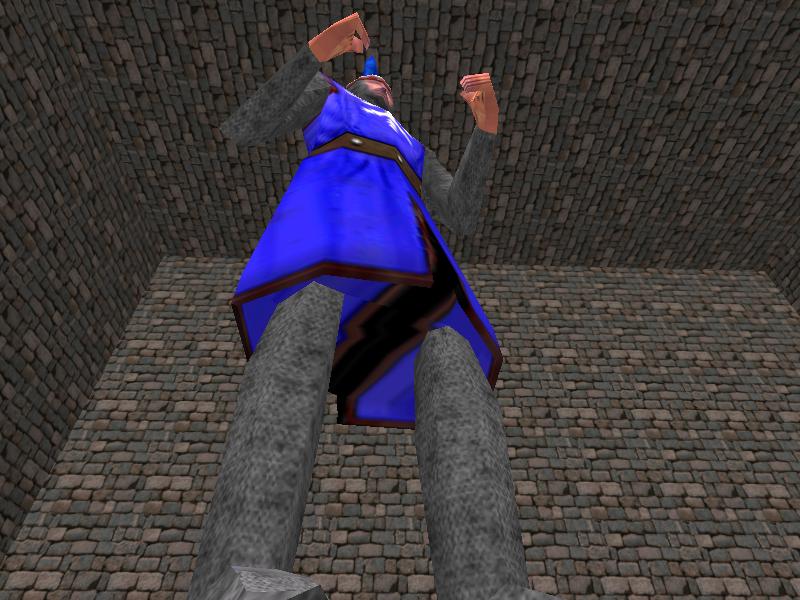
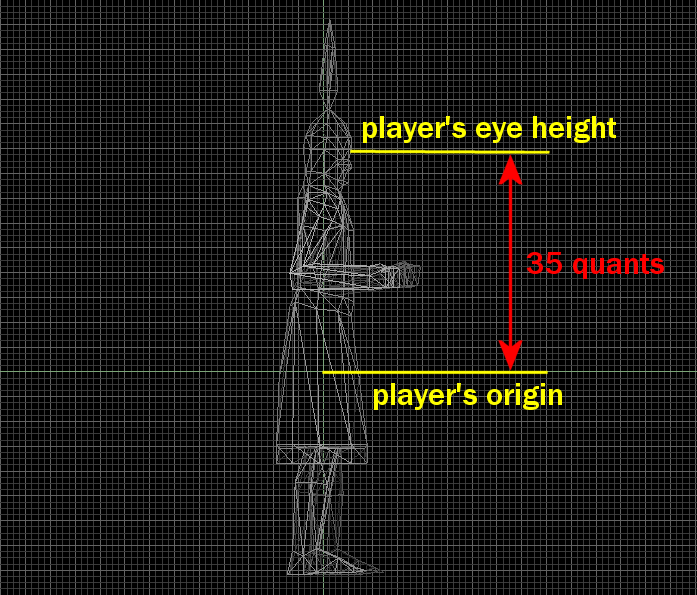
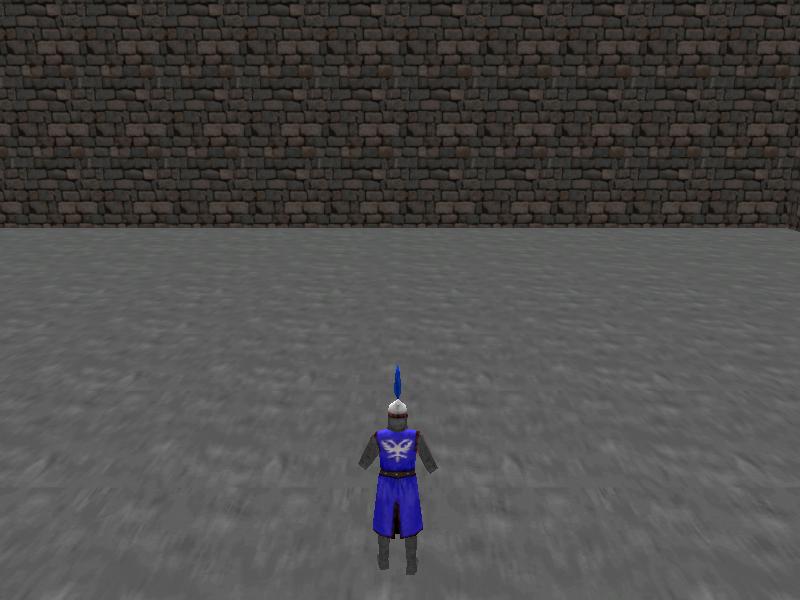
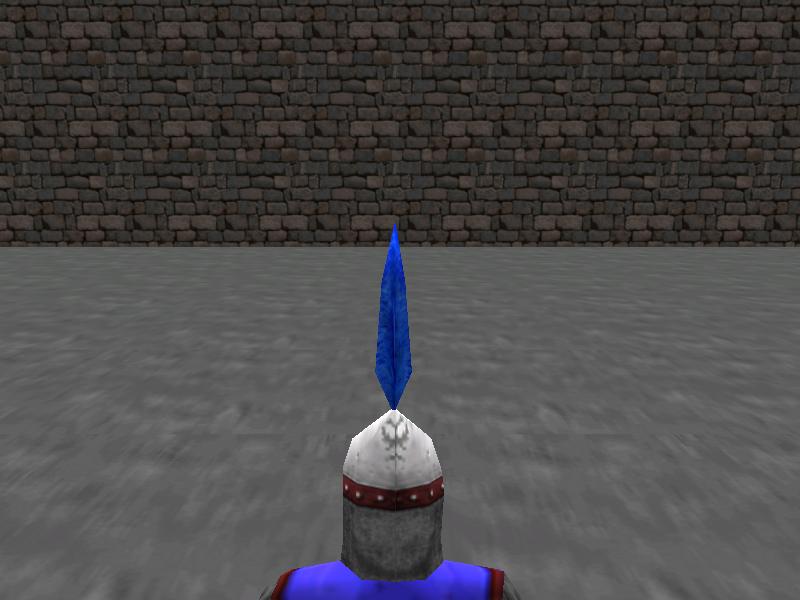
This camera is widely used in shooter and adventure games; function first_person_camera() makes the player model invisible, and then it keeps the camera at the same position with the player on the x and y axis. The height of the camera is placed 35 quants above player's origin, if you want to know how I have got that value take a look at the screenshot I've taken from Med:
The last few lines inside the function make sure that the camera has the same pan and tilt angles with the player model, which is crucial for 1st person games. I'll show you a screenshots with the 1st person camera in action, but I'm sure that you knew how it looks and feels already.
Let's move on to the following camera type: the top camera, sometimes known as the bird's eye camera.
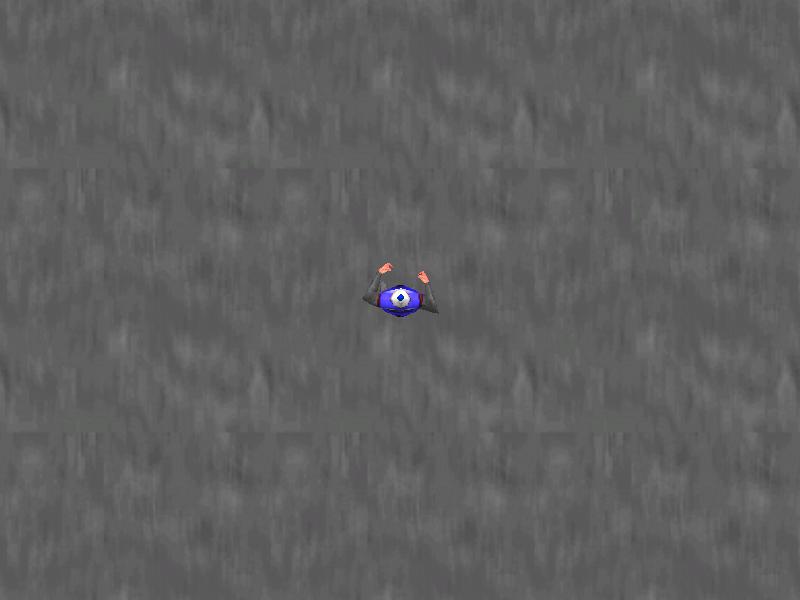
function top_camera() // displays a top view of the player and the surrounding level parts
{
while (player == null) {wait (1);} // wait until the player is created
camera.tilt = -90; // the camera will look downwards all the time
while (1)
{
camera.x = player.x; //the player and the camera have the same x and y position
camera.y = player.y;
camera.z = player.z + 300; // but the camera is placed 300 quants higher; play with this value
camera.pan = player.pan; // the camera shares the same pan angle with the player
wait (1);
}
}
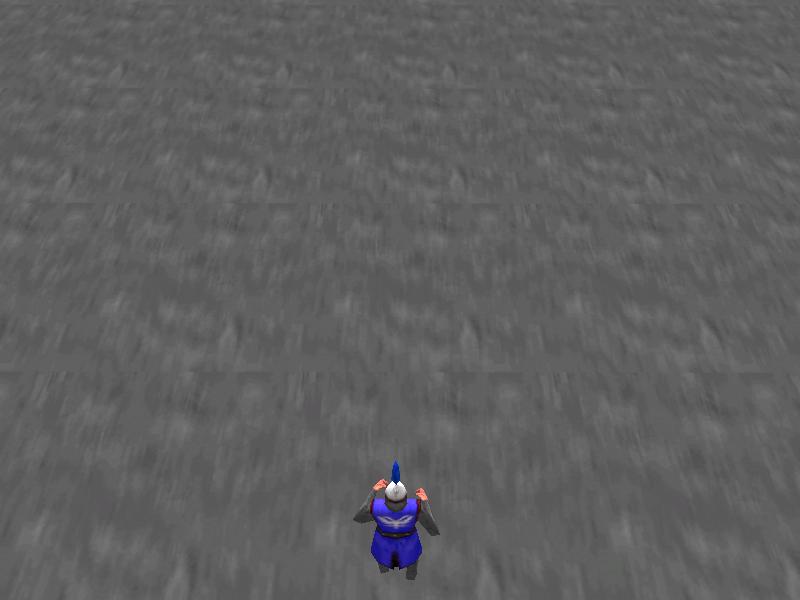
The function sets the tilt angle to -90 degrees, making the camera look downwards; the camera will have the same position and pan angle with the player, but its z will be placed 300 quants above player's origin. Feel free to change the height of the camera; bigger values (like 500, 1000 or so) will allow you to see a bigger portion of the level around the player.
Time to examine the second part of the script file; I have ignored the code that is attached to the player, which was discussed in the previous (27th) workshop.
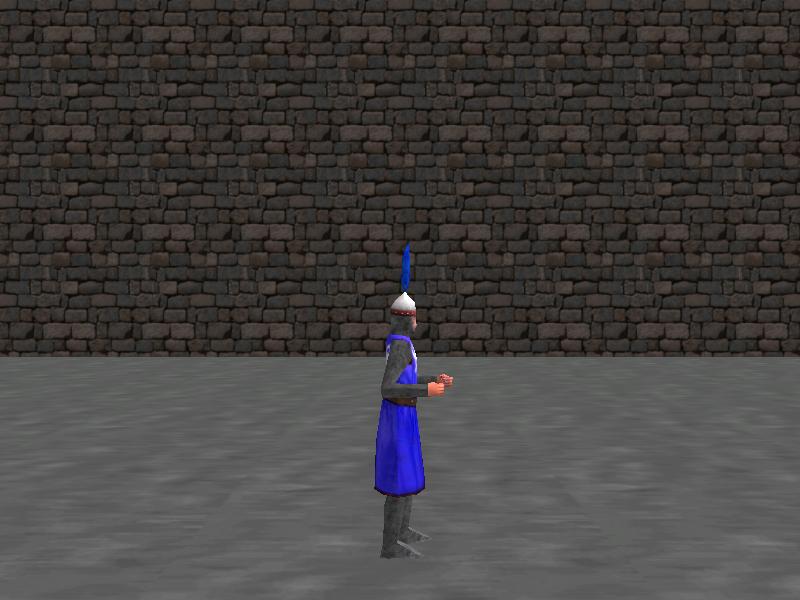
Function side_camera() will work great for side view games, like platform games, logical / puzzle games, and so on.
function side_camera() // shows the player from a side view
{
while (player == null) {wait (1);} // wait until the player is created
while (1)
{
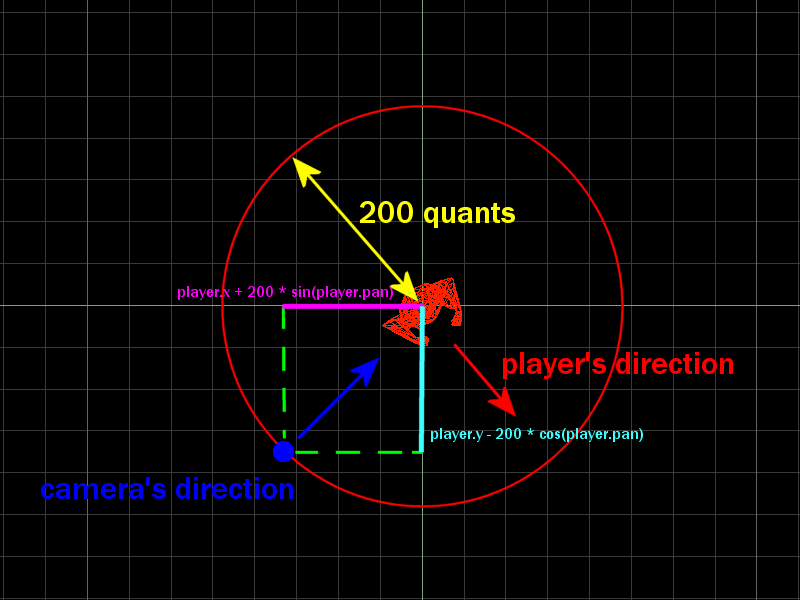
camera.x = player.x + 200 * sin(player.pan); // 200 = distance between the player and the camera
camera.y = player.y - 200 * cos(player.pan) ; // use the same value here
camera.z = player.z + 40; // place the camera a little higher than player's origin, play with this value
camera.pan = player.pan + 90; // face the player at all times
wait (1);
}
}
This function places the camera 200 quants sideways and 40 quants above player's origin; of course that you can (and you should!) play with these values until you get the desired results. The code keeps the camera on a circle with a radius of 200 quants whose center is the player; the camera faces the player at all times because its pan angle is equal to player's pan angle + 90 degrees. Take a good look at the picture below to see how the things work.
A good idea for creating a game with a sideway view is to limit player's movement to a single axis; as an example, comment this line inside action players_code:
my.pan += 6 * (key_a - key_d) * time; // rotate the player using the "A" and "D" keys
and see for yourself what happens; you will end up having a good camera for a fighting game, a platform game and so on. Don't forget to change the same value twice (for sin and cos) if you want to modify the distance that separates the camera and the player.
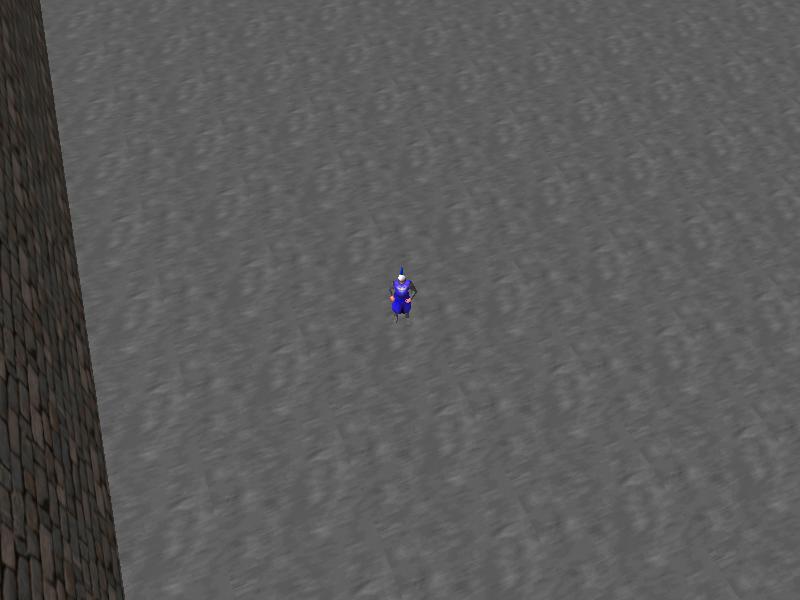
What comes next? Function isometric_camera(), a camera that is being used in many games.
Its role is to show the player (or at least a part of it) and to follow it from a 3rd person perspective.
function isometric_camera() // displays the player from an isometric view aka 3rd person view
{
while (player == null) {wait (1);} // wait until the player is created
camera.tilt = -15; // look down at the player, play with this value
while (1)
{
camera.x = player.x - 250 * cos(player.pan); // 250 = distance between the player and the camera
camera.y = player.y - 250 * sin(player.pan); // use the same value here
camera.z = player.z + 150; // place the camera above the player, play with this value
camera.pan = player.pan; // the camera and the player have the same pan angle
wait (1);
}
}
The tilt angle of the camera is set to -15 degrees, looking down at the player. You will have to play with -15, as well as with 250 and 150 until you get the desired results. This camera is also kept on a circle that revolves around the player, the only difference being the fact that the camera and the player have the same pan angle. You can get quite a few subtypes of cameras using this function and different sets of values for -15, 250 and 150; please don't forget to replace 250 with the same value for the cos and sin lines of code.
Here are a few more examples of the isometric camera view in action.
Let's study the last camera type from this workshop; I have named it the follow_camera, because it follows the player all the time:
function follow_camera() // this fixed camera changes its angles, focusing on the player
{
while (player == null) {wait (1);} // wait until the player is created
camera.arc = 60; // zoom factor, play with this value
vec_set (camera.x, vector(700, 600, 350)); // set the position of the camera; put your own values here
while (1)
{
vec_set(temp.x, player.x);
vec_sub(temp.x, camera.x);
vec_to_angle(camera.pan, temp); // rotate the camera toward the player every frame
wait (1);
}
}
You have met this camera in our previous workshop, where you can also read a detailed explanation of its inner works. What interests us here is the zoom factor (set to 60 in my example) and the position of the camera, which is x = 700, y = 600, z = 350. Feel free to get values that describe the desired position for the camera from Wed, and then replace the ones used for the vector from our function with your own values.
The camera will follow the player all the time, every frame, keeping it in the center of the screen and is useful for a variety of games.
It's hard to believe it, but we have come to the end of the workshop. I have tried to cover a few basic cameras here, but you will find more complex examples by studying the Aum (check out the camera from Morrowing, for example), as well as the templates and other examples from Conitec's forum.
The following workshop will discuss the events, which are extremely important for any game that has things (models, sprites, and so on) in motion. I'll see you soon!