OK, I know I said that the shooter template is finished, but after reviewing it, JCL had some good advice, giving me some pointers on how to streamline it; in addition to that, I have added doors / keys code, which can be of great help when you are creating a shooter game. These things being said, let's go through all the scripts once again.
The main script is simple; the only thing that should be noted is the inclusion of the new "t_shooter_doors.h" script.
#include <acknex.h>
#include <default.c>
#include "t_shooter_player.h" // player's movement / camera code
#include "t_shooter_weapons.h" // player's weapons: pistol, machine gun with autofire and sniper gun, ammo packs, health pack, armor pack
#include "t_shooter_enemies.h" // player's enemies
#include "t_shooter_elevators.h" // elevators and platforms
#include "t_shooter_doors.h" // doors and keys
ENTITY* sky =
{
type = "skycube+6.tga";
flags2 = SKY | CUBE | SHOW;
}
function main()
{
camera.arc = 90; // set camera.arc to a proper value for shooter games
fps_max = 75; // limit the frame rate to 75 fps (not really needed)
video_screen = 1; // start the game in full screen mode
video_mode = 8; // run at a 1024x768 pixels resolution on monitors with a 4/3 aspect ratio
level_load ("shooter.wmb");
wait (3);
media_loop("action.mp3", NULL, 70); // start the soundtrack
}
Let's examine what can be customized for each one of the scripts, so right click the script files in Wed's "Resources" tab, and then choose "Customize".
There are quite a few parameters that can be customized here:
- "Health" sets player's health at game start;
- "Movement speed" sets player's movement speed;
- "Forward / Backward" acceleration sets player's acceleration for forward / backward movement;
- "Sideway Acceleration" sets player's acceleration for sideway movement;
- "Friction" sets player's movement friction factor;
- "Falling Speed" sets player's falling speed;
- "Jumping Force" sets player's jumping force;
- "Resilience" sets the force that pushes the player a bit upwards when it touches the ground after a jump;
- "Distance To Ground" sets the distance between player's origin and the ground. Tweak this to set a proper camera height;
- "Horizontal Acceleration" sets the acceleration factor for rotations that take place in a horizontal plane;
- "Horizontal Friction" sets the friction for rotations that take place in a horizontal plane;
- "Vertical Acceleration" sets the acceleration factor for rotations that take place in a vertical plane;
- "Vertical Friction" sets the friction for rotations that take place in a vertical plane;
The "Keyboard Controls" section sets player's keys for movement, jumping, running and allow him / her to set the keys that will be used to change the current weapon.
The template used for the weapons was simplified a lot; most of its former parameters were moved to the library (.c) file. In fact, the only thing that can be set inside the template is the default weapon at game start (valid values are 0... 3, with 0 = no weapon at game start).
Attach the "t_shooter_handgun" action to your pistol model; you will then be able to set the initial number of bullets that come with it at game start in Wed, using "Pistol_bullets" (skill1).
Attach the "t_shooter_mgun" action to your machine gun model; you can set the initial number of bullets that come with this weapon at game start using "Mgun_bullets" (skill1).
Attach the "t_shooter_sniper" action to your sniper gun model; the initial number of bullets that come with this weapon can be set using "Sniper_bullets" (skill1).
The "t_shooter_ammo_hgun" action can be attached to the model that will be used as a pistol ammo pack; set the number of bullets that will be added to the pistol through "Pistol_pack" (skill1).
The "t_shooter_ammo_mgun" action can be attached to the model that will be used as a machine gun ammo pack; set the number of bullets that will be added to the machine gun through "Mgun_pack" (skill1).
The "t_shooter_ammo_sniper" action can be attached to the model that will be used as a sniper ammo pack; set the number of bullets that will be added to the sniper gun through "Sniper_pack" (skill1).
The "t_shooter_health" action can be attached to the model that will be used as a health pack; set the number of bullets that will be added to player's health through "Healthpack_value" (skill1).
The "t_shooter_armor" action can be attached to the model that will be used as an armor pack; set the number of bullets that will be added to player's armor through "Armorpack_value" (skill1).
The enemy template was simplified as well; most enemy parameters were moved to the library file, and are thus accessible through Wed. The only parameter left is "smooth breadcrumb paths", which will generate smoother enemy paths for larger values; nevertheless, if this value is too big the enemy might not be able to discover player's tracks anymore.
The turrets, which can be customized individually from within Wed's "Behaviour", have got two important additions: "Bullet_damage" and "Rocket_damage", which will set the damage produced by the rockets when firing bullets or rockets.
- "Rockets" sets the firing ammo for the turret (0 = bullets, 1 = rockets);
- "Turret_armor" sets the initial armor of the turret;
- "Turret_angle" sets the horizontal scanning angle; small values will ensure that the player can sneak without being noticed, provided that he doesn't step right in front of turret;
- "Turret_range" sets the player detection range;
- "Rocket_vertex" is the turret's vertex that will be used as a starting point for the rockets;
- "Mgun_vertex1... Mgun_vertex6" give the vertices that will be used as starting points for the bullets. If your turret model doesn't have several barrels you can use the same value for all these vertices.
- "Bullet_damage" gives the damage produced by the turret while it is firing bullets;
- "Rocket_damage" gives the damage produced by the turret while it is firing rockets.
As you already know, each enemy can be customized individually using its own "Behaviour"; this month's template adds a new field - "Shotgun_damage".
- "Alert_dist" sets the alert distance. If the player comes closer to Alert_dist to the enemy and the enemy can see the player, it will attack the player;
- "Crumb_range" gives the enemy's sensitivity to player's invisible footprints; if one of player's footprints is closer than 1,000 quants to the enemy (default value), the enemy will chase the player using its invisible footprints;
- "Running_speed" sets enemy's running speed, used when it chases the player;
- "Walking_speed" sets enemy's walking speed, used when it patrols on its path;
- "Dist_to_ground" sets the distance between enemy's feet and the ground; you might need to change this value, depending on the origin of your enemy model;
- "Health" sets the number of health points (default = 100) for the enemy;
- "Bullets_freq" sets the frequency of the bullets; a smaller value will make the enemy fire more often;
- "Bullets_vertex" sets the firing vertex for the enemy. The default value makes the enemy fire bullets from its 700th vertex (the shotgun, for my model);
- "Falling_speed" gives the speed with which the enemy falls from a higher area to a lower area.
- "Shotgun_damage" sets the amount of health points that are lost by the player each time the enemy uses its shotgun.
The old version of the elevator template was using a c_trace instruction to track the texture below player's feet; this wasn't really needed, so I have removed the option of naming the texture of the elevator skin from the template.
Time to check out the elevators' individual "Behaviour" parameters:
- "Elevator_height" tells the elevator at which height (in quants) to stop; set this value as needed.
- "Elevator speed" sets the vertical speed for our elevator.
- "Elevator_wait" gives the waiting time after reaching the destination. With the current value of 4 seconds, the elevator will move until it reaches the destination point, and then it will wait for 4 seconds before returning to its initial position.
The action attached to the platforms is very similar with the one used by the elevators; in fact, I could have merged these into a single action, but I wanted to keep the code as simple and easy to understand as possible. Let's see what can be customized here:
- "Platform_offset" will give the horizontal distance that must be covered by the platform.
- "Platform_speed" sets the movement speed.
- "Platform_wait" tells the platform the number of seconds that it must wait before returning to its initial position.
- "X_axis" tells the platform to move along the x axis (if X_axis is set to 1) or along the y axis (if X_axis is set to 0). The level comes with a platform that moves along the x axis, as well as with a platform that moves along the y axis.
As you know, I have added a new script for doors and keys this month; you can use an unlimited number of doors that will open when the player approaches them and work with or without a key, sliding along the x, y or z axis. In fact, you could even create special bridges that slide horizontally, and then move vertically, allowing the player to access hidden areas of the level, etc without editing the door / key template code at all.
I had to make some changes to the level geometry; I wanted to have enough room to place the doors in an area that isn't patrolled by the enemies. The first door from the demo level will work without using a key and slides vertically as soon as the player approaches it.
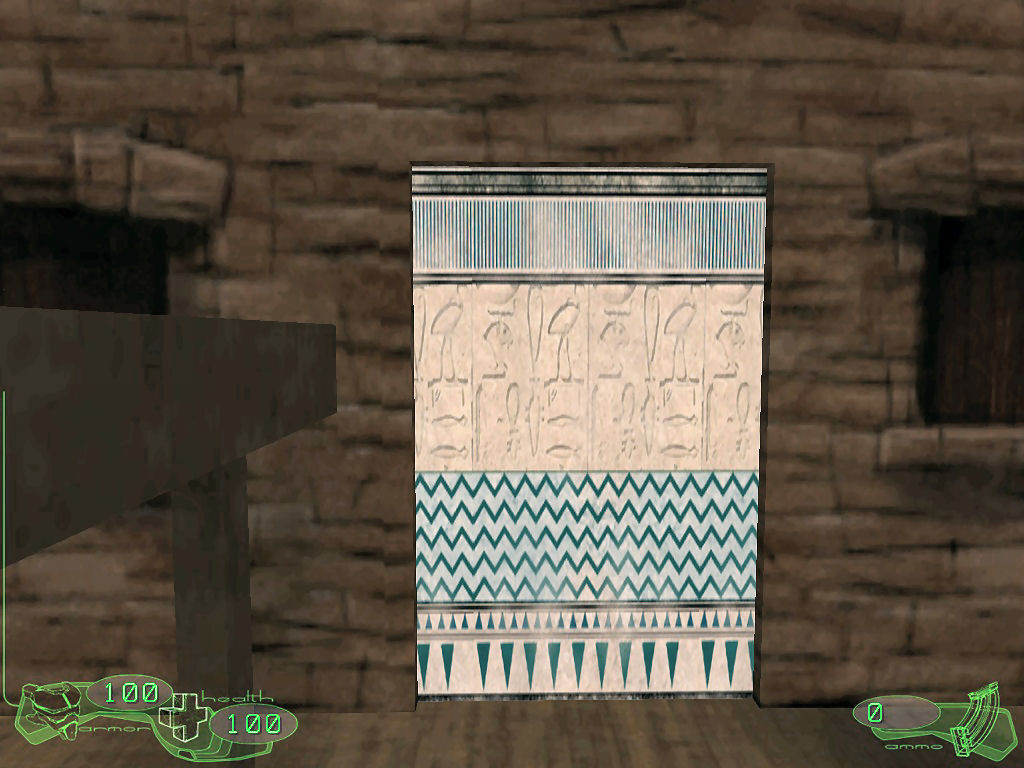
The second door will open by sliding horizontally and works only if the player has picked up the rotating, remote-like key on the right side of the screen.
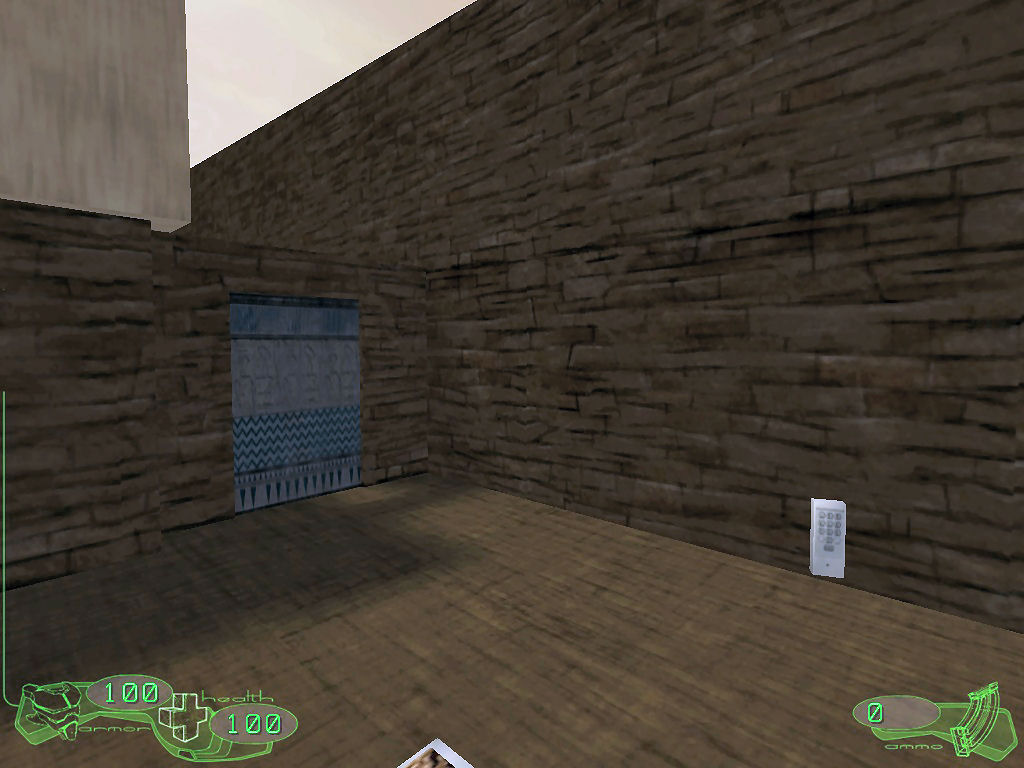
Simply attach the action named "t_shooter_door" to your door model, and then you will be able to set its parameters. Here's an example that shows the first door in the level, the one that opens without using a key and slides vertically.
- "Speed" gives the door sliding speed;
- "Key" tells the door which key must be picked up in order to open the door. With key = 0, the door opens without using a key;
- "Offset_x", "Offset_y" and "Offset_z" set the sliding direction for the door. In this example, the door will open by moving 110 quants vertically.
Here's the second example from our demo:
This time, you can see that we have set "key" to 1 and the door slides horizontally, along the y axis, moving until its y position is 94 quants smaller than the initial position. All you need to do in order to open this locked door is to have the proper key - here's how you can set it up:
Attach the "t_shooter_key" action to your key model, and then set its "Key" parameter to the desired value - that's all! A "Key" value of 1 will open all the doors that have their "Key" value set to 1, a "Key" value of 2 will open the door / the doors with a "Key" value of 2, and so on. Like I said, you can have an unlimited number of doors and keys in your level.
Well, I think that I have finished the work at the shooter template for good, but who know what can happen? I'll see you all next month.