Last month we have started to play with the _A6_template_project, a template that can be used for action games, shooters and even RPGs. Once again, you will need A6.405 and the updated A6.40 templates if you want to follow this tutorial; make sure to read the previous template article if you don't know how to update them.
Let's add a player to our room! Copy the guard.mdl file (I kind of like this guy) inside your \experiment folder; otherwise, you won't be able to place it in the level. Right click Wed's top view and then choose Add -> Add Model.
You will see the following window:
Select our \experiment1 folder and then click guard.mdl; you will see its characteristics (format, number of vertices, triangles, etc) close to the top of the window. If you have many models in the same folder you will (hopefully) be able to pick the right one by examining the pictures that appear to the right side of the window.
Press "OK" to place the model in the level. Choose a proper position for the player; the template code includes gravity, but we shouldn't rely on that. Here's my player placement example.
Let's add an action to our player! Click Wed's File -> Project manager to bring up the "Project Manager" window.
Click the "Add" tab, and then select "Class: PLAYER".
This will allow us to select one of the existing player-related scripts.
You can see that we have got 5 options to choose from:
- Biped Player;
- Biped Player Heads-Up Display;
- Biped Player Weapon "HUD";
- Biped Player Weapons;
- Car Player.
"Biped Player (01)" is your friend; select it and then click the "Add Script -=>>" button.
Close the "Project Manager" window, right click our guard model and then choose "Properties". You will see the "Object Properties" window:
Click the folder icon at show the list of the actions that are available.
Attach the "PlBiped01" to our guard model, and then press the "OK" button. Close the "Object Properties" window, save the level, build it and run it. You will see the following image.
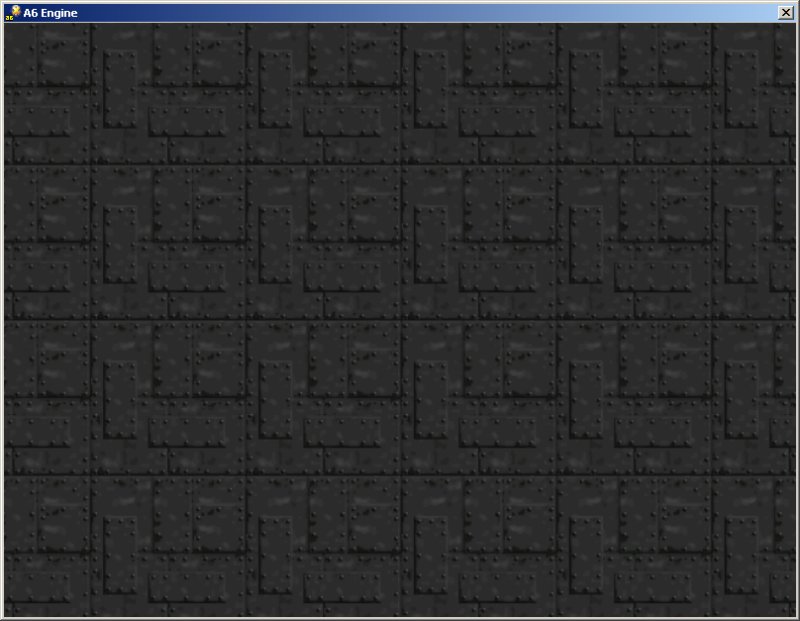
Press Alt + Enter to switch to full screen mode. If you are wondering what has happened with our player model, that makes two of us. Now where is that guy? Shouldn't we call the police, offer a reward or something? Wait! I know! Let's press the zero key once, freeing the camera, and then let's look downwards. Our little guy is right there on the floor and (believe it or not) it is actually moving when we are pressing "WSAD" and jumping when we are hitting the "space" key!
The poor player was missing a camera, so let's add one right away: bring the "Project Manager" window on once again, select Class: CAMERA and Script: 3rd Person Camera. Press the "Add Script" button, making sure that the "3rd Person Camera (01)" action is listed on the right side of the window.
Run the level again and you will (fortunately) see the player from a 3rd person perspective. Move it using the "WSAD" and "space" keys and look around using the mouse.
If you are one of those hairy guys you might want to try something more extreme, like a first person camera. To do this, simply add a "First Person Camera" to the project, like in the picture below.
Run the level again and you will find yourself immersed in a first person viewing experience. Anyway, if you get your hair cut or you get bored with the 1st person camera, you can toggle the first / third person cameras by pressing F7.
That's all for today, folks! Next month we will get to customize the player and camera actions, making them fit our own player model and particular camera needs.