This time we will get to customize the player and camera action and functions, making them fit our own player model and particular camera needs. Start Wed, and then open the exp1.wmp located inside the \experiment1 folder. As an alternative, you could start by loading last month's exp1.wmp file and going through all the steps that I am discussing throughout the article.
We will start by customizing the cameras. As you might recall, last month we have created a 1st person camera, as well as a 3rd person camera for our demo level; run the level using the exp1.wdl file, and then press the "F7" key to toggle the cameras.
Let's get back to Wed: select File -> Project Manager, and then click the "Customize" tab.
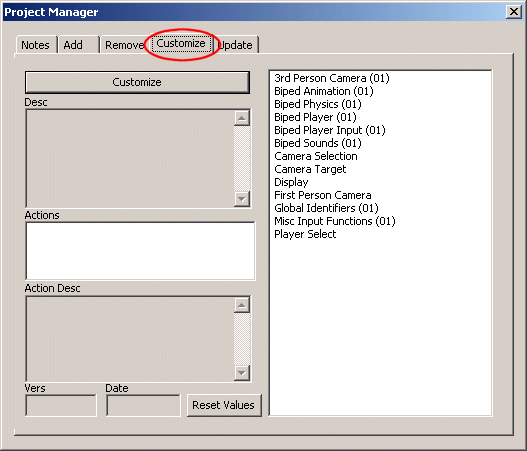
Select "3rd Person Camera (01)" and then click the "Customize" button, as shown below:
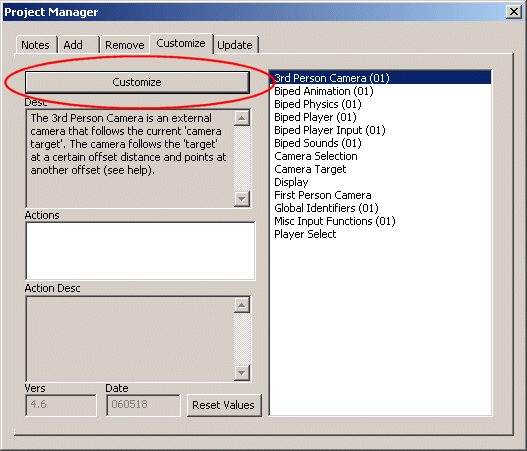
This will bring up the following window:
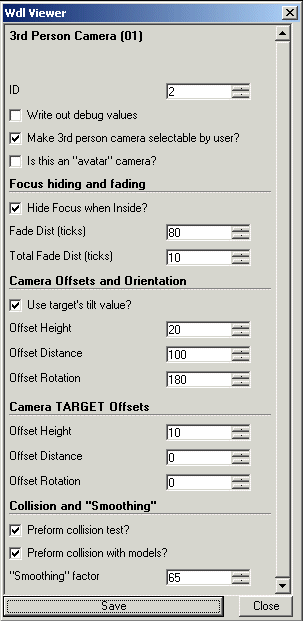
Let's discuss the features and options that are interesting for us:
- "Make 3rd person camera selectable by user" will allow us to enable or disable the 3rd person camera. If you want to test this feature, uncheck the box, press "Save", "Close" and then run the level again - you will see that our player can't select and use the 3rd person camera anymore.
- "Is this an avatar camera" would set our camera to player's eyes; let's keep this box unchecked.
- "Hide focus when inside" will hide the player completely if the camera runs into a wall; uncheck that box and the player model will fade in and out gently when the camera penetrates a wall (a better option in my opinion, so I'll do that right away). You can set the fading distance and the 100% transparency distance (the distance that makes player's model completely invisible) by changing "Fade Dist" and "Total Fade Dist".
- "Use target's tilt value" will make the camera change its tilt angle when the player moves the mouse on the y axis. Uncheck this box if you don't want to allow the camera to tilt.
- "Offset Distance" gives us the distance between the camera and its virtual target, which is located near the player. Increase offset distance to 200 quants and the distance between the player and the camera will grow accordingly.
- "Offset rotation" allow us to set camera's angle in relation with the player. Take a look at the following pictures.
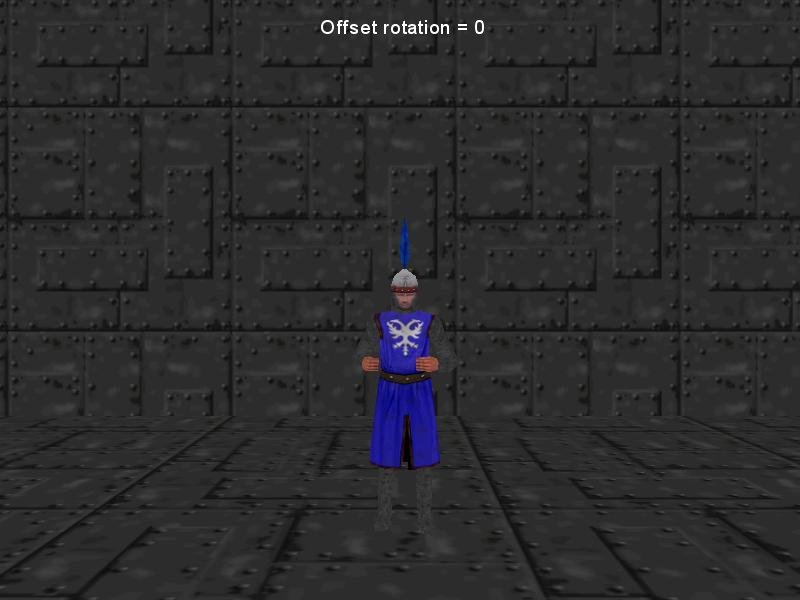
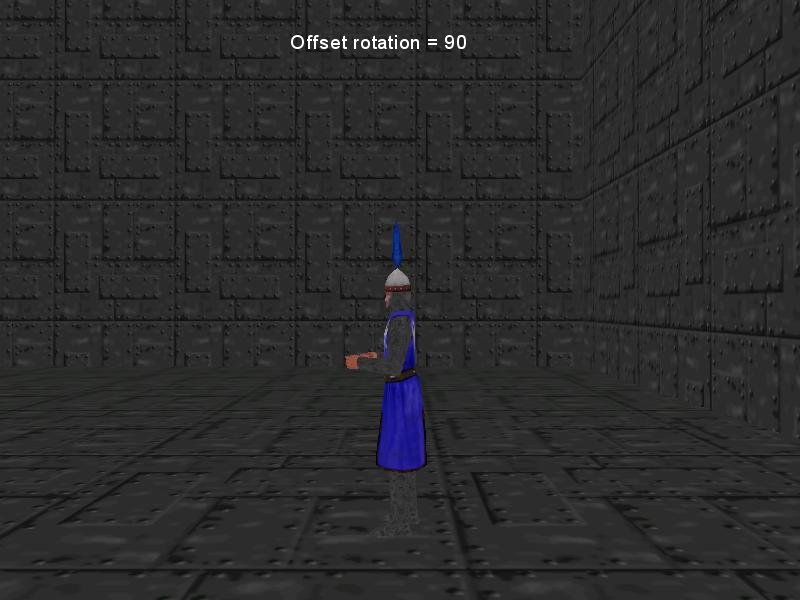
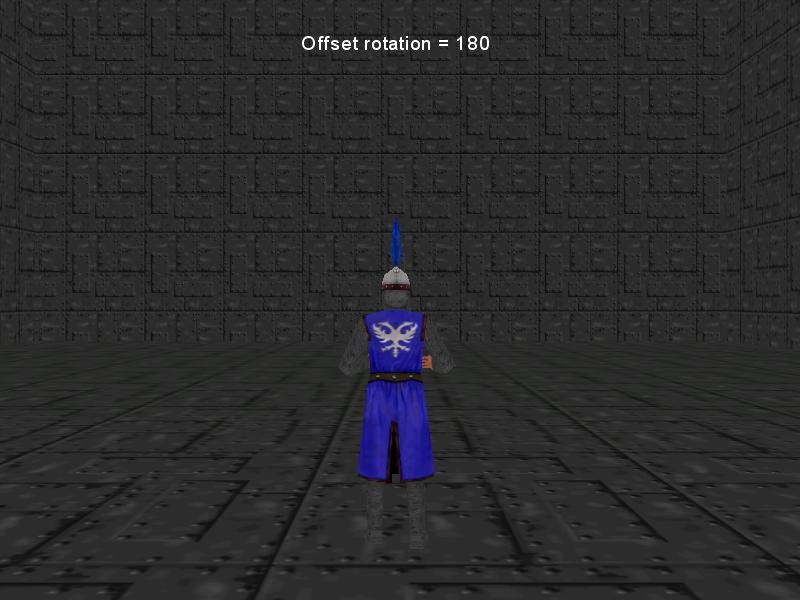
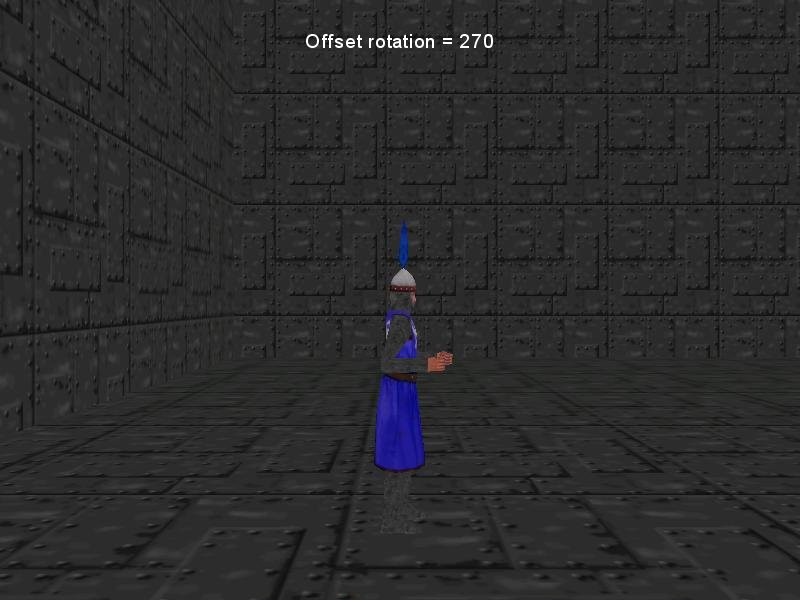
The default value (180 degrees) is appropriate for many games but from now on, if you'll need a sideway camera, you'll know how to get it.
- "Perform collision test" will stop the camera from penetrating the walls, telling it to perform as a decent camera. Uncheck this box and you'll see that the camera will penetrate the walls.
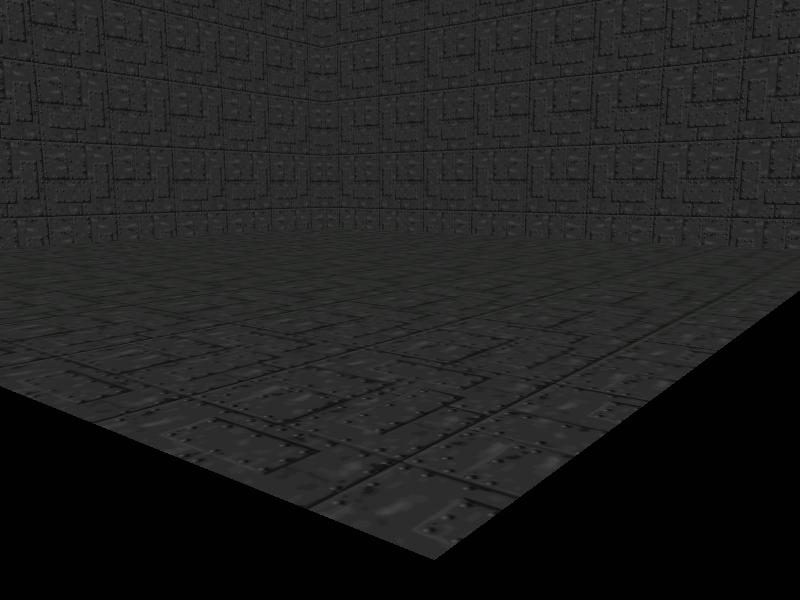
- "Perform collision with models" tells the camera to treat the models that are placed in the level as being potential obstacles, avoiding them.
These are the most important settings for our 3rd person camera. Let's see how the 1st person camera settings look like:
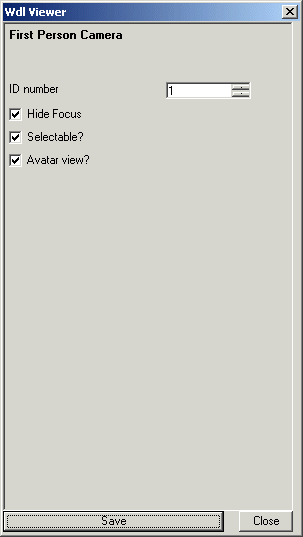
We don't need to change camera's ID number; however, these options are important for us:
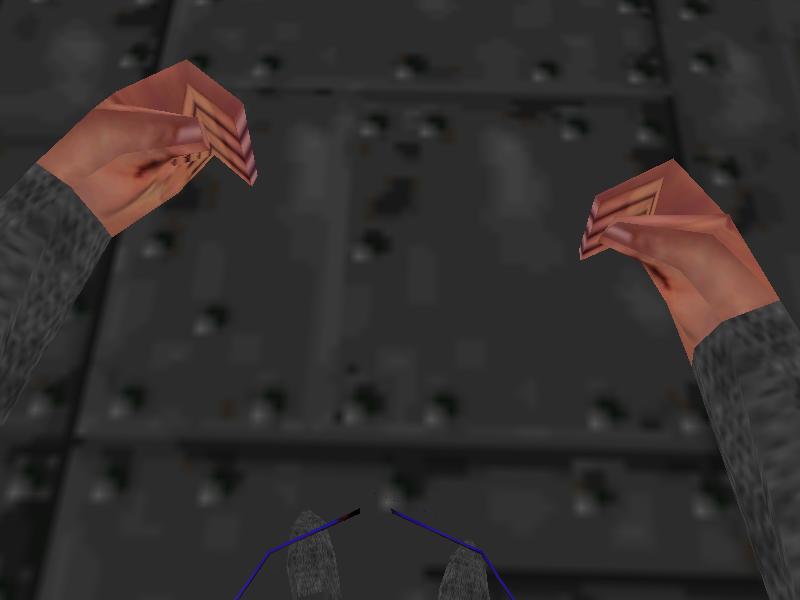
- "Hide focus" hides the player model in 1st person mode; that's the sensible way of doing the things, unless you want to see something like this when you are looking at player's feet.
- "Selectable" allows us to select and use the 1st person camera. Uncheck this box and you'll be stuck with the 3rd person camera.
- "Avatar view" sets the camera according to player's eyes. No need to play with this box.
Well, it took us a bit longer than expected, but we have put these cameras behind us. Let's concentrate on player's settings now; right click the player model and then choose "Behavior" to bring on the following panel:
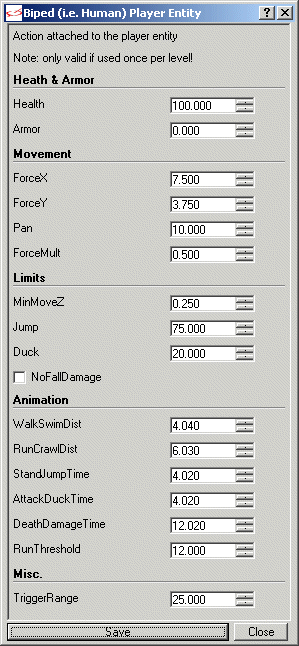
- "Health" and "Armor" set (obviously) the amount of health and armor for our player. The default values are ok, so we won't touch them.
- "ForceX" gives the forward / backwards movement speed. Increase or decrease this value if you want the player to move faster / slower.
- "ForceY" sets the sideway movement speed. Play with this value until the result fits your needs.
- "Pan" sets player's rotation speed.
- "ForceMult" tells the player if it is supposed to slow down or accelerate while we press and hold the run / walk key (default = shift). The default value (0.5) sets the "always run" behavior that is used in most games, so we won't touch it.
- "Jump" sets the maximum jump height for the player.
- "Duck" sets the minimum height of the player while ducking (default ducking key = C).
- "WalkSwimDist" takes care of the animation speeds for walking (4) and swimming (040). A value of 15.040 makes our guard model look way better while walking, so let's use it.
- "RunCrawlDist" sets the animation speeds for running (6) and crawling (030). I recommend a new value of 22.030, which slows down the "run" animation, making it look good on the guard.
- "StandJumpTime" sets the animation speeds for standing (4) and jumping (020). I have used 20.030 here, slowing down the standing, as well as the jumping animations.
- "AttackDuckTime" and "DeathDamageTime" work in a similar way; we don't need to make any changes here at this stage.
- "RunThreshold" will tell the player at which speed (quants / frame) it is supposed to change its animation from walking to running and back. The default value (12) is good, but feel free to play with it if you don't like it.
- "TriggerRange" sets player's trigger range, which is used to trigger events. We don't have what to trigger yet, so let's ignore TriggerRange for now.
That's all for today, folks! We'll meet again and learn a few more things next month.