This month we will start to set up a "real" shooter level. I have used Dan Silverman's "future" level as a base; we will add many things to it without writing a single line of code.
First of all, make sure to copy the entire \scifi1 folder inside your 3DGS folder and the "scifi1.wad" file inside the \wads folder. Start Wed and open one of the two versions of the level: scifi1.wmp (the empty level) or scifi1_done.wmp (the finished level). I am using the latest template version, V4RC4, which was released on the 21st of July, 2005. Don't forget to check Aum51 if you don't know how to set up the templates.
Let's start by adding a few sounds! I have included two wave files named ambient1.wav and ambient2.wav; feel free to copy your own (looping) sounds inside the \scifi1 folder and use them. Make sure that the sounds you've placed add more drama.
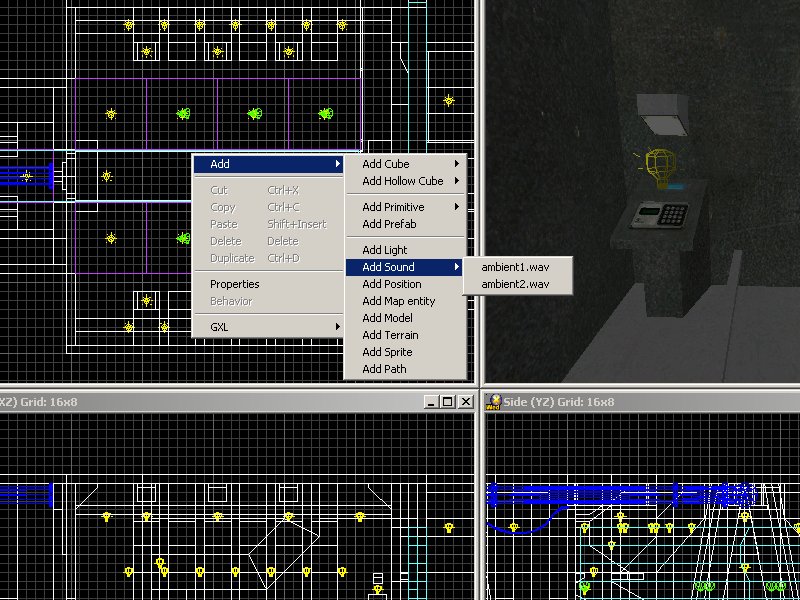
I have used similar settings for my sounds but you can use any other values here.
Let's add a path on the first hallway:
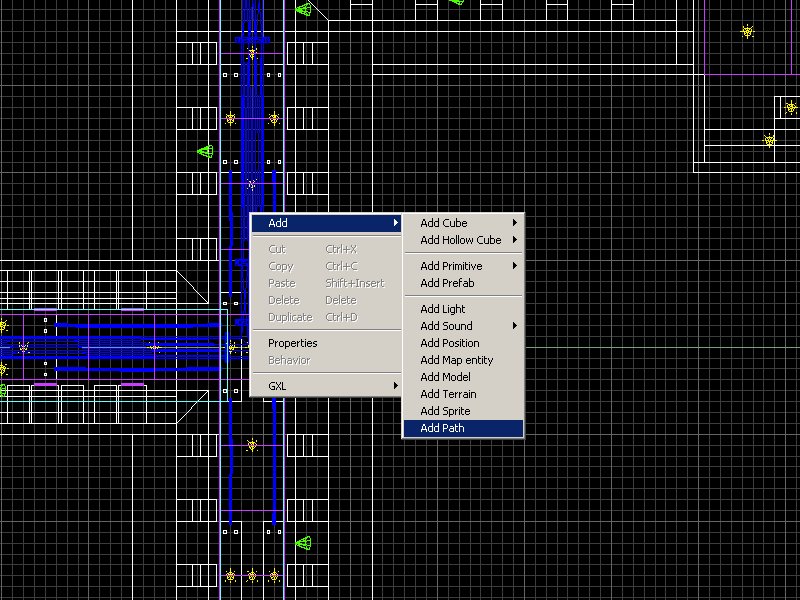
Click Wed's "vertex mode" button.
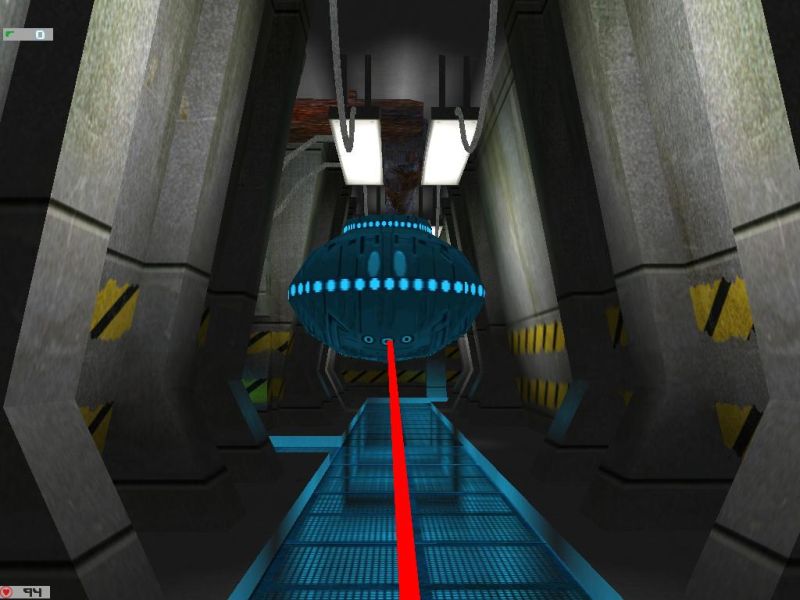
Click Wed's top view a few times, and then move the nodes until you create a simple, closed path. Don't forget that you have to work in "vertex mode" only. Here's the result of my work; the path has a red color:

Right click the path, choose "properties" and then name your path "path_drone1", without the quotes.
Align the points of the path on the z axis using the side view and / or the back view; they won't be arranged properly most of the time. This is how the properly-aligned path should look like:
The boring part is over! Let's add a patrolling enemy: right click Wed's top view, add the model named saucer.mdl to the level, and then place it close to the path's origin (the little red square). Right click the model, and then attach it the AIFPS01_Hover action. Select the "properties" tab and attach the "path_drone1" path to the saucer model.
This would be enough for most projects, but let's make our drone enemy a bit more interesting. Dismiss the "object properties" window, right click the saucer model again, and then choose "behavior"; you will see the following window:
Edit the highlighted fields as indicated; these changes will make our enemy stronger and faster.
Don't forget to press the "Save" button; otherwise, your changes will not be saved. Now save the level, build it and run it; you will see the hovering drone patrolling on its path and attacking if it sees you.
The player has got several weapons at game start; press "Q" and "E" to cycle through them and click the left mouse button to fire. Let's add two more non-patrolling drones; duplicate the drone entity twice (right click -> duplicate) and move the saucer models in the bigger room at the end of the corridor.
Make sure that the two drones aren't attached to the path_drone1 path; right click them, choose properties, and then click the red "X" to remove the path reference.
These two drones should be more sensitive, so set their FOV (field of view) to 2000 quants (no change) and 360 degrees:
Let's add a few smoke generators; place several cube.mdl entities in the bigger room, below the grates, check their "invisible" flag and then attach them the "Particle00_Smoker" action.
Dismiss the "object properties" window, right click the cubes again and choose "behavior"; set "Vel_z__011" to a value between 1 and 5. That's all!