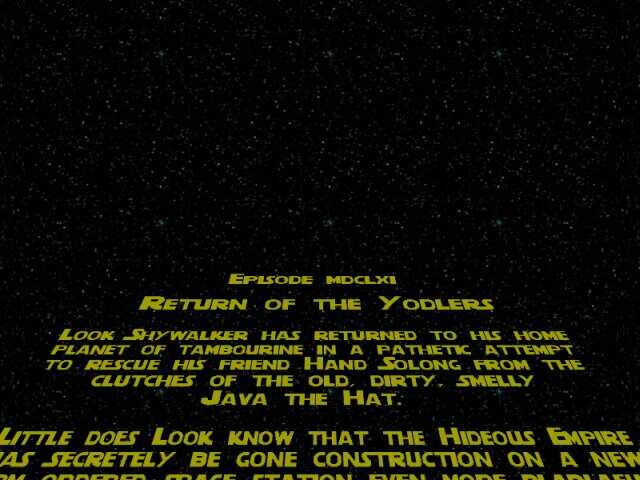
Star Wars text
If you are an older Star Wars fan (like me) you were impressed by the text that was rolling at the beginning of each episode. I still find the idea cool so I have prepared some code that can be used for your intros.
We use an "entity" for the text that is rolling in front of us. The "entity" uses a bitmap named intro.pcx:
entity text_on_screen
{
type = <intro.pcx>;
layer = 1;
alpha = 100;
flags = transparent, visible;
view = camera;
x = 300;
y = 10;
z = -350;
tilt = 60;
}
The entity is placed on the first layer and is transparent and visible. Its alpha is set to 100 so although the entity is transparent, it looks opaque. The entity will be visible on the camera, our main "eye" inside the 3D world. We set the entity 300 heads ahead of the camera, 10 quants to the left and 350 quants below the origin to hide it at the beginning. Finally, we tilt the text by setting its tilt angle to 60 degrees.
This code snippet might be small but I have created a standalone project for it; this way you can simply add your existing code to this project and you're ready to run. Let's take a look at the main function:
function main()
{
fps_max = 50; // limit the frame rate to 50 fps
level_load (dummy_wmb);
media_loop ("music.wav", null, 100);
while (text_on_screen.x < 2000)
{
text_on_screen.x += 2 * time; // move the text in front of the camera
text_on_screen.z += 0.7 * time; // and a little upwards
if ((text_on_screen.x > 1000) && (text_on_screen.alpha > 5))
{
text_on_screen.alpha -= 0.2 * time;
}
wait (1);
}
}
We limit the frame rate to 50 fps, we load a dummy level (a black, hollowed cube with some stars painted on its walls) and then we play the music in a loop. I have worked hard to make it sound that way so you'd better listen to it!
The text will scroll until its x position changes from 300 to 2000 quants. You can see that we are increasing x and z at the same time, inside the while loop. If the text has moved away over 1000 quants on x, we start making it more and more transparent, until it fades away completely (alpha < 5).
That's all, folks!
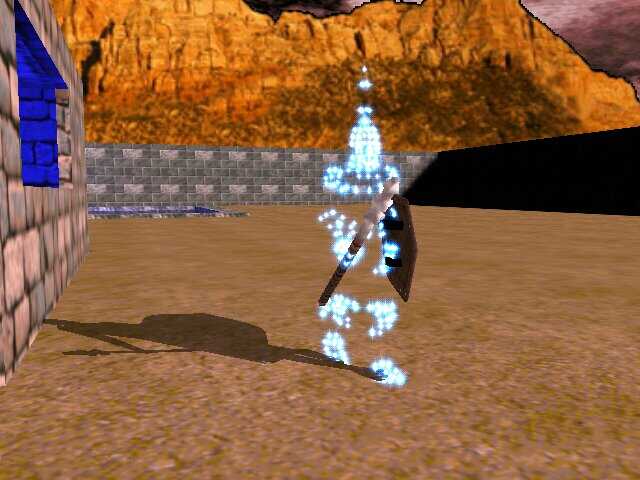
Vertex - based effects
This special effect looks so cool! You can use it for teleports, weird looking monsters, etc. The idea behind it is simple: every vertex can become a particle generator:
The action attached to the model needs to run a function that initializes the code; I have applied this vertex based effect on the model that uses patrol_path in the office demo and here's the relevant change in the patrol_path action:
action patrol_path
{
actor_init();
init_vertex(); // new line
// attach next path
temp.pan = 360;
temp.tilt = 180;
temp.z = 1000;
result = scan_path(my.x,temp);
if (result == 0) { my._MOVEMODE = 0; } // no path found
...................
}
You can see that the only change to the code is the red line of code that calls init_vertex(). I have included the modified actors.wdl file but make sure that you back up your actors.wdl file first before overwriting it with my file. By the time you are reading this article the new templates could be out and you might loose some of their functionality if you decide to overwrite the file.
Simply add the red line of code to any of your actions that is attached to a model and you will be set. Let's see what function init_vertex() does:
function init_vertex()
{
var vertices; // local var
my.invisible = on;
while (1)
{
vertices = ent_vertices (my);
while (vertices > 0)
{
vec_for_vertex (temp, my, vertices);
effect (attach_flares, 1, temp, normal);
vertices -= 1; /
}
wait (1);
}
}
We define a local var named vertices and then we hide the model; of course that you can show the model too but I think that the effect looks better if you hide the model. We get the number of the vertices for the model and then we get the coordinates for every vertex inside a while loop without wait(1) because the loop needs to update the vertex coordinates as fast as possible. We use the same while loop to create a flare effect and then we mode to the next vertex (we are counting downward).
Function attach_flares is a standard particle function:
function attach_flares()
{
my.bmap = flare_pcx;
my.flare = on;
my.bright = on;
my.size = 10;
my.function = remove_flares;
}
function remove_flares()
{
my.lifespan = 0; // remove the flare particle
}
The particles use the flare_pcx bitmap with its flare and bright flags set; its size is 10. The function that drives the flares (remove_flares) removes them instantly; ok, you've caught me, the particles will live for a frame anyway. You can use a bigger value for lifespan if you want to create motion trail effects, etc but when (and if) you do that, keep an eye on the particle counter that appears on the debug panel.